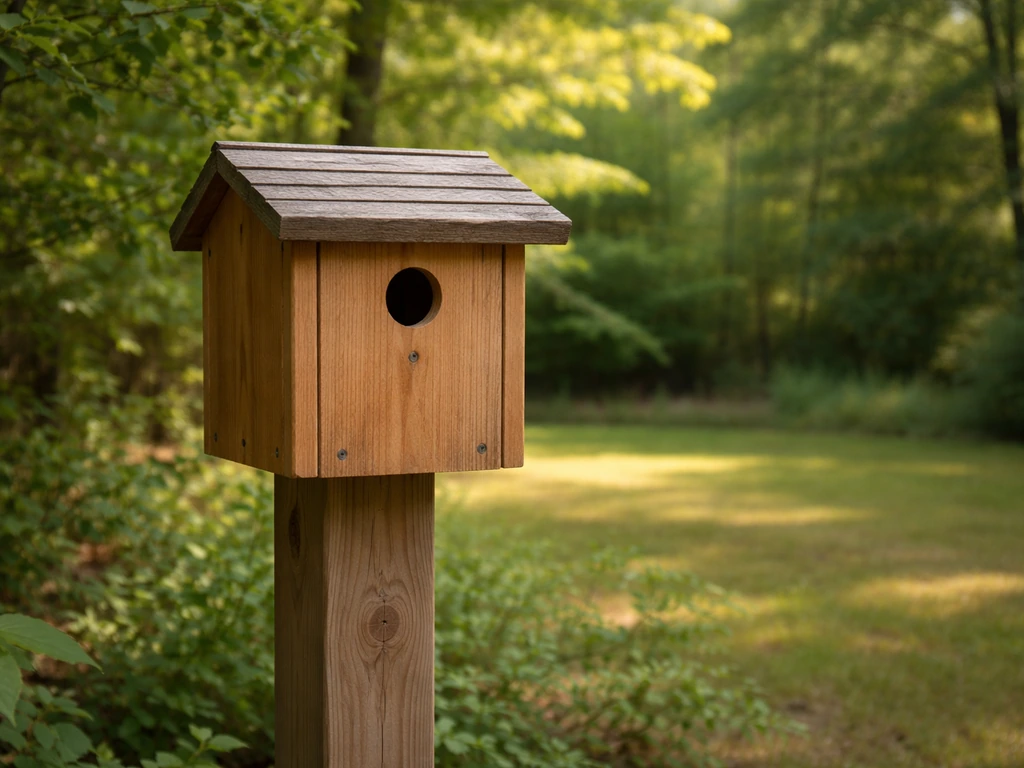
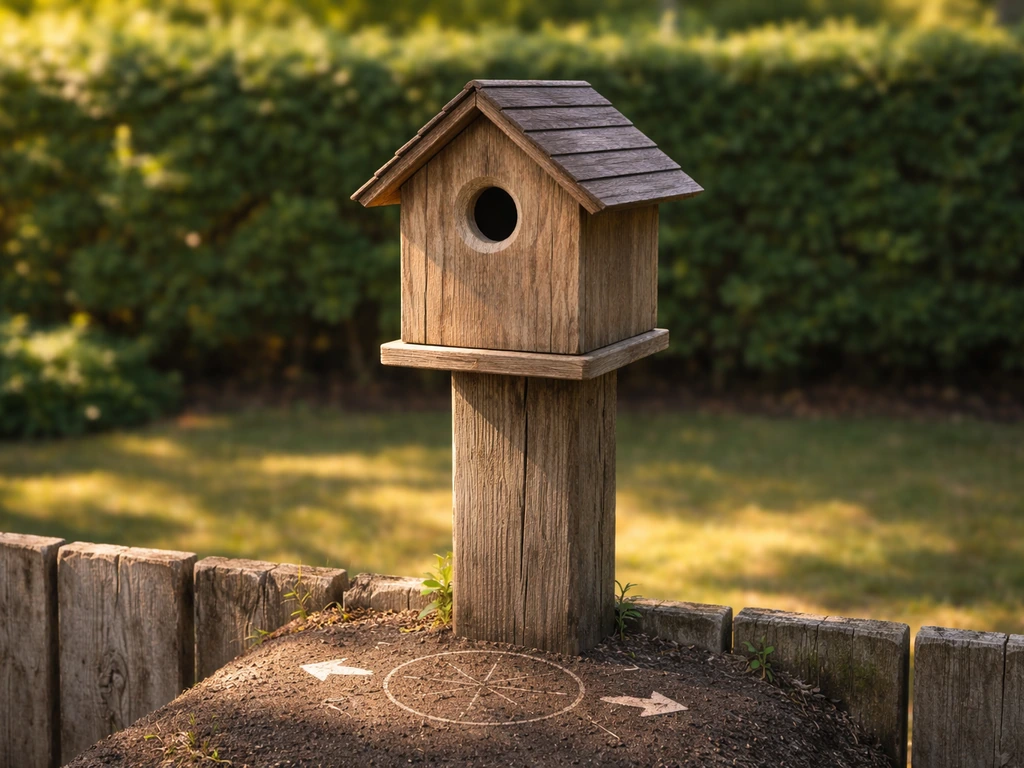
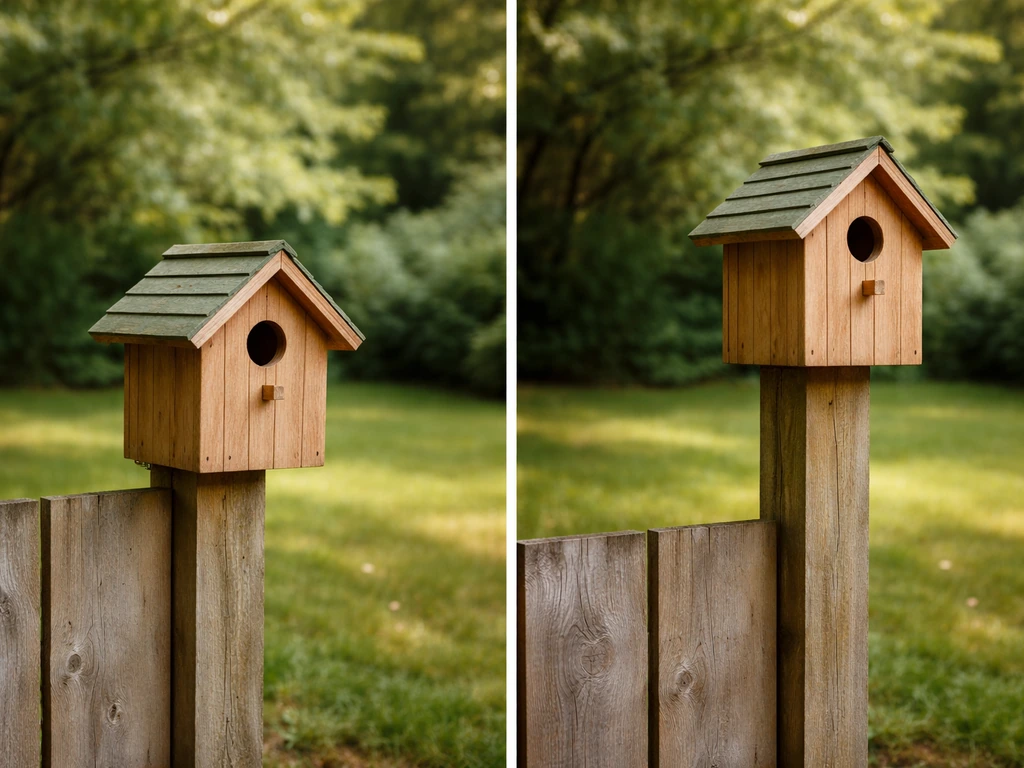
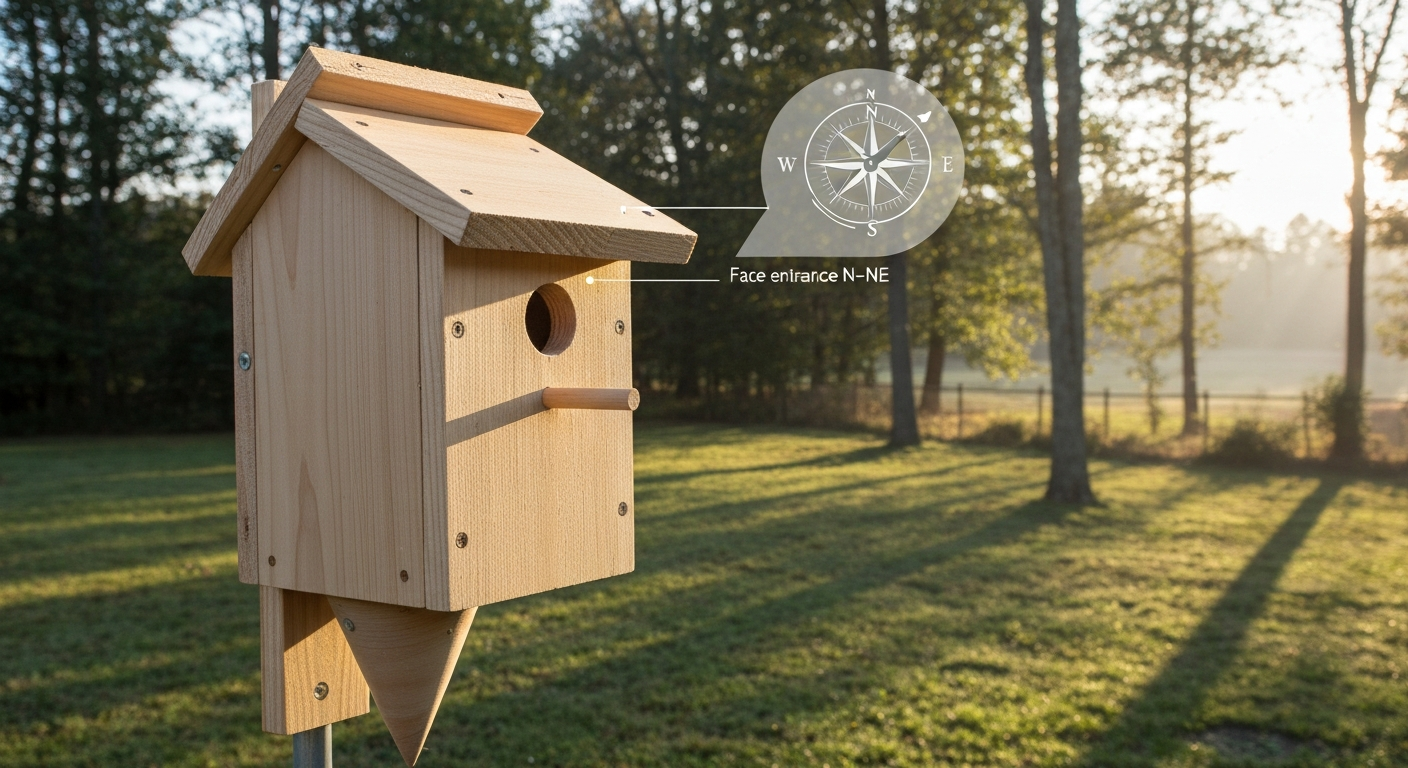
Face your bird house entrance between north and northeast in most of North America and temperate Europe. That angle gives the box morning sun to warm nestlings after cold nights, while keeping it sheltered from strong afternoon heat, prevailing westerly and southwesterly storms, and driving rain. If you know your local prevailing wind direction, point the entrance roughly opposite that, no matter what compass reading that produces. That single adjustment does more for nest success than almost any other placement decision you can make.
Bird House Should Face What Direction: Best Compass Orientation

Maya Thompson
23 Jul 2026
Why the direction your bird house faces actually matters
It is tempting to think birds will nest anywhere a box is hung, but orientation measurably changes what happens inside. A 2023 study in the Journal of Field Ornithology confirmed that nest orientation alters the microclimate by several degrees Celsius, depending on the time of day. A south-facing box in full afternoon sun can turn into an oven on a hot July afternoon, while a west-facing box catches the full force of typical North American storm fronts. Research on American Kestrels (Butler et al., 2009) found that box orientation directly affected internal temperature and hatching probability, with southwest-facing boxes performing worst. Tree Swallow studies (Ardia, 2006) showed orientation influences not just temperature but whether birds will select a box in the first place.
Heat is the most immediate risk. Audubon has documented cases where poorly sited boxes, especially dark-colored, thin-walled, or metal-roofed ones in full sun, reach temperatures lethal to nestlings during heat waves. Ventilation holes and thick wood walls help, but no amount of ventilation fully compensates for a box baking in direct western afternoon sun.
Rain and wind matter just as much. Driving rain enters through an entrance facing into the prevailing weather, soaking the nest material and chilling eggs and chicks. In the UK, the Natural History Museum and British Trust for Ornithology specifically recommend a northeast-facing entrance to dodge the dominant southwest wind-and-rain pattern there. The same logic applies anywhere: know your regional prevailing wind and angle the entrance away from it.
Predator access is the third factor. A box facing a fence, tree trunk, or climbing surface puts the entrance hole within easy reach of raccoons, squirrels, and cats. Orientation can reduce that risk by making the approach less convenient, though mounting method matters far more (more on that in the predator-proofing section below).
General placement principles for your backyard
Orientation is one piece of a larger placement puzzle. For a concise guide on where to put bird houses that covers orientation, spacing, and mounting, see where to put bird houses. For species-specific guidance, see our short guide on where to put finch bird house. Even a perfectly north-facing box will go unused if it is placed in the wrong habitat, at the wrong height, or next to a busy feeder. Here are the principles I come back to every time I install a new box. For a concise guide on optimal siting, see bird houses where to put them.
- Match the habitat to the species. A wren box in an open meadow or a bluebird box deep in dense shrubs will rarely attract the intended tenant. Put the box where the bird naturally forages and nests.
- Keep the entrance clear. The bird needs an unobstructed flight path in and out. Prune any branch or stem that touches the box and trim anything within two feet of the entrance.
- Stay away from feeders. High feeder traffic brings competition, disturbance, and predators. Give nest boxes at least 10 to 15 feet of separation from active feeding stations.
- Avoid low-traffic but high-cat-traffic zones. Domestic and feral cats are documented as one of the leading causes of nestling and adult bird mortality in the U.S. Do not mount a box close to vegetation that cats use as cover for ambushing.
- One box per territory for most species. Cavity-nesting birds are territorial about nest sites. Spacing boxes at least 100 to 300 feet apart (depending on species) reduces fighting and abandonment.
- Check the angle once the box is up. A slight downward tilt of 5 to 10 degrees keeps rain from pooling at the entrance and dripping directly onto the nest, without interfering with fledgling exit.
A common mistake I see in backyards is mounting boxes on fence posts right along a property line where neighborhood cats patrol daily. Moving that same box onto a freestanding pole with a baffle, even just 15 feet into the yard, can completely change nesting outcomes.
Species-specific specs: entrance size, height, spacing, and orientation
The right entrance-hole diameter is the single easiest way to target one species and exclude others. A hole drilled to the correct size lets your target bird through while blocking larger, competing species. Use a sharp hole saw or spade bit and measure carefully, an eighth of an inch makes a real difference for smaller cavity nesters. The table below covers the species most commonly attracted to backyard boxes across North America.
| Species | Entrance Hole Diameter | Interior Floor (approx.) | Mounting Height | Box Spacing | Preferred Habitat & Orientation Notes |
|---|---|---|---|---|---|
| House Wren | 1 1/8" to 1 1/4" | 4" x 4" | 5 – 10 ft | 100 – 150 ft apart | Open woodland edges, gardens; face away from prevailing wind; wrens are tolerant of partial shade |
| Carolina Wren | 1 1/2" | 4" x 4" | 5 – 10 ft | 100 ft apart | Dense shrubs, thickets; slightly lower and more sheltered than house wren boxes |
| Black-capped or Carolina Chickadee | 1 1/8" | 4" x 4" | 5 – 15 ft | 200 – 300 ft apart | Woodland edges, near deciduous trees; face NE–N; chickadees prefer partial shade over full sun exposure |
| Eastern Bluebird | 1 1/2" | 5" x 5" | 4 – 6 ft | 300 ft minimum | Open fields with scattered trees; face N or NE; avoid dense woodland; low mounting aids monitoring |
| Tree Swallow | 1 1/2" | 5" x 5" | 4 – 10 ft | 5 – 10 ft (paired), then 300 ft | Open areas near water; face N or E; orientation measurably influences nest-site selection |
| House Finch / Purple Finch | 2" | 6" x 6" | 8 – 12 ft | 100 ft apart | Near shrubs and human structures; face E–NE; provide nearby cover; less particular about orientation than cavity nesters |
| Downy / Hairy Woodpecker | 1 1/4" – 1 1/2" | 4" x 4" – 4" x 5" | 12 – 20 ft | 300 ft apart | Mature trees or wooded edges; face away from afternoon sun; fill box interior with wood chips |
| Purple Martin | 2 1/8" (round) or 6" x 1 3/4" (crescent/SREH) | 6" x 6" per compartment | 15 – 20 ft (colony housing) | At least 40 ft from trees or structures | Open areas with low obstacles and nearby water; face E preferred; colony houses face multiple directions by default |
| American Kestrel | 3" | 8" x 8" | 10 – 30 ft | 0.5 – 1 mile | Open fields, farmland, roadsides; avoid SW-facing (linked to lower hatching success); aim NE–N |
| Barn Owl | 6" x 7" (oval or rectangular) | 10" x 18" minimum | 12 – 18 ft (barn/structure mounting) | 0.5 – 1 mile | Open farmland, meadows; face away from prevailing wind; interior must be dark and cool |
Purple martins deserve special mention because they are a colonial species that relies almost entirely on human-provided housing in the eastern U.S. today. Placement matters enormously: the house or gourd rack needs to be in an open area at least 40 feet from any trees or tall structures, which would otherwise give predators a launch point and block the martins' preferred swooping flight path. For detailed guidance on where to place a purple martin bird house, consult a species-specific placement guide that covers spacing, height, and predator avoidance for colony housing. Raising and lowering systems (telescoping poles) make inspection and cleaning far more practical for colony housing at 15 to 20 feet.
For wrens, chickadees, and finches, consult the species-specific guidance on where to hang wren bird houses, where to hang a chickadee bird house, and where to put a finch bird house for additional habitat detail and regional timing.
How to mount your bird house: four methods with step-by-step instructions
How you mount the box determines both how predator-proof it is and how easy it will be to monitor and clean. I always recommend pole mounting as the default for open-country species like bluebirds and tree swallows because it gives you the clearest shot at adding a baffle. Here is how each method works in practice.
Pole mounting (recommended for most species)
- Drive or set a metal or wooden pole (1-inch to 1.5-inch diameter EMT conduit works well) at least 18 to 24 inches into the ground for stability. Check that it is plumb.
- Slide a cone or stovepipe baffle onto the pole before attaching the box. Position the baffle so its top sits at least 4 feet above the ground.
- Attach the box to the top of the pole using a mounting bracket. Face the entrance hole between north and northeast, adjusting slightly away from your local prevailing wind direction.
- Tilt the box 5 to 10 degrees forward (entrance end slightly downward) to shed rain.
- Confirm the box is at least 5 feet from any fence, shrub, or structure a cat or raccoon could leap from.
Tree mounting
- Choose a living tree with a trunk diameter large enough to hold a screw or lag bolt without structural damage (6 inches or more).
- Use a single lag bolt or a mounting bracket with two short screws to reduce bark damage. Avoid wrapping wire around the trunk.
- Mount the box on the shady side of the trunk when possible — typically the north or northeast side — so the tree provides natural afternoon shade.
- Position the box so no branches are within two feet of the entrance hole above or beside it.
- Note that tree mounting makes adding a baffle difficult. Use an entrance-hole extender (a 1 to 3 inch wooden tunnel glued around the entrance hole) to reduce reach-in predation as a substitute.
Building mounting
- Use exterior-grade lag screws or heavy-duty anchors rated for the wall material. Avoid mounting on south-facing walls, which will overheat the box in summer.
- Aim for a north- or east-facing wall. An east-facing wall gives gentle morning sun and afternoon shade, which suits chickadees, wrens, and finches well.
- Mount the box at least 6 to 8 feet above the ground when on a building wall, and confirm that no downspout, vent, or ledge is within 3 feet that a predator could use as a foothold.
- Check local building codes before permanently fastening hardware to a structure.
Hanging (suspended) boxes
- Use rust-resistant wire or a chain rated for at least 5 pounds. Hang from a horizontal branch or bracket, not from the entrance-hole side of the box.
- Hanging boxes swing in wind, which some birds (particularly wrens) tolerate well, but bluebirds and kestrels strongly prefer stable, fixed mounting. Use hanging only for wren or chickadee boxes.
- Minimize swing by using a short hang length (6 to 12 inches of wire) and positioning the box between two branch attachment points when possible.
- Face the entrance in the prevailing-wind-sheltered direction before you hang it, remembering that a swinging box will rotate — use a rigid spacer or two attachment points to keep orientation consistent.
Predator-proofing: baffles, guards, and smart design
NestWatch data consistently shows that pole-mounted boxes with predator baffles have higher nesting success than boxes without them. The combination of mounting method and physical guard is the most reliable protection you can provide. Here is what I use and why.
Cone and stovepipe baffles
A cone baffle (typically 17 to 18 inches in diameter) or a stovepipe baffle (6-inch diameter, 24-inch-long section of ductwork) mounted on the pole below the box stops climbing mammals. The cone baffle works well in open areas; the stovepipe is especially effective against snakes because they cannot find a grip on the smooth inside surface. Either type should be positioned so the top of the baffle is at least 4 feet above the ground. Grease or axle-grease wraps on poles are not reliable and become hazardous to birds and other wildlife, stick to physical barriers.
Entrance-hole extenders
A 1.5- to 3-inch wooden or metal tunnel attached around the entrance hole blocks raccoons from reaching in to grab eggs or nestlings. Cut a piece of 1-inch-thick hardwood to the same hole diameter as your box, drill the matching hole through it, and glue or screw it flush against the front wall of the box. Metal hole guards serve the same purpose and also prevent squirrels from gnawing the hole larger.
Clearance and siting as predator protection
- Keep boxes at least 10 feet from any structure, tree, or fence that a squirrel or raccoon could jump from onto the box.
- Remove all vegetation that touches the pole or mounting surface — even a vine growing up the pole gives a climbing predator easy access.
- Do not mount boxes directly on trees if squirrel or raccoon pressure is high in your yard; use a freestanding pole with a baffle instead.
- Manage free-roaming cat access near mounted boxes. Research published in Nature Communications (Loss et al.) documents domestic and feral cats as a major source of nestling and adult bird mortality — even a cat that cannot reach the box can disrupt nesting by repeatedly approaching it.
Materials that help
Use untreated, rot-resistant wood, cedar and pine are both good choices. Materials guidance from conservation and extension sources, use untreated, rot-resistant wood (cedar or pine), avoid pressure-treated lumber, and finish only exterior surfaces with water-based, low-VOC products; see Build a duck nest box, Ducks Unlimited / extension-style guidance (materials & finishing) Build a duck nest box — Ducks Unlimited / extension-style guidance (materials & finishing). Avoid pressure-treated lumber, which can off-gas chemicals harmful to nestlings. Paint or stain only the exterior surfaces with a water-based, low-VOC product in a light or natural color to reduce heat absorption. Leave all interior surfaces bare and rough so fledglings can grip the walls and climb out. Avoid metal or thin plastic boxes in climates with hot summers; they overheat rapidly and can be lethal.
Cleaning, sanitation, and knowing when to move or replace a box
An annual cleaning is the minimum. NestWatch recommends cleaning boxes at least once a year, ideally in late autumn or early winter after the nesting season ends and before any species begins prospecting for the following season. If you monitor your boxes regularly and confirm a nest is fully abandoned between broods, cleaning between nesting attempts is beneficial and safe.
Step-by-step cleaning process
- Confirm the box is empty and inactive. Never clean while eggs or nestlings are present.
- Wear gloves and a dust mask — dried fecal matter and parasites in old nests can carry pathogens.
- Remove all old nesting material completely. Bag it and dispose of it, or compost it away from the box area.
- Scrub the interior and exterior with a stiff brush and either boiling water or a dilute bleach solution (approximately 1 part bleach to 9 or 10 parts water).
- Rinse thoroughly with clean water. No bleach residue should remain.
- Let the box dry completely in the open air before closing it up. A damp, closed box encourages mold.
- Inspect and clear the ventilation holes and drainage holes in the floor — these are the first features to clog with debris.
- Reassemble and check that the clean-out panel or hinged wall latches securely to prevent accidental opening by wind or predators.
Access-panel design for easy cleaning
The single feature that makes regular maintenance realistic is a hinged side wall or a hinged roof. A pivot nail at the top of one side panel and a simple bent-nail latch at the bottom lets you swing the panel open completely in about five seconds. I prefer a hinged side over a hinged roof because it gives better interior access without letting rain in during cleaning. Drill two or three 1/4-inch drainage holes in the floor corners and four ventilation holes just below the roofline, these are not optional extras, they are basic requirements for a safe box.
When to replace or move a box
Replace a box when the wood is soft and crumbling, the floor is rotting, or the entrance hole has been chewed to a larger diameter that attracts unwanted species. Move a box when it has gone unoccupied for two or three full seasons despite being in appropriate habitat, shift it a few feet in orientation or a different spot in the yard. Occasionally a slight change in facing direction or a reduction in nearby human activity is all it takes. If a box has been used by house sparrows or European starlings and you want to discourage that, moving the box and reducing surrounding cover that those species prefer can help redirect occupancy toward your target species.
Regional timing: when to install and what season to watch for
Timing your installation correctly matters as much as direction. Most cavity-nesting species begin prospecting for nest sites weeks before they begin building. For bluebirds in the Southeast, that can mean late January or February. Tree swallows in the northern U.S. and Canada start arriving in late March through April. Purple martins scout colony sites weeks before committing to nest, so having housing ready before the first scouts arrive (late January to February in the deep South, March to April in the northern U.S.) is critical. For year-round residents like chickadees, nuthatches, and Carolina wrens, the box can go up any time of year, late winter is ideal so it is ready well before the breeding season begins. For specific tips on where to hang a chickadee bird house and ideal height, orientation, and habitat, see our detailed where to hang a chickadee bird house guide.
| Region | Install By (approx.) | Key Species Window | Notes |
|---|---|---|---|
| Deep South / Gulf Coast | January – February | Bluebirds Feb–Apr, Purple Martins Jan–Feb | Earliest installation window in North America; martins scout very early |
| Mid-Atlantic / Southeast | Late February – March | Bluebirds Mar–May, Tree Swallows Mar–Apr | Check eBird maps for local first-arrival dates |
| Midwest / Great Plains | March – April | Bluebirds Apr–Jun, Tree Swallows Apr–May | Late frosts possible; use entrance-hole extenders for added protection |
| Northeast / New England | March – April | Tree Swallows Apr–May, Bluebirds Apr–Jun | Boxes in place before April 1 ideal for Tree Swallows |
| Pacific Coast | February – March | Western Bluebirds Mar–May, Violet-green Swallows Mar | Mild winters mean earlier prospecting in coastal areas |
| Mountain West / Rockies | March – May (elevation-dependent) | Mountain Bluebirds Apr–Jun | Higher elevations may push installation into May |
| Canada / Northern tier | April – May | Tree Swallows May–Jun, Purple Martins late Apr–May | Short breeding window; get boxes up as soon as frost risk drops |
| UK / Temperate Europe | Autumn or January–February | Great Tits, Blue Tits, Robins Mar–Jun | Face NE; BTO guidance recommends box up before February |
I recommend checking eBird Status and Trends maps for your specific county before setting a firm installation date. The weekly abundance charts show exactly when your target species typically peaks in your area, which takes the guesswork out of timing.
Installation checklist: before you walk away from the box
Once the box is up, run through this quick checklist before you call it done. I keep a laminated version of this in my tool bag.
- Entrance hole faces between north and northeast, or away from the prevailing local wind direction.
- Box is tilted 5 to 10 degrees forward at the entrance to shed rain.
- Mounting is stable — no wobble, no flex in the pole or bracket.
- Predator baffle is in place on the pole, positioned at least 4 feet above ground.
- No branches, vines, or structures within 10 feet of the box that a predator could use to bypass the baffle.
- Ventilation holes (near roofline) and drainage holes (floor corners) are open and clear.
- Clean-out panel opens and latches correctly.
- Interior surfaces are bare and rough (not painted or varnished).
- Box is at the correct height for the target species.
- Entrance hole diameter matches the target species to within 1/16 of an inch.
Monitoring and simple troubleshooting
Check the box every five to seven days during the active nesting season by briefly opening the clean-out panel and making a quick visual check. Count eggs or note nestling development if you are keeping records (NestWatch has a free citizen-science monitoring program that lets you log this data). Never check when adults are present inside the box, keep visits to under 30 seconds, and do not check in the week before expected fledging.
If the box is repeatedly ignored despite being in appropriate habitat, try these adjustments before assuming the location is wrong. First, recheck orientation, sometimes a box that seemed to face northeast was actually installed facing south-southeast. Second, check whether the habitat has changed: did a bush grow up and block the flight path? Did a neighbor add a cat door? Third, temporarily add a small amount of wood shavings (not sawdust) to the interior to mimic the floor material cavity nesters prefer. If house sparrows claim the box instead of your target species, consult a house sparrow management guide, this is one of the most common frustrations for new bluebird and tree swallow trail operators.
For deeper guidance on choosing the right spot in different backyard habitats, the related topics on where to put bird houses and where to mount a bird house cover habitat matching, clearance requirements, and regional scenarios in more detail.
FAQ
Quick answer: In what compass direction should a bird house face?
For most temperate backyard situations, face the entrance between north and east (NE–N). This gives morning sun for warmth after cold nights while avoiding hot afternoon sun and typical westerly/southwesterly storms. Local prevailing wind, regional climate (hot vs. cool), and species preferences should override the blanket rule—avoid facing the box directly into prevailing strong winds or late-afternoon sun.
Why orientation matters (sun, heat, rain, wind, predators, species behavior)?
Orientation affects nest microclimate (temperature and humidity), exposure to driving rain and wind, and predator access. Morning sun (east) warms nestlings early without the overheating risk of afternoon sun; south- or west-facing boxes can overheat in summer. Facing away from prevailing wind/rain reduces exposure and water intrusion. Positioning also affects predator behavior—placing boxes away from branches that give predators bridge access reduces attacks. Scientific studies show orientation alters nest temperature by several °C and can affect occupancy and hatching success for some species.
Species-specific placement and orientation (wrens, chickadees, finches, purple martins, common cavity-nesters)?
Wrens: entrance facing NE–E; attach to a tree or building 4–10 ft high, 1 1/8" hole, 10–15 ft spacing, sheltered from direct afternoon sun. Chickadees: face NE–E, mount 5–15 ft high on tree or pole, 1 1/8" hole, 50–100 ft between territories when possible. House Finches / Sparrows (some cavity users): face NE or N, 6–12 ft high, 1 1/8"–1 1/4" hole depending on species. Purple Martins: use gourds or multi-compartment martin houses on poles; face entrances NE–E to moderate heat, height 10–15 ft, colony spacing per species-specific guidance (follow martin-group designs). Tree Swallows / Bluebirds: face NE–E to N, mount on pole 4–6 ft (bluebirds) or 6–15 ft (tree swallows), entrance 1 1/2" for bluebirds or 1 1/2" for tree swallows, 50–100 ft spacing for bluebirds. Always check local NestWatch/Cornell or regional guides for exact hole sizes and timing for each species.
Exact mounting options and recommended heights (pole, tree, building, hanging)?
Pole mounting: preferred for predator-proofing and easy cleaning—use a metal or wooden post 8–15 ft tall depending on species. Tree mounting: acceptable if box is secured to trunk with straps/lag screws and placed 5–15 ft high; avoid boxes with easy branch access by predators. Building mounting: mount on eaves or walls 6–12 ft up, sheltered from storms. Hanging: use only for species that use gourds (purple martins) or for short-term placement; hanging boxes are more vulnerable to predators and wind. Height examples: chickadees 5–15 ft, wrens 4–10 ft, bluebirds 4–6 ft, tree swallows 6–15 ft, purple martins 10–15 ft. Adjust to local predator pressure and visibility.
Entrance-hole sizes, spacing, and habitat notes at a glance?
At-a-glance (common values): Chickadees: 1 1/8" hole, 5–15 ft high, suburban/woodland edge, 1 nest per territory. Wrens: 1 1/8" hole, 4–10 ft high, brushy edge. House Finch / House Sparrow (cavity users): 1 1/8"–1 1/4", 6–12 ft, near buildings/trees. Bluebird: 1 1/2" hole, 4–6 ft high, open lawns/fields, 50–100 ft between boxes. Tree Swallow: 1 1/2" hole, 6–15 ft high, near water/open fields. Purple Martin: gourds/multi-compartment, 10–15 ft high, open area, colony spacing per martin plans. These are general starting points—consult local guides for exact sizes and spacing.
Predator-proofing best practices (baffles, guards, safe mounting)?
Mount on a smooth metal pole when possible and add a cone or stovepipe baffle 3–4 ft below the box. Use an entrance-hole guard (metal plate) to prevent tearing by predators and extend the tunnel for added depth. Keep boxes at least 3–4 ft away from branches, railings or structures predators can use as a bridge. For tree mounting, use predator guards (metal bands) and consider mounting on a trunk section without nearby horizontal branches. Reduce ground cover directly below to deter snakes/rodents. Limit access for domestic/feral cats by placing boxes away from heavy human activity where cats hunt, and encourage responsible pet management.