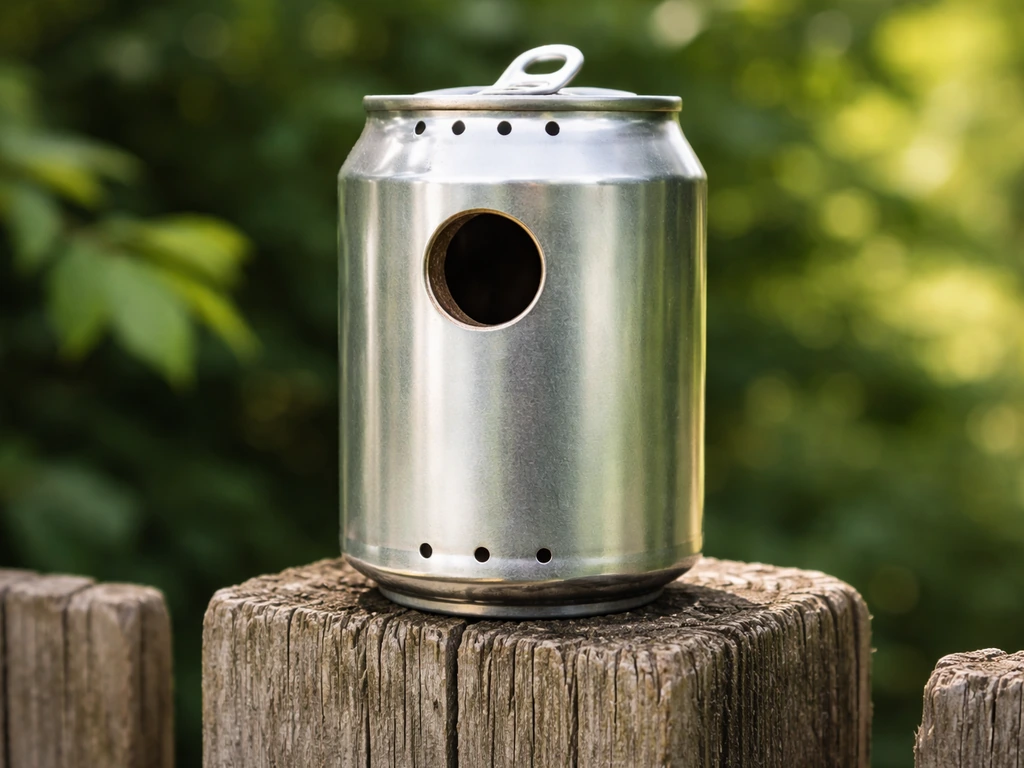
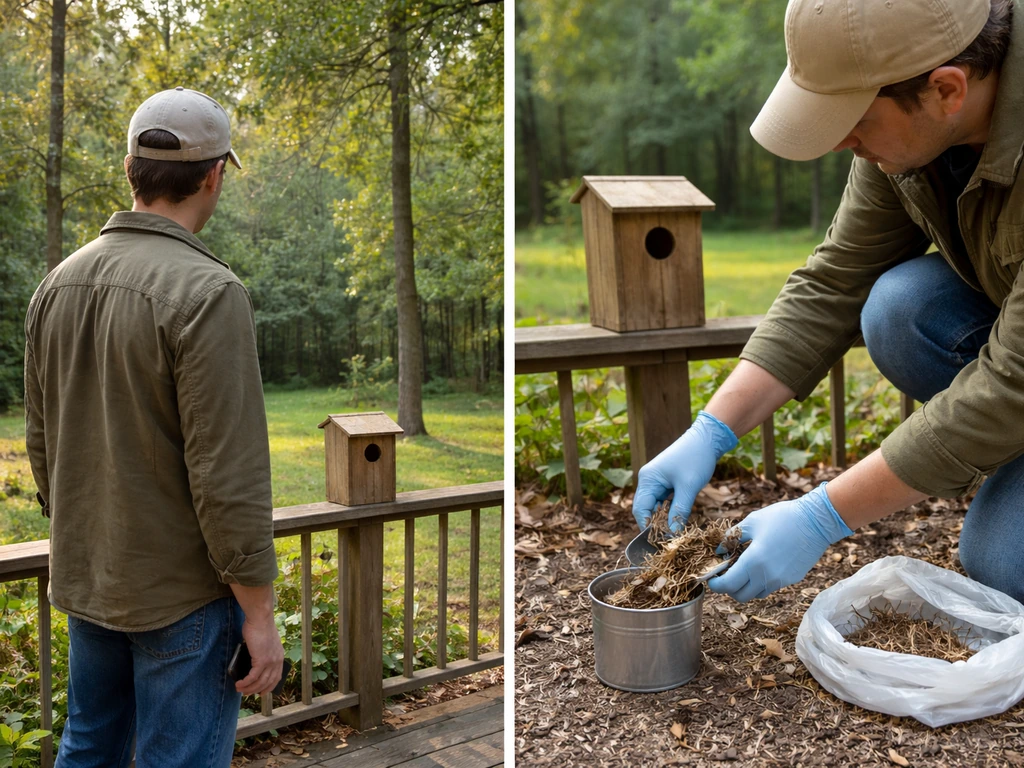
Yes, you can build a functional bird house from a soda can, but with one honest caveat: it works well only for the smallest cavity-nesting birds, and only if you prep the can carefully to remove sharp edges, ensure drainage and ventilation, and mount it correctly. Skip those steps and you end up with a metal trap that overheats, floods, or shreds a bird's feet. Do them right and you have a lightweight, cheap, and surprisingly effective nest box for species like Carolina wrens or house wrens that will happily move into a snug metal cavity.
Soda Can Bird House: Safety, Build Steps, and Setup

Maya Thompson
16 Jun 2026
Is a soda can bird house actually safe and effective?
The biggest concern people raise is heat. A bare aluminum can sitting in full sun can get dangerously hot inside, easily reaching temperatures that kill eggs or nestlings. That's a real problem, but it's solvable: mount the can in a shaded, north- or east-facing spot and add ventilation holes, and interior temperatures stay in a safe range. The second concern is sharp metal edges around the entrance hole, which can cut a bird's feet or breast feathers on every entry. File or sand every cut edge smooth and that risk disappears entirely.
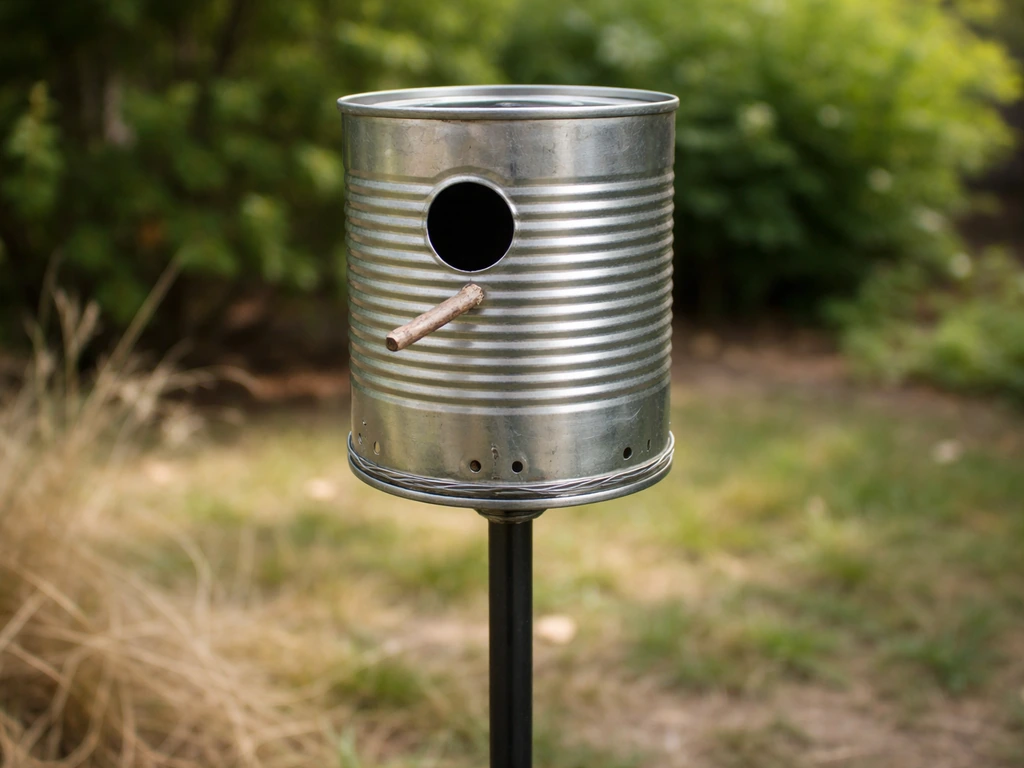
The third concern is the interior lining of the can. Modern aluminum soda cans have a thin polymer lining that is not toxic to birds at ambient temperatures. As long as you're not burning or melting the can, that coating poses no meaningful risk. What you do need to watch for is rust on any steel parts you add (screws, wire mounts), and surface rust on the can itself if you're repurposing an older steel can rather than a standard aluminum one. If you're working with a steel can, check the sibling topic on tin can bird houses for additional rust-specific guidance. If you're curious about cleanup and rust prevention for steel cans, the tin can bird houses guide has extra rust-specific guidance to help you get it right.
Bottom line: a soda can bird house is genuinely safe and effective when built and placed correctly. It is not a gimmick. Wrens in particular are notorious for nesting in any small cavity they find, including tin cans left on a shelf, so you're working with biology here, not against it.
Which birds (and how big) can use a soda-can setup
A standard 12 oz soda can has an interior diameter of roughly 2.5 inches and a depth (floor to ceiling) of about 4.5 inches. That's genuinely small. The species list that fits comfortably is short, but they're birds you actually want in your yard.
| Species | Entrance Hole Needed | Interior Floor Size Needed | Fits 12 oz Can? |
|---|---|---|---|
| House wren | 1 to 1.25 inches | 4 x 4 inches minimum | Yes, with correct hole size |
| Carolina wren | 1.5 inches | 4 x 4 inches minimum | Marginal, better with a larger can |
| Black-capped chickadee | 1.125 inches | 4 x 4 inches minimum | Tight but usable |
| Bewick's wren | 1.25 inches | 4 x 4 inches minimum | Yes |
| Eastern bluebird | 1.5 inches | 5 x 5 inches minimum | No, needs a full-size box |
| Tree swallow | 1.5 inches | 5 x 5 inches minimum | No, needs a full-size box |
| Downy woodpecker | 1.25 inches | 4 x 4 inches minimum | No, needs 8-10 inch depth |
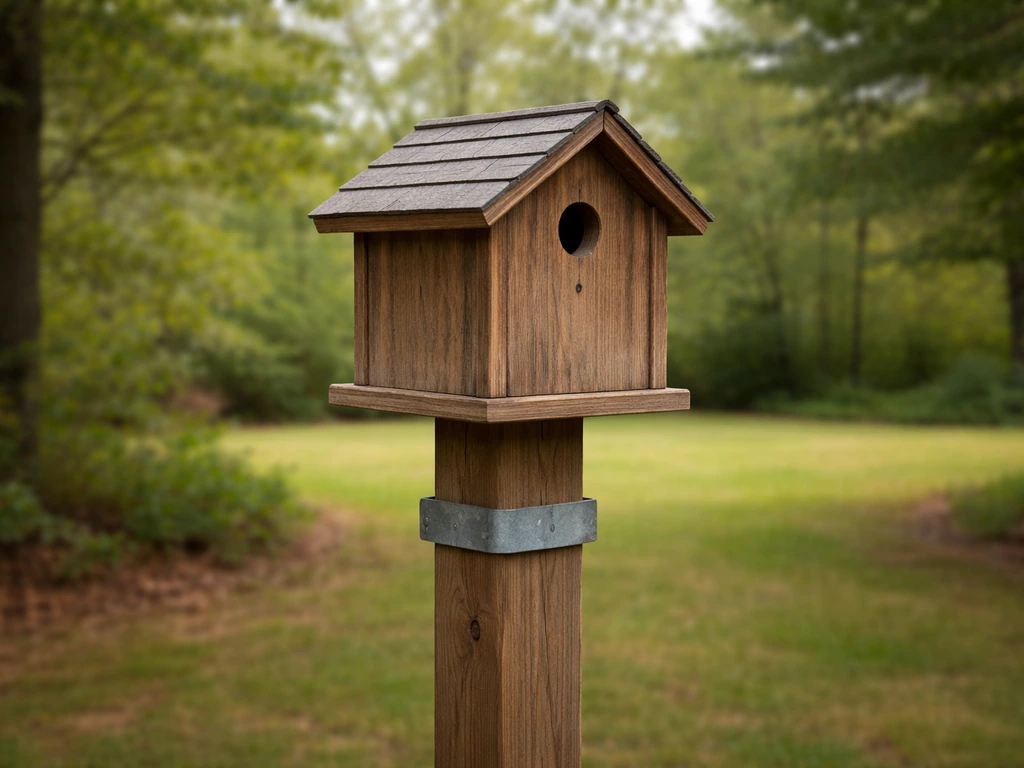
If wrens or chickadees are your target, a 12 oz can works. If you want bluebirds, swallows, or woodpeckers, you need a proper wooden box, and no amount of can-stacking will change that. A larger coffee can (like a 39 oz aluminum can) opens up the species list a bit, which is worth exploring in the coffee can bird houses guide. If you are also interested in plastic coffee can bird houses, the same safety priorities apply, especially keeping the entrance size right and avoiding heat buildup coffee can bird houses guide. If you are considering a larger option, the coffee can bird houses guide helps you size the entrance and ventilation for the bigger cavity. A larger option like a coffee can can also help if you want to attract different cavity-nesting birds, including those mentioned in copper top bird houses. For this project, plan for wrens and chickadees and you won't be disappointed.
Materials and tools: choosing the right can and safe finishes
Picking the right can
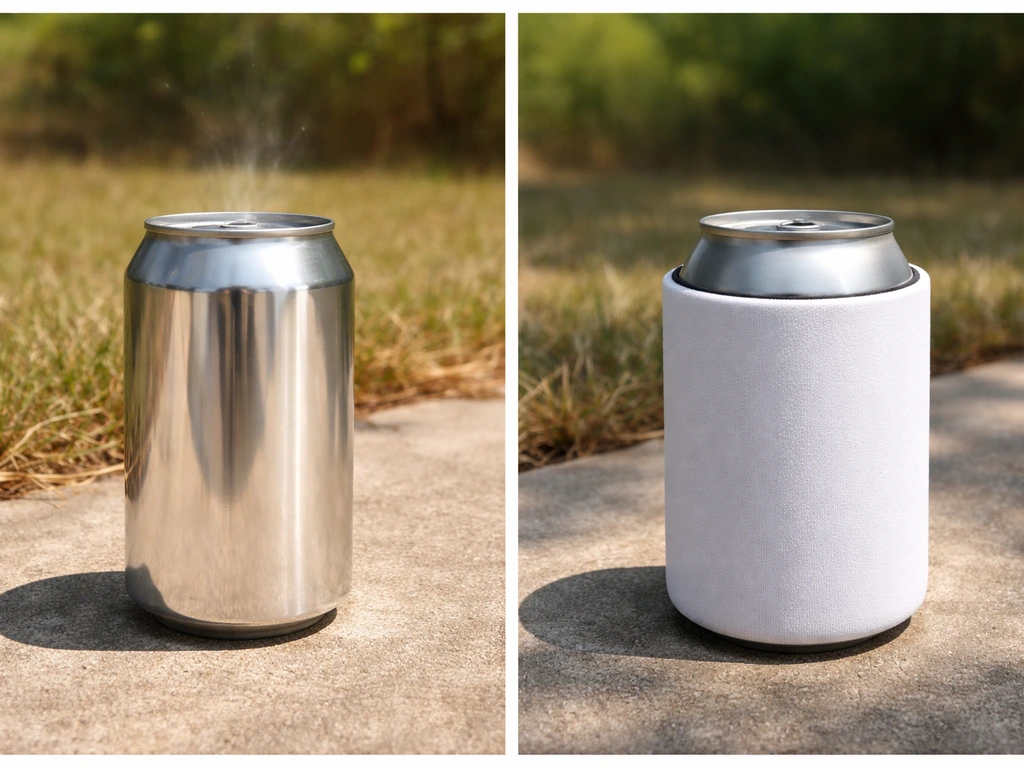
Use a standard 12 oz aluminum soda can for house wrens or a larger 24 oz or 32 oz aluminum can if you're aiming for Carolina wrens or chickadees. Aluminum is the right choice here: it doesn't rust, it's lightweight, and it cuts cleanly. Avoid any can with exterior paint that is flaking, heavily dented in the body (not just cosmetically), or showing white chalky oxidation, which can indicate the protective anodizing has failed. Rinse the can thoroughly before starting.
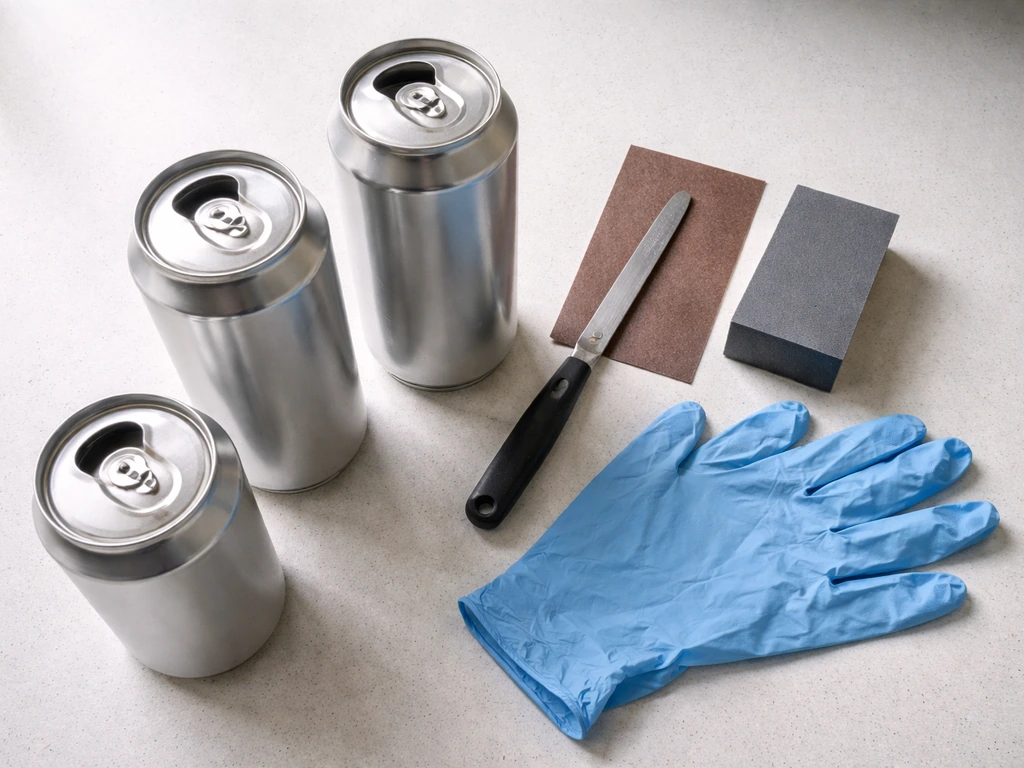
Tools and materials list
- 1 aluminum soda can (12 oz minimum; 24 oz preferred for Carolina wrens)
- Rotary tool (Dremel) with a cutting disc, or a sharp utility knife and small metal snips
- Round metal file or 100-grit sandpaper wrapped around a dowel
- Drill with a 1/8-inch and 1/4-inch bit (for drainage and ventilation holes)
- A hole saw or step drill bit sized to your target entrance hole (1 inch to 1.5 inches)
- Thin wire (16-gauge galvanized) or a hose clamp for mounting
- Optional: waterproof exterior spray paint in a matte earth tone (brown, tan, or olive)
- Safety gloves (cut-resistant) and eye protection
- Ruler and permanent marker
Safe finishes and coatings
If you paint the exterior, use a water-based exterior spray paint with no added fungicides or pesticides, and let it fully cure for at least 48 hours before mounting. Matte earth tones help the box blend into its surroundings and reduce solar heat gain compared to bare shiny aluminum. Never paint the interior of the can. The existing polymer lining is fine as-is, and adding paint to the inside introduces fumes in an enclosed space where young birds will be breathing. Leave the interior alone.
Step-by-step build: entrance size, edges, drainage and ventilation
- Rinse and dry the can completely. Remove the pull tab. Mark the entrance hole position on the side of the can, centered horizontally and placed about 1 inch below the top rim (the closed end that will become the ceiling). This placement maximizes the interior depth below the entrance, giving nesting birds the most usable floor space.
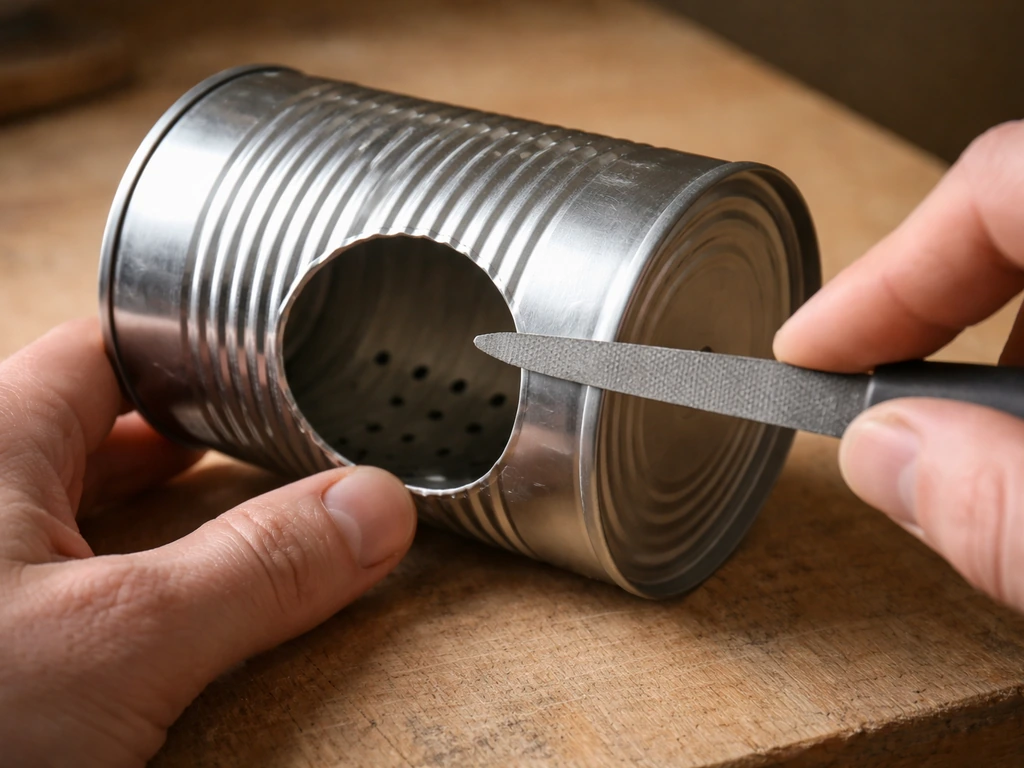
- Cut the entrance hole. For house wrens, cut a 1 to 1.125-inch diameter circle. For Carolina wrens or chickadees, cut 1.25 to 1.5 inches. Use a step drill bit or a rotary tool with a cutting disc. If you only have a utility knife, score the circle multiple times and carefully push the cut piece inward, then snip away the tabs.
- File every edge of the entrance hole until you cannot feel any sharpness when you drag your fingertip lightly around the rim. This is the single most important safety step. Spend 5 minutes here. A burr you miss now will injure the bird on every entry and exit for months.
- Add ventilation holes. Just below the top rim (the ceiling end), drill or punch 4 to 6 holes of about 1/4 inch each, spaced evenly around the circumference. These let hot air escape. Without them, the interior temperature on a sunny day can exceed 110°F, which is fatal to eggs and nestlings.
- Add drainage holes at the bottom of the can. The bottom of the can will become the floor. Drill or punch 4 holes of 1/4 inch each near the outer edge of the base. Water from rain or condensation drains out immediately rather than pooling under the nest.
- Score or roughen the interior wall below the entrance hole. Young birds need grip to climb out when they fledge. Use a file, coarse sandpaper, or the tip of a nail to scratch horizontal grooves into the inside of the can below the entrance opening. Cornell Lab's NestWatch specifically recommends rough interior wall area below the entrance to help nestlings climb out.
- Do not add a perch. A perch below the entrance hole gives predators like jays and starlings a handhold to harass or reach nesting birds. U.S. Fish and Wildlife Service guidance is explicit on this: never put a perch on a nest box. Leave the exterior below the hole bare.
- Attach your mounting hardware. Loop a 16-gauge galvanized wire around the body of the can just below the top rim, twist it tight with pliers, and leave an 8-inch tail on each side for wrapping around a branch or post. Alternatively, use a hose clamp around the can body and thread the mounting wire through the clamp screw housing for a more secure hold.
- Optional: paint the exterior with one or two light coats of matte exterior spray paint in brown or olive. Let it cure fully outdoors for 48 hours before use.
Mounting and placement: height, orientation, and shelter from weather
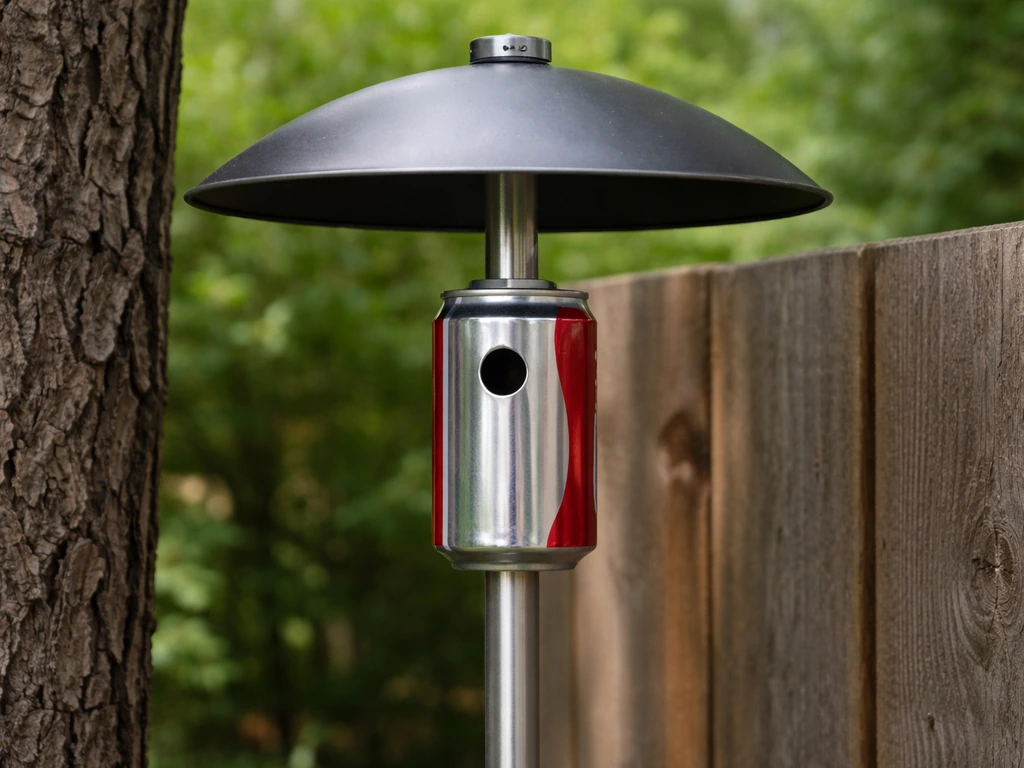
Height matters more than most beginners expect. For house wrens, mount between 5 and 10 feet off the ground. Wrens are not picky, but going lower than 4 feet invites ground predators and foot traffic disturbance. Carolina wrens prefer 5 to 8 feet. Chickadees are comfortable from 5 to 15 feet. If you're attaching to a post, a post-top bird house mounting bracket gives you the cleanest, most stable result, but wrapping wire around a wooden fence post or tree branch works fine for a lightweight can. If you’re planning a post-top bird house setup, use the right bracket and mounting hardware so the can stays stable and correctly oriented.
Orient the entrance hole facing northeast or east whenever possible. This keeps the morning sun warming the box early (which nestlings and parents appreciate) while avoiding the brutal afternoon western sun that superheats metal boxes. If east is not available due to your yard layout, north is the next best choice. South and west-facing entrances should be avoided unless heavy shade covers the box all afternoon.
Mount the can at a slight downward angle, maybe 10 to 15 degrees tilted forward from vertical so the entrance faces slightly downward. This keeps rain from blowing straight into the entrance hole. A piece of thin sheet metal or a wide washer bent over the top of the can as a rain guard is a great addition if your yard gets frequent horizontal rain. Keep the box away from bird feeders by at least 10 to 15 feet, because the constant activity around feeders stresses nesting birds and attracts competitors.
Predator-proofing and bird safety tips
The main predator threats for a soda can bird house are cats, raccoons, rat snakes, and house sparrows or starlings trying to evict smaller birds. The can's small entrance hole is your first line of defense: a correctly sized 1 to 1.125-inch hole physically prevents larger birds and the paws of raccoons from reaching in. But that alone isn't enough.
- Mount on a metal pole with a baffle rather than directly on a tree or wooden fence post when possible. Snakes and raccoons are excellent climbers. A cone-shaped or stovepipe baffle placed 4 feet off the ground on the mounting pole stops both. If you must mount on a tree, position the box out on a branch where a predator would have to hang awkwardly to reach the entrance.
- Keep cats indoors or use a pole-mounted baffle even if your own cats don't roam, because neighboring cats will find the box. A bird fledging from a nest box on a low fence post is easy prey.
- If house sparrows start investigating, remove the nest material they bring in immediately. House sparrows are not native and are not protected under the Migratory Bird Treaty Act. Removing their nesting attempts repeatedly will usually cause them to move on. If house wrens are the issue (they sometimes dummy-nest in every available cavity), leave the house wren nest and wait: they'll choose a favorite and settle in.
- Check the entrance hole diameter before the season. A hole that's even 1/4 inch too wide changes which birds can enter and whether starlings can stick their heads in. A hole saw gives you a precise cut; a utility knife tends to produce slightly irregular holes, so measure with calipers or a drill bit shank after cutting.
- Never place the box near dense shrubs at ground level. Cats ambush from exactly that kind of cover.
Installation, monitoring, and when and how to clean
When to put it up
Put your soda can bird house up at least 2 to 4 weeks before nesting season begins in your region. In most of the continental U.S., that means February or March for early nesters like Carolina wrens, and April for house wrens. Birds scout cavities well before they commit to nesting, so the earlier you have it up, the better your odds of occupancy in the first season.
How to monitor without disturbing
Watch from a distance (10 to 15 feet minimum) for the first signs of interest: a wren perching near the entrance, carrying nesting material, or singing persistently nearby. Once you see nest building, reduce your visits to a quick visual check every few days. Cornell Lab's NestWatch program recommends not opening or handling nest boxes during active breeding. With a can, you'll often hear the nestlings chirping before you see activity, which is a good sign the brood is developing.
Cleaning after the brood fledges
After you confirm the nestlings have fledged (no more chick calls, parents not returning to feed), wait at least one additional week before cleaning. Some species like wrens raise two broods per season, and the parents may return to the same box for a second nesting. NestWatch advises leaving the nesting material in place during the breeding season because parents may raise another brood in the same nest. If the season is clearly over (late summer or early fall), remove the old nest, shake out any debris, and scrub the interior with a solution of 1 part bleach to 10 parts water. NestWatch also says to do this only when there is absolutely no sign of breeding activity, and if you are unsure, wait until another day scrub the interior with a solution of 1 part bleach to 10 parts water. Rinse thoroughly, let it dry completely in the sun for a day, and reinstall. This kills mites and bacteria that could harm the next occupants.
Quick maintenance checklist
- Before the season: check all drainage and ventilation holes are clear (spider webs and debris commonly block them over winter). Re-file any sharp spots that appeared from winter weathering.
- During nesting: observe from a distance every few days. Look for signs of predator damage (scratches around the entrance, dislodged mounting wire).
- After each brood fledges: wait one week, then check for a second brood. Remove old nest only after the season is confirmed over.
- End of season: clean with bleach solution, rinse, dry, and inspect the can for dents that have closed off ventilation holes or compromised the entrance hole size. Replace the can if it's badly deformed.
- Store or reinstall: either leave the cleaned box up year-round (some birds roost in boxes in winter) or store it indoors to extend its life. Aluminum holds up to weather well, but the mounting wire may corrode faster than the can itself.
A soda can bird house is a genuinely worthwhile project, not a craft novelty. It takes about 30 minutes to build, costs almost nothing, and if you place it correctly and keep the entrance hole sized for wrens or chickadees, you have a real shot at occupancy within a season or two. The build steps above are the ones that matter: hole size precision, edge safety, ventilation, drainage, correct mounting height, and a predator baffle. The U.S. Fish and Wildlife Service guidance for nest boxes specifically recommends adding air vents and providing drainage by drilling small holes or cutting away corners in the bottom, and also advises against installing a perch below the entrance hole ventilation and drainage. Get those right and the rest takes care of itself.
FAQ
What entrance hole size should I use for wrens and chickadees, and why does it matter so much?
Aim for a 1 to 1.125 inch entrance for wrens and chickadees. Even small deviations can let larger competitors in (for example, house sparrows) or give raccoons too much reach, so measure the final hole with a caliper or a snug-fitting gauge rather than trusting the tool width.
Can I use a can with the pull tab removed, or should I avoid any modifications to the lid area?
You can remove the tab if it is in the way of your entrance or mounting, but avoid leaving sharp remnant edges around the hole. Smooth and polish any exposed metal, then confirm there is no loose fragment that could fall inside and snag nesting material.
How many ventilation and drainage holes are enough for a soda can bird house?
Use a few small drainage holes at the bottom so water cannot pool, and add several ventilation holes near the upper portion of the can. The goal is airflow without creating a path that allows direct rain to shoot into the entrance, so distribute holes rather than making one large opening.
What if my can has interior scratches or the lining looks damaged?
If the interior polymer lining is torn, peeled, or visibly burned through (common after mishandling or overheating), replace the can. Scratches on the inside typically matter less than lining damage, but damaged lining can increase the chance of unpleasant odors or residue exposure to nestlings.
Can I mount the soda can on a tree trunk instead of a post bracket?
Yes, but use a method that stays secure and keeps the entrance orientation consistent. Avoid direct fasteners that can loosen as the tree moves, and check that the can cannot rotate, because misalignment can increase sun load and rain entry.
Should I add a predator baffle if the entrance hole is already small?
If you have cats, raccoons, or rat snakes in your area, a predator baffle or additional protective setup is still worthwhile. The small entrance blocks claws and paws, but it does not stop predators from grabbing or reaching the can from below, especially if the can is low or mounted on slick surfaces.
Is it okay to put a perch in front of the entrance?
For wrens and chickadees, it is usually better to avoid a traditional perch. Flat metal or a tiny landing ledge that encourages repeated use by larger birds can increase evictions by competitors, so keep the entry area minimal and smooth.
What should I do if I see house sparrows or starlings around the can?
If larger cavity competitors start frequenting the box, verify your entrance size and make sure there are no gaps around the entrance that larger birds can exploit. Also increase distance from bird feeders and reduce attention around the box, since constant human activity can make competitors more bold.
How do I confirm that the birds are nesting successfully without disturbing them?
Watch from at least 10 to 15 feet and look for non-intrusive indicators like repeated carry-in of nesting material, calm persistence at the entrance, and changes in sound. Once nest building begins, avoid touching or opening the can, and rely on visual checks only.
When can I clean out the soda can, and what if there is still active nesting material?
Do not clean during active breeding. After fledging, wait at least about a week, because some species may attempt a second brood and may reuse the same material. Only fully remove and disinfect when the season is clearly over.
Can I use bleach for cleaning if I worry about fumes, especially in small containers?
Yes, but rinse thoroughly and allow the can to dry completely in full sun before re-mounting. Because the can volume is small, any residual odor or moisture can be more noticeable to birds, so make drying a priority and never rehang while it still smells strongly of cleaner.