Yes, a coffee can makes a perfectly functional bird house for small cavity-nesting birds like House Wrens, chickadees, and nuthatches, as long as you handle the metal's quirks: sharp edges, heat buildup, and condensation. A soda can bird house can be a similar option if you use the same safety steps for sharp edges and heat control. Get those three things right and you have a durable, easy-to-clean nest box that costs almost nothing to build. This guide gives you the exact measurements, cutting sequence, and mounting setup to do it correctly the first time.
Coffee Can Bird House Plans and Step-by-Step DIY Guide
Maya Thompson
18 Apr 2026
Choosing a safe coffee can and setup checklist
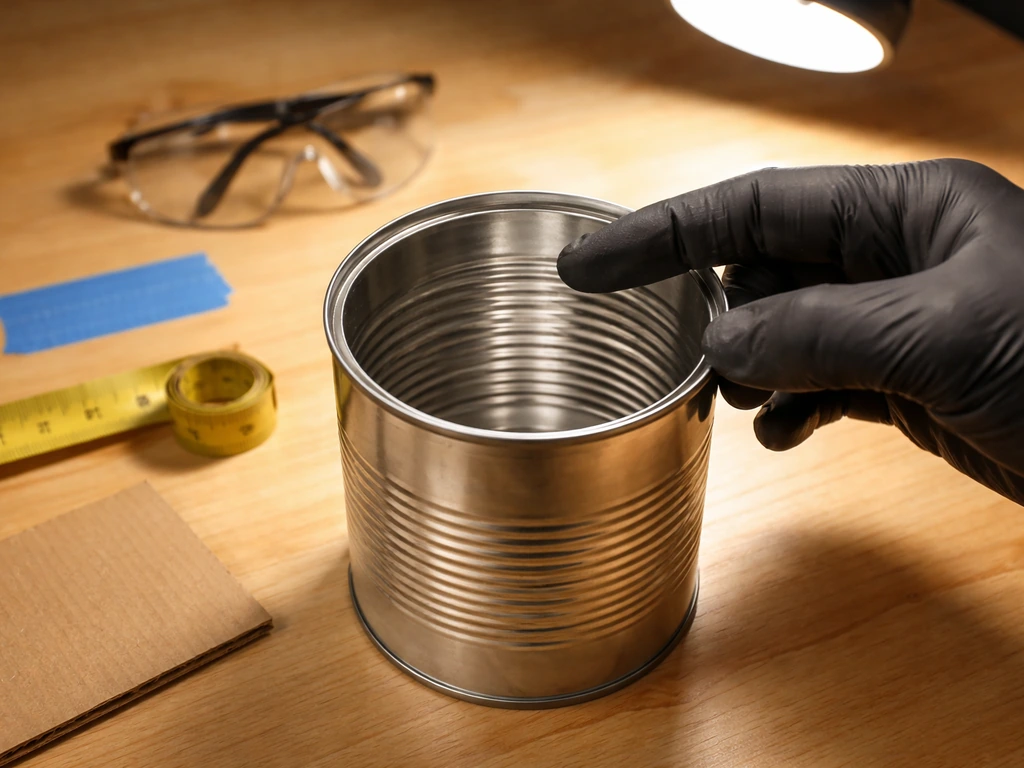
Not every coffee can is the right starting point. The two things that matter most are interior volume and material. A standard 39-ounce (approximately 11-ounce coffee, family-size) steel can typically measures about 6.5 inches tall by 6 inches in diameter, giving you a floor area of roughly 28 square inches. That is a workable cavity for a House Wren or chickadee. Smaller 11-ounce cans are too cramped for most species. Avoid any can with a plastic liner coating on the interior if it cannot be confirmed as food-safe and heat-stable, because chicks will be in direct contact with it for weeks.
Steel cans are preferable to aluminum because they hold up to drilling and cutting without deforming. If you are weighing a tin can versus a coffee can, the main difference is size: a standard tin can is smaller and typically suits only House Wrens, while a larger coffee can opens up options for chickadees and nuthatches. If you are deciding between types of containers for cavity-nesting birds, tin can bird houses offer a straightforward option to build and maintain.
Plastic coffee cans exist and can work too, but they have their own set of considerations around UV degradation and heat distortion. If you already have a plastic coffee can, use extra care with heat and UV protection so it stays safe for nesting birds plastic coffee can bird houses. The metal can is the most durable and easiest to sanitize each season.
Before you cut anything, run through this checklist to confirm your can and workspace are ready:
- Can is steel (not aluminum foil-lined), clean, and dry with no sharp internal seams near the open end
- Lid is set aside or discarded — the solid metal bottom will become the floor of the box
- You have a center punch or awl, a drill with metal-rated bits (3/8", 1/2", and 1 1/8" to 1 1/2" hole saw or step bit), and metal files or sandpaper (80-grit minimum)
- Safety glasses and work gloves are on hand for all cutting and drilling steps
- You have a wood or plywood disc cut to match the can's open-end diameter (this becomes a removable front panel that carries the entrance hole)
- You have a mounting solution ready: a metal fence post, PVC pipe, or wooden post, plus a predator baffle
- Your chosen species entrance-hole diameter is confirmed before drilling (see the dimensions section below)
Layout and measurements for the entrance, ventilation, and drainage
Getting these three measurements right is the most important technical step in the whole build. Entrance hole size is not flexible: a hole that is even 1/8 inch too large can allow House Sparrows or European Starlings to take over a box intended for smaller birds. A key factor for nest boxes is the entrance-hole diameter, because it strongly influences which bird species can use them blank" rel="noopener noreferrer">Entrance hole size.
| Species | Entrance Hole Diameter | Entrance Height Above Floor | Recommended Box Height (off ground) |
|---|---|---|---|
| House Wren | 1 1/8" | 4–6" | 5–10 ft |
| Black-capped / Carolina Chickadee | 1 1/8" | 6" | 5–15 ft |
| White-breasted Nuthatch | 1 1/4"–1 3/8" | 6" | 5–20 ft |
| Chestnut-backed Chickadee | 1 1/8" | 6" | 5–15 ft |
| Eastern Bluebird (minimum can size required) | 1 1/2" round | 6" | 4–6 ft |
Eastern Bluebirds are included in the table for reference, but a standard coffee can is really at the lower limit of what bluebirds need. Their preferred floor size is 5 by 5 inches and the cavity should be at least 8 inches deep. A large 39-ounce can is marginal at best for bluebirds, so for that species, a dedicated wood box is a better choice.
Ventilation holes
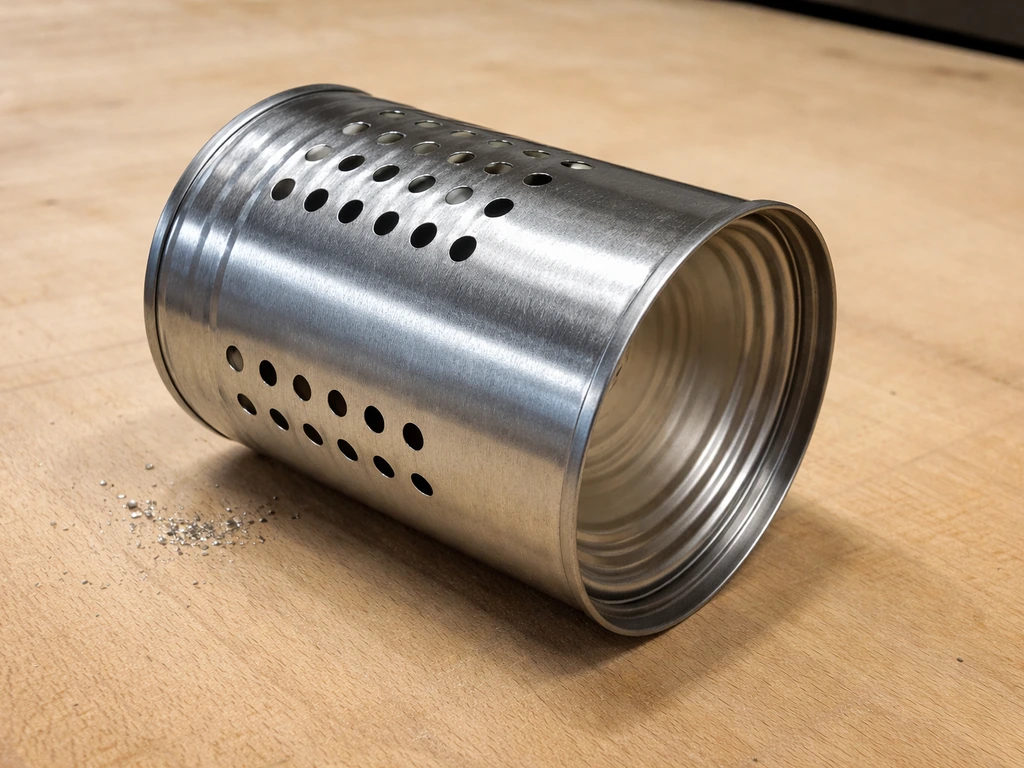
Metal cans do not breathe the way wood does. Wood is porous and naturally allows some moisture and heat to escape through the walls. A steel can traps both, so you must compensate with drilled ventilation holes. Drill at least two 5/8-inch holes near the top of the can on each side (four holes total), positioned about 1/2 inch down from the rim. If you are building a wood front panel, you can also leave a 1/4-inch gap between the top edge of the panel and the rim of the can to act as additional passive venting.
Drainage holes
The solid metal bottom of the can will collect water if any moisture gets in. Drill a minimum of four drainage holes in the floor, each 3/8 to 1/2 inch in diameter, spaced evenly near the corners. If you want extra insurance against waterlogging, you can cut small notches at the corners of a wood floor insert instead of (or in addition to) drilling. Either way, the goal is to make sure standing water cannot pool under the nest.
Step-by-step building instructions
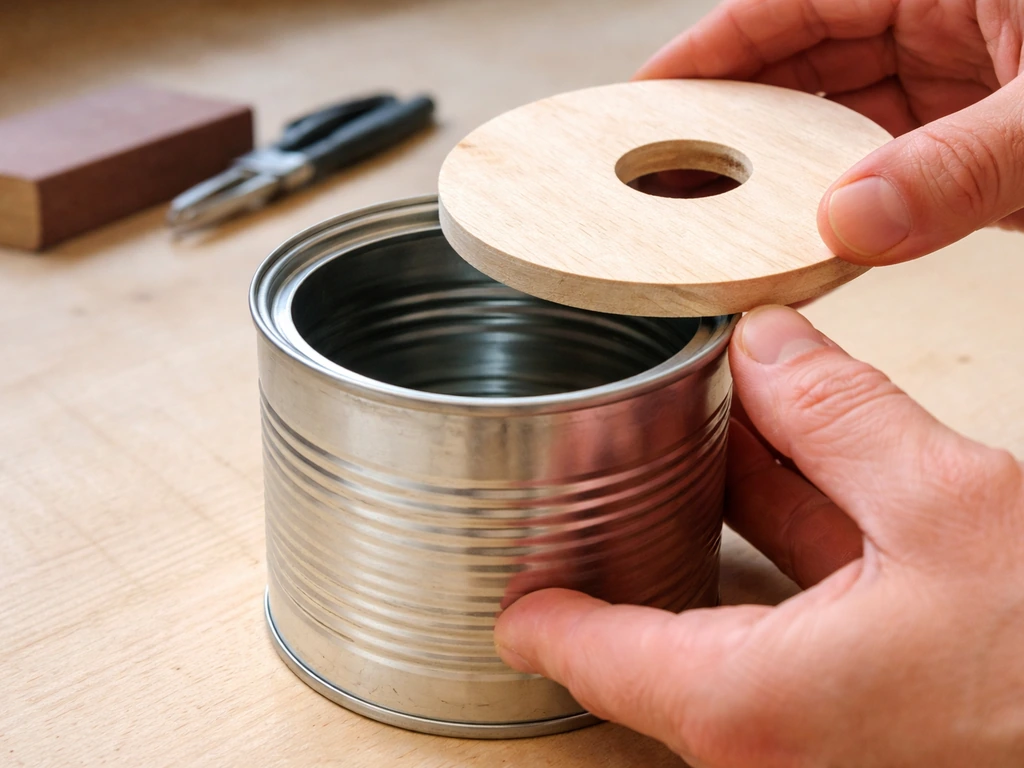
The basic assembly concept: the coffee can body is the nest cavity, a circular wood disc closes the open end and carries the entrance hole, and the solid metal bottom of the can becomes the floor. The wood front panel makes cleaning easy because it can be removed between seasons.
- Clean and dry the can thoroughly. Remove any paper label. Check the interior for sharp seams or ridges near the open end and file them smooth before proceeding.
- Mark your ventilation holes: use a marker to place four dots, two on each side of the can, about 1/2 inch from the open rim end. Each dot should be centered side-to-side on the can wall.
- Center-punch each ventilation dot and each drainage location on the floor (the solid metal bottom). The punch prevents your drill bit from wandering on the curved surface.
- Drill the four ventilation holes with a 5/8-inch metal-rated bit. Keep the can clamped or held firmly in a vise — never hold the can freehand while drilling.
- Flip the can and drill four drainage holes in the floor using a 3/8-inch or 1/2-inch metal-rated bit, one near each corner quadrant.
- File all drilled edges inside and out with a metal file, then follow with 80-grit sandpaper. Run your bare finger carefully around every hole edge to check for any remaining burrs. This step is not optional: sharp metal edges injure fledglings and adult birds.
- Cut a circular wood disc (1/2-inch exterior-grade plywood works well) to match the inner diameter of the can's open end. It should fit snugly but be removable for cleaning. Sand all edges smooth.
- Mark the entrance hole center on the wood disc: position it so the hole center sits at least 6 inches above the disc's bottom edge (which will rest at floor level when inserted). This gives the 6-inch entrance-above-floor measurement required by most species.
- Drill the entrance hole using a hole saw or step bit at the correct diameter for your target species (see the table above). Clean up the cut edge with sandpaper so there are no splinters at the entry point.
- Drill a pilot hole through the top edge of the wood disc and through the can wall to accept a single 1/4-inch bolt or screw that holds the disc in place but allows removal. A wing nut on the bolt lets you open the box without tools for cleaning.
- Test-fit the wood disc, confirm it sits flush, and check that the entrance hole aligns roughly center-width on the can. The disc should not rattle or gap.
Finishing and safety: coatings, heat control, and edge protection
A bare steel can sitting in full sun can heat up to dangerous temperatures inside. In hot climates especially, a box that overheats will cause nest failure. The best defense is a combination of exterior coating and placement (more on placement below). If you choose to paint the outside of the can, use only a zero-VOC or low-VOC exterior latex paint in a light or medium earth tone: tan, gray, or olive green.
Never paint the interior of the box, and never apply paint around or inside the entrance hole. Paint fumes can persist for months even in low-VOC formulas, so the ideal timing is to paint in fall and allow the can to air out through winter before birds begin nesting in spring.
If you prefer to skip paint entirely, wrapping the exterior with a layer of natural burlap or jute twine secured with outdoor-rated glue provides both insulation and camouflage. Another option is to mount the can in a shaded spot by default (north or east-facing entrance, under a tree canopy), which handles most of the heat problem without any coating at all.
Edge protection is the one finishing step beginners most often skip, and it matters a great deal. After all drilling and filing is done, run a bead of plumber's epoxy putty or a wrap of self-amalgamating tape around the inside rim of the entrance hole on the wood panel. This creates a smooth, rounded lip that protects birds entering and exiting the hole. Check every drilled hole on the can walls and floor one more time by feel before mounting.
Condensation is a secondary concern. Because metal does not absorb moisture, the inside walls can develop condensation on cool mornings. Adding a 1/2-inch layer of clean, dry wood shavings (not sawdust) to the floor before the nesting season begins gives birds a dry base to build on and absorbs minor condensation. Do not use cedar shavings, which have oils that can irritate nestlings.
Mounting and placement for backyard success
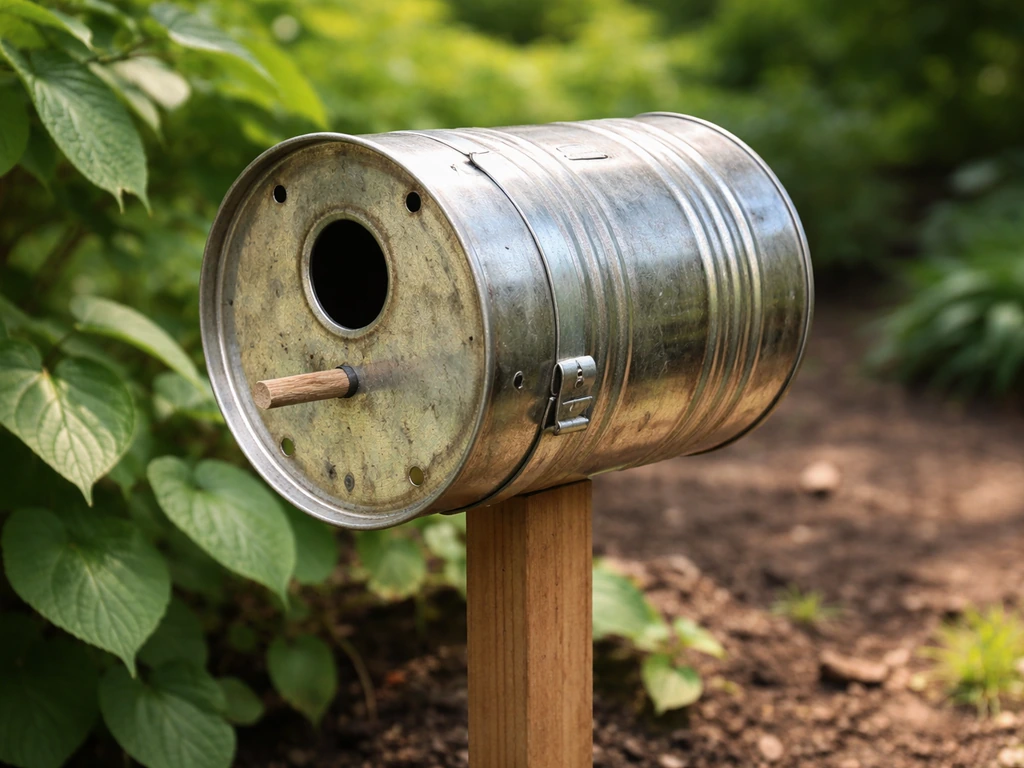
A free-standing metal pole or PVC pipe is the best mounting option for a coffee-can bird house. Wood posts work, but a smooth metal or PVC pole is far harder for predators to climb. Mount the can horizontally (on its side, entrance hole facing out) or vertically with the entrance hole in the wood front panel: both orientations work, but vertical mounting with the wood front disc tends to be more stable and easier to secure to a pole.
To attach the can to a pole, drill two holes through the bottom of the can (the metal floor) and use stainless steel bolts to secure a short mounting bracket or pipe flange that slides over the pole. The can should be level or tilted very slightly forward (entrance angled down 5 degrees or so) to encourage water runoff away from the interior.
Height off the ground should match your target species: House Wrens and chickadees are comfortable between 5 and 15 feet. Mount the box at least 5 feet up to keep it out of easy reach of ground predators. Adding a predator baffle (a cone or cylinder of smooth metal or plastic) on the pole below the box is one of the most effective things you can do to protect nesting birds.
Adding predator guards is recommended because boxes mounted on a pole provide an opportunity for more effective predator protection Adding a predator baffle. The U. S.
Fish and Wildlife Service specifically recommends predator guards as a standard part of nest-box setup, and NestWatch echoes this for any box mounted on a freestanding pole.
Face the entrance hole away from prevailing wind and rain. In most of North America that means orienting the hole to the north, east, or northeast. Avoid south and west-facing entrances, which receive the most afternoon sun and heat. Keep the box within 100 feet of shrubs or trees so birds have nearby cover, but clear a small flight path of about 3 to 5 feet directly in front of the entrance so birds can approach and exit easily. If you have another nest box nearby, maintain at least 25 to 30 feet of separation to reduce territorial conflict between pairs of the same species.
Cleaning, maintenance, and when to retire the can
Clean the box only after you are absolutely certain breeding activity has ended for the season. If you are unsure whether a second brood is underway, wait. Disturbing an active nest causes abandonment. Once the season is clearly over (typically late summer into early fall in most regions), remove the wood front disc and take out the old nest completely.
If the nest contains heavy fecal matter or you want to be thorough, wash the interior of the can with a solution of 1 part bleach to 10 parts water. Let it soak for a few minutes, then rinse completely and allow to air-dry fully before reassembling. Do not reinstall the box while any moisture remains inside. For routine cleaning between broods where the box looks relatively clean, a dry brush-out of old nesting material is often sufficient.
Inspect the can annually for rust spots, especially around the drilled holes. Light surface rust can be sanded back and touched up with rust-inhibiting paint on the exterior only. If the can has developed rust through to the interior walls, replace it. Steel cans used outdoors typically last three to five seasons with basic maintenance. The wood front disc may need replacement sooner if it warps or the entrance hole edge degrades. Keep a spare disc cut and ready so you can swap it out between seasons without interrupting your setup.
One final practical note: if you find the coffee-can format limiting (especially if you are trying to attract species that need more interior depth or a larger floor), it is worth comparing this approach against a purpose-built wooden box. The coffee can works best as a starter project or a supplemental box in a yard that already has a main nest box in place.
For species like bluebirds or larger woodpeckers, a wooden box with proper dimensions is the right tool. For wrens and chickadees in a backyard setting, a well-built coffee-can box does the job reliably and is easy to clean and replace when the time comes. If you want a different look, copper top bird houses can be a stylish alternative to simple can or wood designs.
A similar style is a post top bird house, which can make mounting and display easier in your backyard.
FAQ
Can coffee can bird houses be placed before nesting season starts, or should I wait until I see birds nearby?
Yes, but timing matters. If you mount the can before birds start scouting, leave it in place and avoid re-cleaning during the season. If you must adjust height or orientation after you see active interest, make changes quickly and minimally, and do not open the box or alter the entrance edge once birds are visiting regularly.
How do I know my drainage and ventilation setup is actually preventing pooling and damp interiors?
After drilling and sealing the entrance lip, a quick weather check helps. If you live in a region with heavy rain or dew, run a small water test on the outside first, then confirm that water drains out through the floor holes and does not remain pooled under the insert for more than a few minutes.
What’s the best way to store and prep my coffee can bird house between seasons?
Winter storage should keep the wood disc and any used interior material protected. Remove the wood front disc at season end, store spare dry shavings in a covered container, and check the entrance opening for burrs before reinstalling. Do not store the can with interior moisture, which can speed up rust around the drilled holes.
Can I keep using a coffee can bird house if it develops rust, and when is replacement necessary?
If you see rust through to the interior wall, replace the can, because corrosion at the nesting surface can create rough spots and may flake into the cavity. If rust is only surface-level, sand and touch up only the exterior, then re-check every hole for sharp edges before the next nesting period.
Is it okay to clean out the box between broods, and how can I tell if it’s safe?
Between broods, you can usually do a light, non-disruptive clean only if there are no signs of active nesting. If eggs, nestlings, or even frequent adult brooding are present, wait. A helpful decision rule is to watch for carry-in of nesting material or direct feeding behavior before you touch anything.
How much wood shavings should I add to prevent condensation without making the nest too deep?
Too much bedding can create a deeper substrate than the birds expect, and it can also hold moisture longer in a metal cavity. If you use a base layer, keep it thin and dry, around what fits as a modest insulation layer, and avoid adding fresh shavings repeatedly once adults start bringing material and nesting.
What materials or finishes are unsafe inside a coffee can bird house?
The simplest safe rule is to avoid any interior contamination. Do not use essential oils, cedar-based products, or scented sealants anywhere inside the cavity. If you want exterior camouflage, keep coatings outside-only and let odors fully dissipate before nesting begins.
What should I do if my entrance hole ended up slightly too large?
If you accidentally oversize the entrance hole, the bird house is no longer reliable for smaller cavity nesters. The practical fix is to create a new entrance panel (wood disc) with the correct hole size, then re-seal any surrounding rim edges so there are no gaps birds can exploit or splinters that can injure nestlings.
How can I mount a coffee can bird house so it stays stable and properly tilted year-round?
You can use a pole, but make sure the mounting hardware is stainless or otherwise weather-rated, and that the can cannot rotate. After installation, try to gently move the can by hand, if it shifts or tilts too much, re-bolt it so the intended slight forward tilt for runoff remains consistent.
What should I consider if birds won’t approach after adding a predator baffle or changing placement?
If you have a high-traffic predator area, a predator baffle is more effective than relying on height alone. Also confirm the box placement includes a clear approach path, because birds abandon if they must repeatedly detour around obstacles. After installing a baffle, monitor for a week, if birds avoid the entrance, adjust only the pole position, not the hole or interior.
My coffee can bird house is built correctly, but no birds are using it. What are the most common overlooked reasons?
If no birds use the box within the first part of the season, check three non-obvious factors: entrance orientation (avoid late-afternoon sun), height, and territorial spacing from other similar boxes. Also confirm the hole edge is smooth, because rough lips can deter entry. If all checks out, patience helps, some yards require a full season before consistent use.
Next Articles
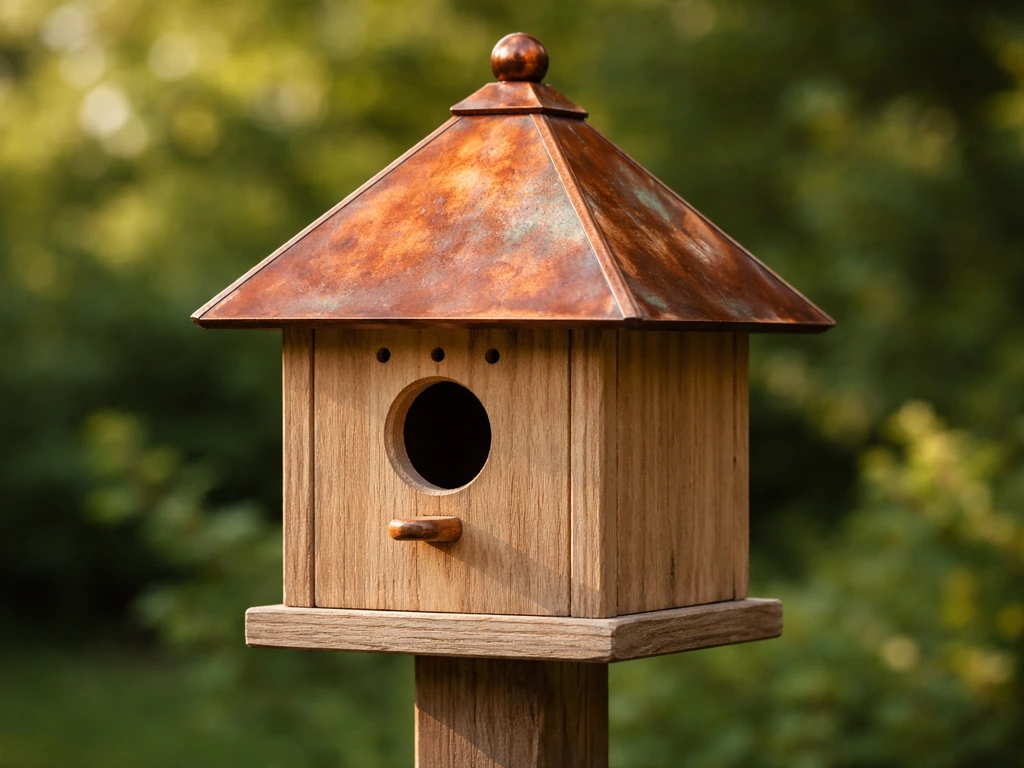
Copper Top Bird Houses Buying and Setup Guide Today
Buy and set up copper top bird houses: size, entrance, ventilation, placement, predator safety, and easy maintenance.
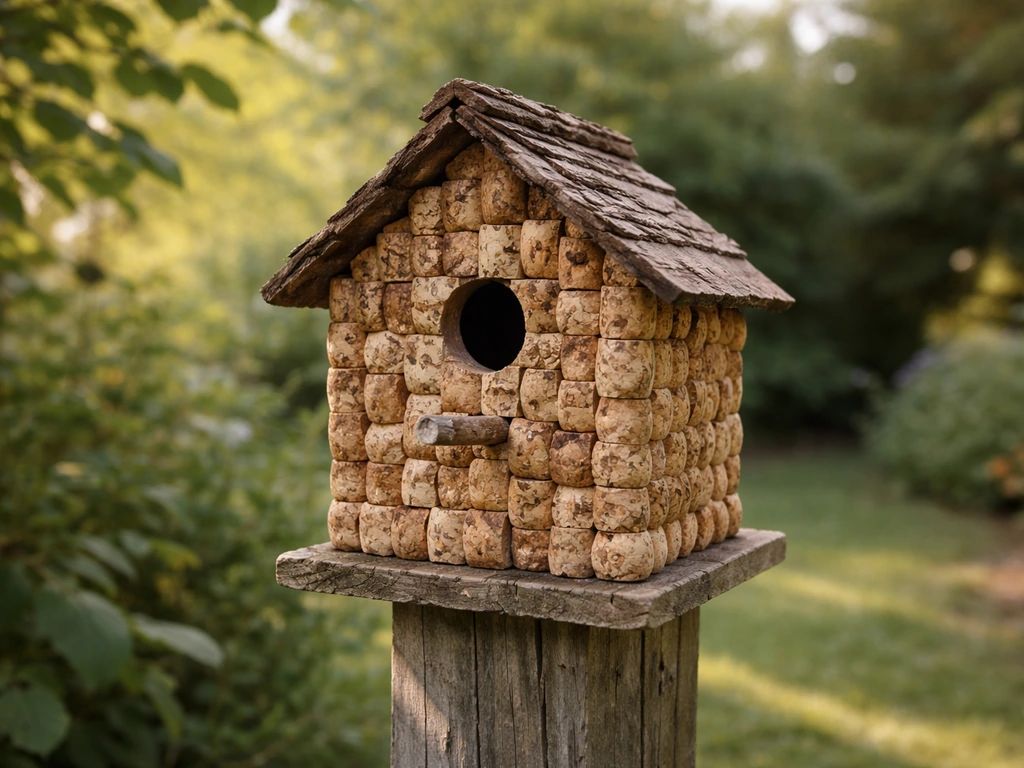
Wine Cork Bird House Instructions: DIY Steps and Bird-Safe Specs
Step-by-step wine cork mini birdhouse build with bird-safe dimensions, safe materials, mounting, cleaning, and weatherpr
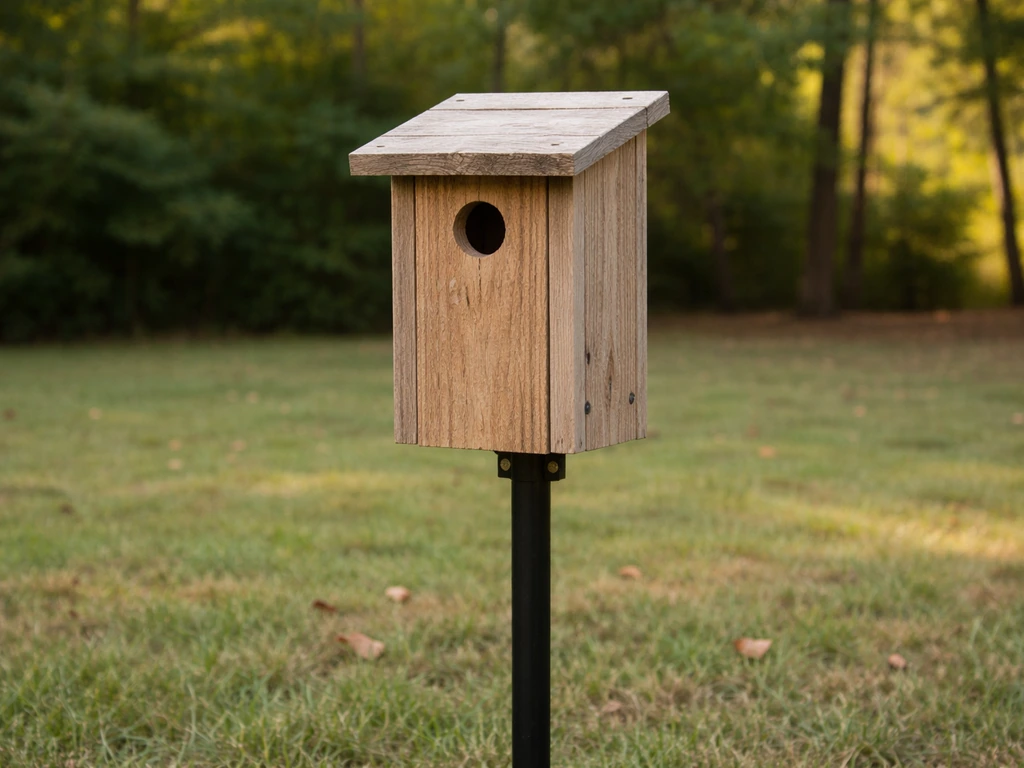
Best Bluebird House Guide: Choose, Build, Install
Pick and install the best bluebird house with species-specific hole size, mounting, predator guards, and safe seasonal c