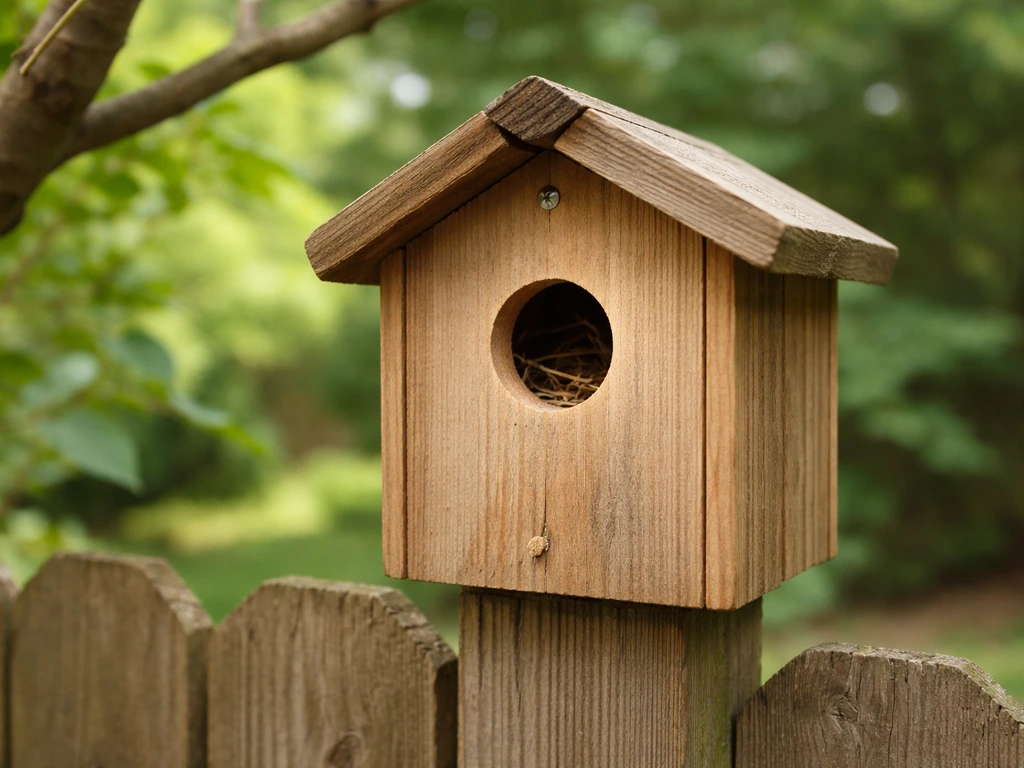
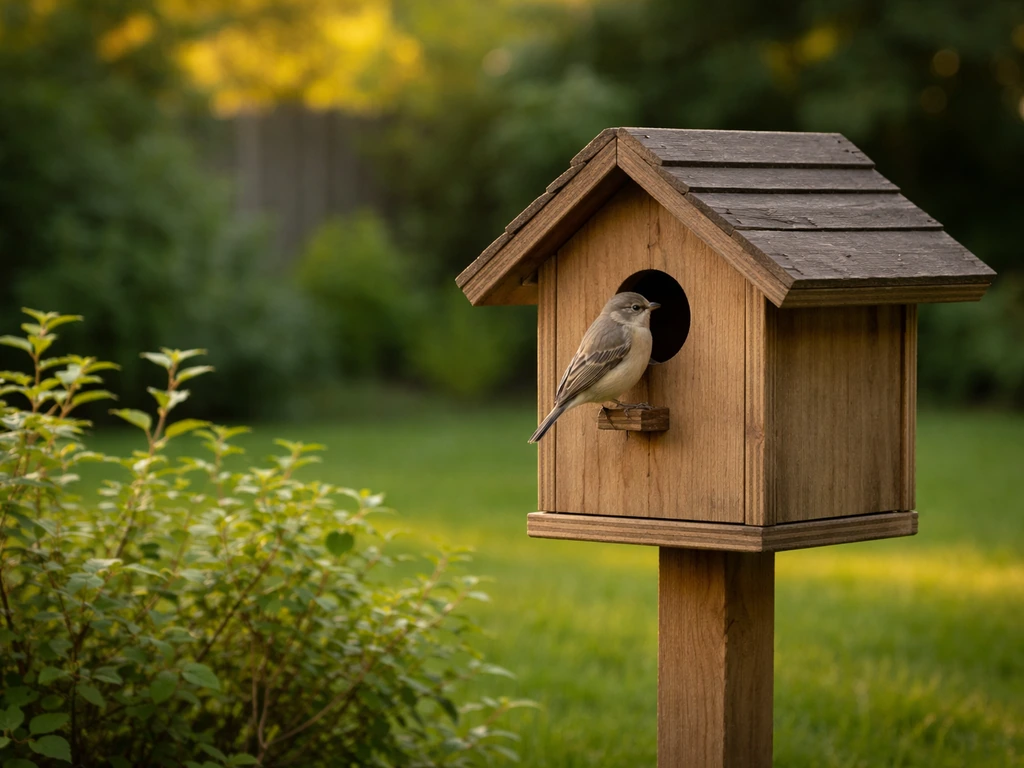
Using a bird house well comes down to four things: matching the box dimensions and entrance hole to your target species, mounting it at the right height in the right habitat, keeping predators off it, and cleaning it out between seasons. Get those four things right and you will almost certainly have nesting birds. Get even one of them wrong and the box sits empty all spring. This guide walks you through every step, from choosing a species and cutting your first board to monitoring a clutch and scrubbing out the box in autumn.
How to Use a Bird House: Step-by-Step Guide for Beginners

Maya Thompson
18 Jul 2026
Start by choosing which bird you want to attract
The single biggest mistake beginners make is buying or building a generic box and hoping something moves in. Cavity-nesting birds are highly selective. They screen entrance-hole diameter, interior floor area, depth, and the surrounding habitat before they even peek inside. Deciding on a target species first lets you tailor every subsequent decision to that bird's real requirements.
Start with what already lives in your area. A bluebird box on a suburban lot surrounded by mature oaks may sit empty while a chickadee box in the same yard fills up in two weeks. Your local Audubon chapter, state ornithological society, or Cornell Lab's eBird database can tell you which cavity nesters are confirmed breeders within a few miles of your address. Narrow your list to species that actually breed near you, then match your yard's habitat to what they need.
Key habitat factors to consider include open lawn or short grass (essential for bluebirds and kestrels foraging), water nearby within 100 yards (Tree Swallows strongly prefer this), mature trees with loose bark or dead snags (chickadees and nuthatches naturally nest in decaying wood), and edge habitat where woods meet meadow (screech-owls and flickers). Nesting seasons also differ: bluebirds begin prospecting as early as February in the southern United States, while House Wrens and Tree Swallows don't arrive in northern states until late April or May. Have your box up and ready at least two to four weeks before your target species typically arrives.
Dimensions and entrance-hole sizes for common backyard species
These numbers are not suggestions. Entrance diameter controls which species can enter and, just as importantly, which dominant competitors and predators you exclude. A hole of 1-1/2 inches or smaller keeps European Starlings out entirely. A hole of 1-1/4 inches or smaller excludes House Sparrows. Precise interior dimensions affect nest microclimate, clutch size, and how well chicks thermoregulate in cold snaps. Recent empirical work shows nest-box entrance size and interior volume influence occupancy, interspecific competition, and fitness outcomes; see Nest‑boxes alter the reproductive ecology of urban cavity‑nesters in a species‑dependent way, Journal of Avian Biology (2022) Nest‑boxes alter the reproductive ecology of urban cavity‑nesters in a species‑dependent way — Journal of Avian Biology (2022). The table below draws on NestWatch (Cornell Lab) standards for North American species and RSPB and BTO guidance for UK/European species.
| Species | Floor (inches) | Interior Depth (inches) | Entrance Diameter (inches) | Mounting Height (feet) | Preferred Facing |
|---|---|---|---|---|---|
| Eastern Bluebird | 5-1/2 × 5-1/2 | 9 | 2-1/4 | 4–6 | East |
| Tree Swallow | 5-1/2 × 5-1/2 | 9 | 1-3/8 | 5–6 | South or East |
| Black-capped Chickadee | 5-1/2 × 5-1/2 | 8 | 1-1/8 | 5–15 | Any, avoid west |
| House Wren | 4 × 4 | 6–8 | 1-1/8 to 1-1/4 | 5–10 | East or South |
| Eastern Screech-Owl | 9-5/8 × 11-1/4 | 17-3/8 | 3 | 10–30 | South or East |
| American Kestrel | 9 × 9 | 12–15 | 3 | 10–30 | Any open field aspect |
| Blue Tit (UK) | 4 × 4 | 8 | 1 (25–26 mm) | 5–15 | North or East |
| Great Tit (UK) | 4 × 4 | 8 | 1-1/8 to 1-1/4 (28–32 mm) | 5–15 | North or East |
| House/Tree Sparrow (UK) | 5 × 5 | 8 | 1-1/4 (32 mm) | 6–15 | North or East |
| Common Starling (UK) | 6 × 6 | 12 | 1-3/4 (45 mm) | 10–25 | Any |
A quick note on tolerances: entrance holes should be accurate to within 1/16 inch. Drill a pilot hole first, then use a sharp spade bit or hole saw. Test the diameter with a simple go/no-go gauge cut from scrap: if your target-size dowel passes through with slight resistance, you are in the right range. Slightly under-size is better than over-size because you can always enlarge; you cannot shrink.
Materials, tools, and a safety checklist before you build
The best nest-box material is untreated, naturally rot-resistant wood cut to at least 3/4-inch wall thickness. Thinner walls lose heat faster, stress chicks in cold snaps, and warp sooner. Cedar, cypress, and pine are the three most common choices. Cedar and cypress resist rot without treatment and are the preferred options. White pine is slightly less durable outdoors but perfectly adequate if you apply two exterior coats of a water-based, low-VOC paint (light gray, tan, or green only on the outside surfaces; never paint the interior or entrance hole). Avoid plywood treated with urea-formaldehyde adhesive, pressure-treated lumber, and any wood stained or sealed with solvent-based products. Fumes from these can harm nestlings in enclosed spaces.
You do not need a workshop full of power tools. The following short list covers every box design in this article.
- Tape measure and pencil
- Hand saw or circular saw (eye and hearing protection required)
- Drill with 3/8-inch and 1/2-inch twist bits for pilot and ventilation holes
- Spade bit or hole saw in your target entrance diameter
- Hammer and 1-1/2-inch and 2-inch galvanized box nails, or a drill driver and 1-5/8-inch galvanized screws (screws are preferable for clean-out panels)
- Coarse rasp or chisel for roughening the interior below the entrance hole
- Sandpaper (80-grit) for smoothing cut edges that birds may contact
- Safety glasses, work gloves
Before you cut anything, run through this short checklist. Check that your wood is dry and flat. Warped boards produce gaps at joints that let in rain and cold air. Confirm your drill bits are sharp: a dull bit tears wood grain at the entrance hole, leaving splinters that can trap feathers. Make sure all hardware you use is galvanized, stainless, or coated steel. Standard bright-finish screws rust quickly outdoors and stain the wood in ways that may deter birds from re-using the box.
Design principles every good nest box shares
Regardless of species, every well-designed nest box addresses the same five structural concerns. Understanding why each feature matters helps you adapt plans when you need to substitute materials or adjust for local conditions.
Ventilation and drainage
Drill four ventilation holes, each 1/4 to 3/8 inch in diameter, near the top of the side walls just below the roof line. These allow hot air to escape on warm days and reduce condensation buildup. For drainage, either drill four 1/4-inch holes through the floor corners, or cut the floor piece 1/4 inch narrower than the interior width so gaps form at the bottom corners when assembled. A recessed floor (set up 1/4 inch from the bottom edges of the side walls) prevents pooling after rain.
Insulation and microclimate
Wall thickness of at least 3/4 inch buffers the interior against temperature swings. For species that begin nesting early, such as bluebirds and chickadees, you can add approximately 1 inch of untreated wood shavings to the floor before the season (not sawdust, which packs and can harbor mold). Screech-owls and kestrels also benefit from 2 to 3 inches of shavings since they do not build their own nest material.
Predator resistance in the design itself
Never add an outside perch below the entrance hole. Perches are not needed by cavity nesters and give House Sparrows and starlings a platform to harass nesting birds. Keep the entrance hole at least 6 inches above the floor so a raccoon or squirrel reaching in cannot touch eggs or chicks. Roughen the interior wall below the entrance with a coarse rasp or saw kerfs cut horizontally every 1/2 inch: this gives fledglings traction to climb out, which is why NestWatch calls it a fledgling ladder. A metal entrance-hole collar (a thin plate with a matching hole, screwed flush over the entrance) prevents squirrels from gnawing the hole larger and giving access to larger predators.
Clean-out access
Build at least one side wall or the roof so it hinges or pivots open without tools. A side panel held by a single pivot screw at the top and a bent-nail latch at the bottom is the simplest approach. You need to inspect the box mid-season and fully clean it at the end of each nesting cycle. A box with no clean-out access is not worth building.
Step-by-step DIY assembly: building a standard bluebird box
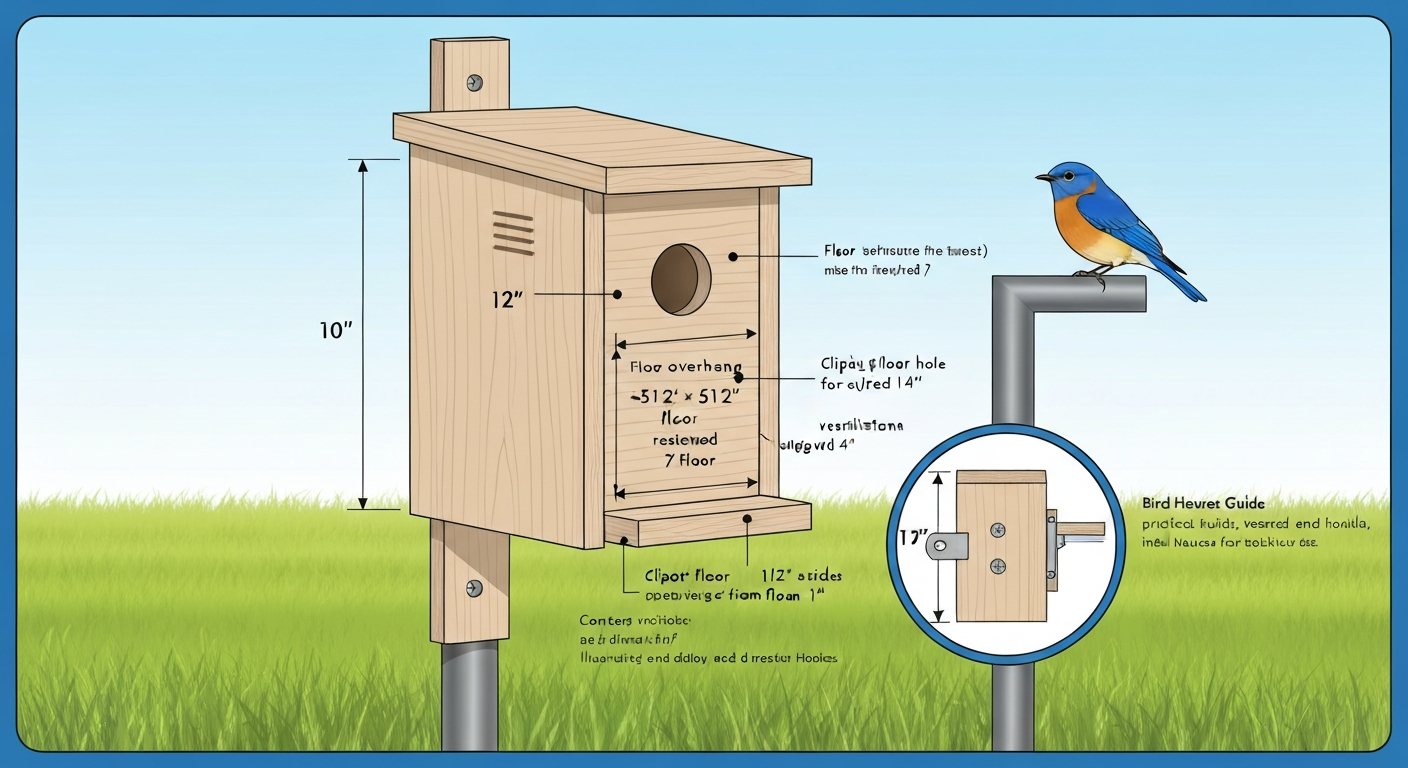
The following instructions produce a box sized for Eastern Bluebirds but suitable with minor adjustments (entrance hole and floor dimensions) for Tree Swallows and chickadees. All measurements use nominal 1x6 pine or cedar (actual thickness 3/4 inch, actual width 5-1/2 inches). Cut all parts before assembly.
Cut list
| Part | Dimensions (inches) | Quantity | Notes |
|---|---|---|---|
| Front panel | 5-1/2 wide × 10 tall | 1 | Entrance hole centered 1-3/4" from top |
| Back panel | 5-1/2 wide × 14 tall | 1 | Extra height for mounting to pole or post |
| Side panels | 5-1/2 wide × 10 tall | 2 | Top cut at 5° angle to match roof slope |
| Floor | 5-1/2 × 5-1/2 | 1 | Corners clipped 3/8" for drainage |
| Roof | 7 wide × 8 deep | 1 | Overhangs front by 2" to shed rain |
Assembly steps
- Lay out and mark all cut lines with pencil and square. Double-check dimensions before cutting.
- Cut all panels to length. Sand all cut edges lightly with 80-grit to remove splinters.
- Drill the entrance hole in the front panel: mark the center 1-3/4 inches down from the top edge, centered on the 5-1/2 inch width. Drill a 1/8-inch pilot hole at the center mark, then cut the entrance with your spade bit or hole saw. Sand the inner edge of the hole smooth.
- Drill ventilation holes: on each side panel, drill two 1/4-inch holes approximately 1 inch down from the top edge, spaced evenly across the width.
- Clip the floor corners: use a saw or chisel to remove a 3/8-inch triangle from each corner. This creates drainage gaps when the floor is installed.
- Roughen the interior of the front panel: use a coarse rasp or make horizontal saw kerfs every 1/2 inch on the inside face, from the floor level up to just below the entrance hole. This is the fledgling ladder.
- Assemble the box: attach one side panel to the back panel with two screws top and bottom, keeping edges flush. Attach the front panel to the other side. Slide the floor into the bottom and secure with screws through the side panels. Attach the remaining side panel, but use only a single pivot screw at the top and a bent-nail latch at the bottom so it swings open for cleaning.
- Attach the roof: center it front-to-back so it overhangs the front by 2 inches, and secure with two screws driven down through the roof into the top edges of the front and back panels.
- Pre-drill all screw holes to prevent splitting, especially near panel ends.
- Do not paint the interior. If you choose to paint the exterior, use two light coats of a water-based exterior paint in a light, natural color. Allow it to dry and off-gas for at least one week outdoors before mounting the box.
Mounting methods for different habitats
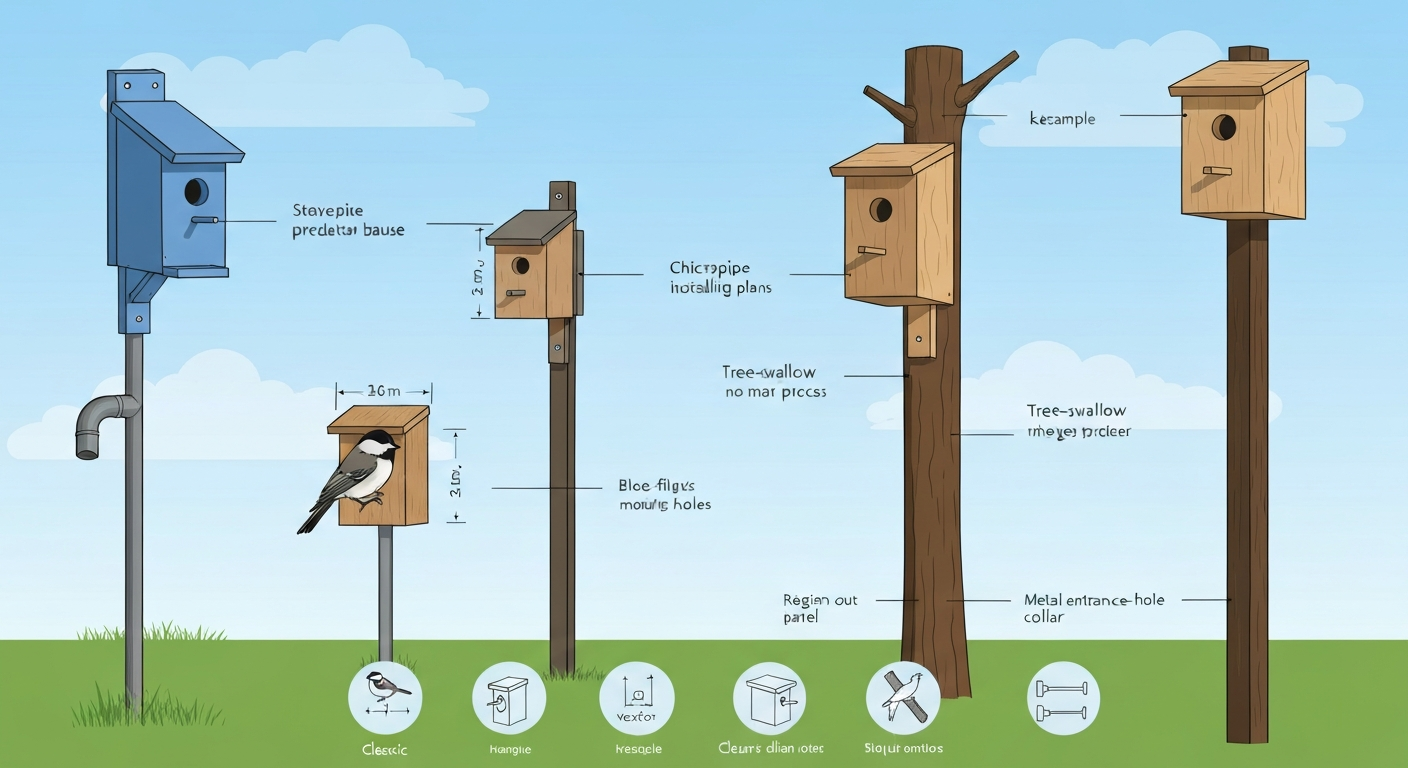
How you mount a nest box is just as important as how you build it. Pole-mounting on a smooth metal conduit with a predator baffle is the most effective setup in almost every situation. Research compiled by NestWatch found boxes with predator guards had an average of 6.7% higher nesting success than unguarded boxes across a large citizen-science dataset. NestWatch analysis found nest boxes with predator guards had, on average, 6.7% higher nesting success than boxes without guards NestWatch analysis found nest boxes with predator guards had, on average, 6.7% higher nesting success than boxes without guards.. That gap widens dramatically in areas with raccoons, rat snakes, or feral cats.
Pole mounting (open field, lawn, meadow)
- Drive a metal conduit or fence T-post at least 18 inches into the ground using a post driver or a few firm mallet strikes. Total above-ground height should put the box entrance at your target height (typically 4 to 6 feet for bluebirds).
- Slide a stovepipe baffle (a 24-inch length of 6-inch diameter stovepipe, capped at the bottom) over the pole before attaching the box. Position the baffle so its bottom sits at least 18 inches above ground and the top is within a few inches of the box floor. Secure it with wire or a hose clamp through a small hole drilled in the pipe.
- Attach the back panel of the box to the top of the pole using a U-bolt or two screws through a pre-drilled mounting hole. The box should be snug and not wobble.
- Check that no vegetation, fences, or overhanging branches are within 10 feet. Climbing predators use these as bridges around baffles.
Tree mounting (woodland edge, orchards)
- Select a living tree with a trunk diameter of at least 6 inches. Avoid trees with heavy ivy or vine cover, which gives snakes and squirrels concealed climbing routes.
- Screw a 1-1/2-inch thick mounting board to the tree using two lag screws. Do not use nails, which damage tree cambium over time.
- Attach the box back panel to the mounting board. Angle the box very slightly forward (about 5 degrees) so rain runs away from the entrance.
- Install a cone baffle below the box: a smooth metal or plastic cone at least 24 inches in diameter, secured to the trunk 18 inches below the box. Without a baffle, tree-mounted boxes are significantly more vulnerable to climbing mammals.
- Note that tree mounting makes installation of a stovepipe baffle impossible; a cone baffle is your best option here.
Building and fence mounting (House Sparrows, swallows, wrens)
- Use a drill and masonry anchors or wood screws appropriate to the surface material.
- Position the box at least 6 feet high and away from heavy human foot traffic. Constant disturbance causes nest abandonment.
- Ensure the eave or overhang above the box provides some rain protection for the entrance.
- Be aware that building-mounted boxes are harder to baffle against climbing predators. A Noel guard (a wire mesh cage surrounding the entrance hole, extending 3 to 4 inches outward) is the most practical deterrent option here: it lets birds pass through but prevents raccoons from reaching in.
High boxes for owls and kestrels
- Screech-owls and kestrels need boxes mounted 10 to 30 feet high. A wooden post set in a ground sleeve, or an existing utility pole with permission, works well.
- Ensure a nearby branch or rough-barked surface is accessible for owlets to climb after they leave the box but before they can fully fly.
- A large cone or stovepipe baffle on the pole below the box is still worthwhile at these heights since rat snakes and raccoons are capable climbers.
Placement, orientation, height, spacing, and timing
Even a well-built, well-mounted box will sit empty if it is pointed the wrong direction or installed after your target species has already committed to a natural cavity. The guidelines below consolidate NestWatch and Audubon recommendations for the species and regions where they are most relevant.
Orientation and shade
Face entrances away from prevailing winds and driving rain. In most of North America, this means facing east or southeast. Avoid facing directly west in hot climates: afternoon sun beating into a dark box can overheat eggs and chicks in July. In the UK, the BTO and RSPB both recommend a north or east-facing entrance for the same reason. In cold northern regions where late-spring cold snaps are common, a slight south-facing aspect gives the interior a thermal boost without causing overheating.
Spacing between boxes
Most cavity nesters are territorial and will not tolerate another pair of the same species nesting too close. Bluebirds require at least 300 feet between boxes. The one accepted exception is the bluebird-swallow pairing: because Tree Swallows and Eastern Bluebirds occupy different foraging niches and are not competing for the same food, you can place a second box 15 to 20 feet away from a bluebird box. The swallow occupies one box, the bluebird the other, and each species defends only its own box. House Wrens, by contrast, can use boxes just 100 feet apart in dense shrubby habitat, but be aware that wrens aggressively evict other species, including bluebirds, from nearby boxes.
Seasonal timing by region
| Species / Region | Install Box By | First Eggs Typical | Notes |
|---|---|---|---|
| Eastern Bluebird, Southeast US | Late January | Late February–March | Can have 2–3 broods; leave box up through August |
| Eastern Bluebird, Northern US / Midwest | Late February–early March | April | Birds arrive as early as March in warm years |
| Tree Swallow, Northern US / Canada | Early April | May–June | Strictly migratory; no need to mount before April |
| Black-capped Chickadee, Northern US | Late March | April–May | Year-round resident; can scout boxes in winter |
| House Wren, Central/Northern US | Late April | May–June | Arrives late; remove competing boxes or nest material if wrens evict bluebirds |
| Eastern Screech-Owl, Eastern US | September–October | March–April | Owls roost in boxes all winter; early fall install is ideal |
| Blue Tit / Great Tit, UK | January–February | April–May | Scout boxes from late winter; must be up before March |
| American Kestrel, Western/Central US | February | March–April | Install near open fields with perch sites available |
A good rule of thumb regardless of species: have the box mounted, baffle in place, and any shavings added at least four weeks before the earliest expected arrival date for your region. Birds often investigate cavities weeks before they begin building. If the box goes up the week eggs are expected, you have almost certainly missed that pair for the year.
Predator-proofing beyond the baffle
The baffle handles climbing mammals. But nest boxes face other threats, and each has a specific, low-cost counter-measure. House Sparrows and European Starlings are the most disruptive non-native competitors across North America. Starlings cannot enter any hole smaller than 1-9/16 inches. House Sparrows are excluded by holes of 1-1/4 inches or smaller. If you are targeting bluebirds with a 2-1/4-inch hole, neither exclusion applies, so active monitoring is your best tool: check the box weekly during the prospecting period and remove any House Sparrow nest material (it is legal to do so in the US for this non-native species) before eggs are laid.
A metal entrance-hole collar, sometimes called an entrance guard or hole restrictor plate, screwed flush over the drilled hole serves two purposes: it prevents squirrels from enlarging the hole, and it makes it physically impossible for a raccoon's paw to get a grip around the edge. These can be cut from 1/16-inch aluminum sheet with a hole saw and are one of the most useful retrofits you can add to any existing box.
For boxes you cannot baffle effectively, such as those on buildings, a Noel guard made from a 4-inch-diameter cylinder of 1/2-inch hardware cloth, about 4 inches long, attached around the entrance hole, prevents a raccoon from reaching through the hole to grab eggs or a brooding adult. The birds pass through the open cylinder without difficulty.
Cleaning, sanitation, and seasonal maintenance
Old nest material harbors blow fly larvae, mites, and other parasites that can infest a new clutch. It also provides a ready-made base for House Sparrows to build on rapidly. Clean the box out after every confirmed fledging event and again before each new nesting season begins. The process takes less than five minutes.
- Wait until you are confident fledging is complete and no birds are present. Open the clean-out panel.
- Wearing gloves, remove all nest material by hand and place it in a sealed bag for the regular trash. Do not compost nest material from boxes that had parasite problems.
- Scrub the interior walls, floor, and entrance area with a stiff brush and a solution of one part household bleach to nine parts water.
- Rinse thoroughly with clean water and leave the clean-out panel open for 24 to 48 hours to allow the box to dry completely before closing.
- Inspect the box for structural damage: loose screws, warped panels, cracked wood, or any enlargement of the entrance hole by squirrel gnawing. Repair or replace damaged parts before the next season.
- In autumn, add fresh wood shavings if the species you are targeting (screech-owls, chickadees) benefits from them, or leave the cleaned box empty and closed until next spring.
Mid-season monitoring is also worth doing, ideally once per week. Open the box gently when the adult is away foraging, take a quick count of eggs or chick condition, and close it again. This takes seconds. If you spot heavy blow fly larvae in the nest cup, you can lift the nest carefully, remove the larvae by hand, and replace the nest. Bluebird parents accept this intervention without abandoning the nest.
Why birds are ignoring your box and how to fix it
An empty box at the end of nesting season is frustrating, but almost every case has a diagnosable cause. Work through this troubleshooting list before assuming your yard simply cannot support birds.
- Wrong habitat: A bluebird box in a dense wooded yard will not attract bluebirds. Move the box to open lawn or field edge with low vegetation nearby for foraging.
- Box installed too late: If it went up after your target species began nesting, they have already chosen a cavity. Install next year's boxes in late winter.
- No predator guard: Birds can sense a vulnerable site. Add a baffle and monitor whether interest increases.
- Interior paint fumes or strong wood preservative odor: Fresh treated lumber off-gasses compounds that deter birds. Use only untreated wood or allow painted boxes to air out for a full week before mounting.
- Competing species occupying the box: House Sparrows or Tree Swallows may have moved in first. Remove non-native species nest material legally and promptly to reset the vacancy signal.
- Entrance hole too large or too small: Confirm the hole matches your target species to within 1/16 inch. A hole slightly too small for a bluebird will be ignored entirely.
- Too much disturbance nearby: Frequent foot traffic, pets, or power equipment within 30 feet causes nest abandonment. Relocate the box or reduce disturbance.
- Box not cleaned from last year: A box packed with old nest material signals occupation to prospecting birds, or worse, repels them with parasite odor. Clean it out every season.
If you have ruled out all the above and still have no occupants after a full spring season, consider whether your target species is genuinely present in breeding numbers nearby. Getting birds to notice and investigate a box in the first place involves a few additional tactics, from pairing boxes and providing nearby water to removing competing House Sparrow nest attempts consistently through the season. For step-by-step attraction techniques, see our guide on how to attract birds to a birdhouse. Those attraction strategies go deeper than a single troubleshooting list, and they connect directly to the broader question of how to get birds to actively use and nest in a box you have set up. See our guide on how to get a bird to use your birdhouse for specific attraction techniques and step‑by‑step strategies. For practical, step-by-step tactics on encouraging birds to inspect and nest in your box, see our guide titled “how to get a bird to nest in birdhouse” (resource d0e167fa-4ca9-453b-a6bc-547c357c673c). For a focused step-by-step guide on practical attraction tactics, see how to get a bird to live in your birdhouse.
A note on monitoring and contributing to conservation
Once you have a nesting box in use, you are holding real data. Cornell Lab's NestWatch program accepts nest-box monitoring records from backyard observers across North America. Entering your weekly observations, egg counts, and fledging dates takes five minutes per visit and contributes to the long-term datasets that inform nest-box design standards, predator-guard research, and regional population trends. It is one of the most direct ways a backyard birdwatcher can support evidence-based conservation, and it costs nothing. Register at NestWatch, follow their brief observer training, and start logging. Your box is not just a house for birds. It is a monitoring station.
FAQ
What core species-specific design data must the article include?
Provide entrance-hole diameter, interior floor dimensions (length × width), box depth, recommended wall thickness, recommended cavity volume where relevant, recommended floor material or bedding (e.g., 1" wood shavings for some species), and recommended mounting height and spacing. Give explicit numeric tables for target species in each region (e.g., Eastern Bluebird, Tree Swallow, Black‑capped Chickadee, Eastern Screech‑Owl, American Kestrel for North America; Blue Tit, Great Tit, House Sparrow, Starling for the UK/Europe). Cite NestWatch (Cornell Lab), RSPB and BTO for standard, region‑specific plans and measurements, and reference peer‑reviewed studies showing entrance/volume effects on occupancy and behaviour (e.g., PubMed 2023 tit study).
Which evidence‑based materials and tools should be recommended and why?
Recommend untreated, exterior‑grade wood (cedar, pine, cypress) of ≥3/4" thickness; avoid pressure‑treated or painted interiors. Include requirements for ventilation and drainage (sizes/locations), roughened interior for fledgling footholds, no external perch, and hinged/latched cleanout panels. List tools (saw, drill with specific‑size bits/hole saws, screws, waterproof wood glue, sandpaper, metal entrance collar options). Support these choices with NestWatch, Audubon DIY plans, and university/extension guidance (e.g., Oklahoma State Univ., Audubon) explaining durability, microclimate control and bird safety.
What predator‑proofing and mounting recommendations are required and which sources back them?
Provide mounting options (metal pole/conduit with baffle, tree mounting where necessary), recommended baffle types (cone, stovepipe, Noel guard), use of metal entrance‑collars and removable hole reducers, and avoidance of tree mounts where climbing predators are common. Quantify benefits (citizen‑science analyses showing ~6.7% higher success with guards). Cite NestWatch (Cornell Lab), California Bluebird Recovery Program, USDA NRCS guidance, and extension/bluebird‑society practices documenting baffle effectiveness and improved nesting success.
What regional and seasonal siting rules are necessary?
Give orientation (e.g., face boxes east/southeast in colder climates to minimize prevailing winds and morning sun), recommended heights and spacing per species and region, habitat context (near open fields, water, hedgerows), and timing rules for installation and cleaning (install before breeding season; clean after fledging and before next season). Use NestWatch species pages, RSPB/BTO UK guidance for hole sizes and heights, and local extension guidance for regionally sensitive timing and predator presence.
What attraction tactics are evidence‑based and should be included?
List non‑commercial, conservation‑minded tactics: install multiple boxes sized for target species; provide natural food sources (native plants, insect habitat), water, and perching/foraging structure; avoid active lures that increase predation (no decoys that attract predators). Recommend monitoring protocols (remote or minimal‑disturbance checks) and pairing box placement with habitat features favored by the species. Support with NestWatch and Audubon practical monitoring and habitat advice; reference literature on nest‑box effects on reproductive ecology to caution about unintended consequences.
What sanitation and maintenance schedules are required and what methods are supported?
Recommend annual cleaning after fledging and before the next season; remove old nest material, inspect for damage, clear drainage/ventilation, replace or repair predator guards, and sanitize with brief drying and, if necessary, a dilute bleach solution followed by thorough rinsing and drying (use local guidance for disinfectant protocols). Include frequency of checks during breeding (minimize disturbance; follow NestWatch monitoring best practices). Cite NestWatch and Audubon guidance and university extension fact sheets.