You can hang a bird house on a tree using a wide strap, a screw-in hook, or a single lag screw with a spacer block, and the whole job takes about 20 minutes with basic tools. The key decisions are height (5–15 feet depending on species), entrance-hole orientation (face east or away from prevailing winds), and a mounting method that holds firm in wind without girdling the tree or inviting predators to climb straight up to the box. After you install your bird house, follow these placement, orientation, and predator-proofing tips to help birds actually move in mounting method. Get those three things right and you'll have a stable, safe house that birds actually use. Follow the steps above to install your bird house safely, then do a quick seasonal check to keep it attractive for nesting birds.
How to Hang a Bird House on a Tree: Secure Steps
Pick the right spot on the tree first
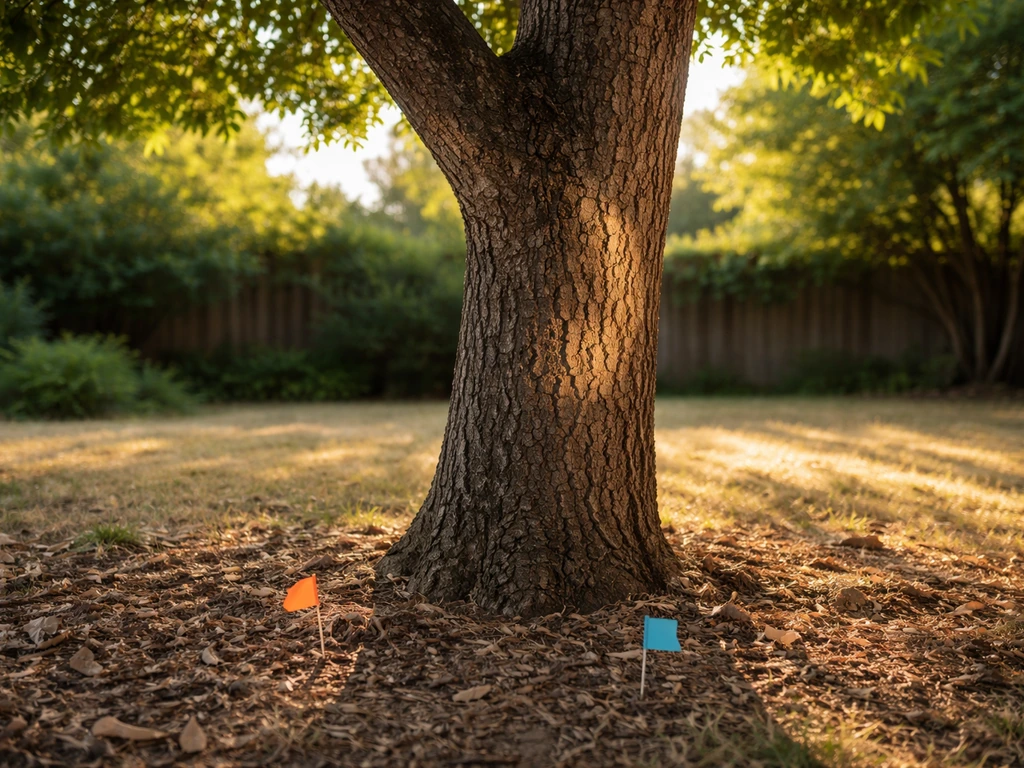
Before you grab a single tool, walk around the tree and think about four things: height, sun exposure, airflow, and sightlines. Most small cavity-nesting birds prefer a house mounted 5–15 feet above ground. Eastern Bluebirds are an exception, they actually prefer lower placement, around 3–6 feet above ground, with the entrance facing open habitat. House Wrens are comfortable at 5–10 feet, and Black-capped Chickadees do well anywhere from 5–15 feet. Going below 5 feet in general increases the chance that cats, raccoons, and other climbing predators can reach the box, so unless bluebirds are specifically your target, stay at 5 feet or higher.
Sun exposure matters more than most beginners expect. Face the entrance east or south whenever possible. An east-facing hole catches warm morning sun, which helps dry out dew and keeps chicks comfortable, while avoiding the hot afternoon sun that can overheat a nest box. If east or south isn't physically possible on your chosen tree, north is better than west. The specific direction you want to avoid is west and northwest, since that's the prevailing storm direction across most of North America. Wind-driven rain straight into the entrance hole is a real problem, and it's easy to avoid just by rotating the box before you mount it.
Look for a spot with some clearance. A branch 10–15 feet above the entrance hole gives fledglings a landing spot when they leave the nest for the first time, which is a genuine safety benefit. Avoid spots directly below heavy drip lines or overhanging branches where predators could drop onto the box. You also want the front of the house to face an open area, a lawn, meadow, or garden, rather than dense shrubs that make it hard for parent birds to spot approaching threats.
Mounting methods for trees: which one to use
There are four practical ways to attach a bird house to a tree. If you need help choosing a mounting approach, follow this guide on how to mount bird house securely and safely attach a bird house to a tree. Each has tradeoffs around tree health, stability, and ease of seasonal removal.
| Method | Best for | Tree damage | Stability | Easy to remove? |
|---|---|---|---|---|
| Wide rubber strap or bungee strap | Smooth-barked or young trees | None — no penetration | Moderate (check tightness seasonally) | Yes, very easy |
| Screw-in hook or bracket | Mature trees with thick bark | Minimal | Good for lighter boxes | Yes, with a wrench |
| Lag screw with spacer block | Heavy or large boxes, permanent installs | Small penetration, tree usually heals | Excellent | Possible but leaves a hole |
| Tree-mounted pole/stand | When you want zero tree contact | None | Excellent (concrete base optional) | Yes, pull the stake |
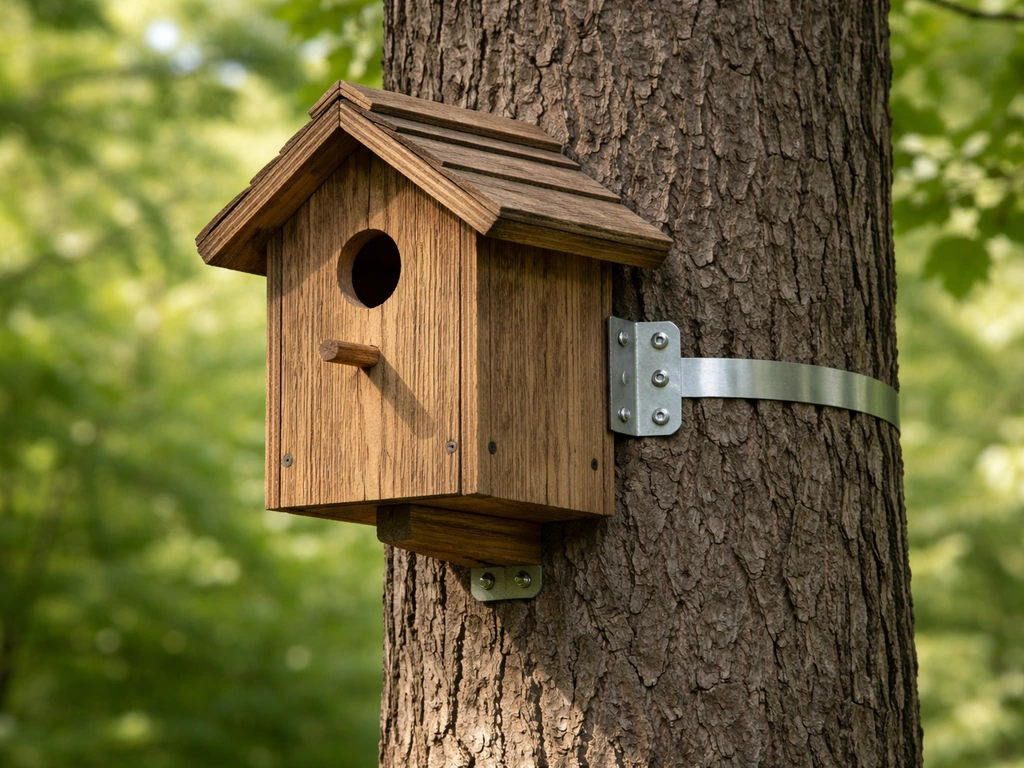
For most backyard setups, a wide nylon or rubber strap (2 inches or wider) looped around the trunk and secured through the mounting board on the back of the house is the gentlest and most flexible option. It does not girdle the tree if you check it annually and loosen it as the tree grows. A screw-in hook works well for lighter houses on mature trees, just make sure the hook is rated for outdoor use and the house's hanger bracket aligns cleanly with it. A single lag screw (3/8-inch diameter, 3 inches long) with a 1–2 inch wooden or plastic spacer block between the box back and the bark gives you the most rigid mount and is a good choice for heavier cedar or wooden boxes. Trees generally seal around a single small fastener just fine, especially on mature hardwoods. If you want to avoid any penetration at all, a freestanding pole with a tree-mount bracket is the cleanest option.
Step-by-step: attaching the bird house
Tools and materials you'll need

- Tape measure and pencil
- Level (a small torpedo level works fine)
- Drill with a 3/8-inch bit (for lag screw method) or a hook-size pilot bit
- Adjustable wrench or socket set
- Ladder (rated for your weight plus the box)
- 2-inch-wide nylon or rubber strap (for strap method)
- 3/8-inch x 3-inch lag screw and a 1–2 inch spacer block (for screw method)
- Screw-in hook with matching bracket (for hook method)
- Exterior wood screws or stainless screws if you're adding a mounting board
The installation process
- Measure your target height from ground level and mark it on the tree with a pencil. For bluebirds, aim for 4–5 feet to the bottom of the box. For wrens and chickadees, 6–10 feet is a solid target.
- Hold the box against the tree at that height with a helper (or prop it temporarily) and use your torpedo level to confirm it's plumb — a slightly forward tilt (5 degrees or so toward the ground) actually helps rain run away from the entrance hole, so don't obsess over perfectly vertical.
- Mark where your fastener will go on the bark. For lag screws, drill a pilot hole just slightly narrower than your lag screw's shank. For hooks, pre-drill a pilot hole 1/8 inch narrower than the hook threads to avoid splitting.
- If using a strap: thread the strap through the mounting holes or around the back mounting board of the box, loop it around the trunk, and cinch it firmly. You should not be able to rotate the box by hand. Trim excess strap and melt the cut end lightly with a lighter to prevent fraying.
- If using a lag screw: slide the spacer block onto the screw, then insert the screw through the pre-drilled hole in the back mounting board and thread it into the pilot hole in the tree. Tighten until snug but not torqued hard — over-tightening can crack the box back panel. The spacer keeps the box back off the bark, allowing airflow and reducing rot.
- If using a hook: thread the hook into the pilot hole until firmly seated. Hang the box's mounting bracket on the hook and check that it can't lift off in strong wind — add a safety wire or second hook point if the box is large.
- Once mounted, stand back and confirm the entrance hole faces your intended direction. Rotate the box on the mount if needed (straps and hooks allow this more easily than lag screws). Check the level one more time from the ground.
Keeping it safe, stable, and kind to the tree

A bird house on a tree faces real weather: wind gusts, ice, heavy rain. A strap that was snug in May can become loose by August after bark expansion, so plan to check tension at least twice a year. For lag-screw mounts, inspect the connection point annually, if the tree has grown bark around the screw head, you can either leave it (the tree is healing around it) or carefully trim the bark back and re-tighten. Never use wire wrapped tightly around a trunk; it will girdle the tree within a few seasons.
The box itself should be made from untreated wood, cedar, pine, or plywood work well. Avoid pressure-treated lumber for nest boxes since the preservatives can off-gas inside an enclosed box. If you've built or bought a cedar box, it's fine to let it weather naturally. If you paint or stain the exterior, use only light, earth-tone colors and never coat the interior or the area around the entrance hole. A roof overhang of at least 2 inches beyond the front face is strongly recommended to shield the entrance from rain and shade the interior in summer.
Species and hole-size guidance for tree placement
The hole size and height aren't arbitrary, they're the two biggest factors in whether your target species actually moves in versus a squirrel or a House Sparrow taking over. Here's a quick reference for the most common backyard cavity nesters you'd hang a house on a tree for.
| Species | Entrance hole diameter | Mounting height | Preferred habitat/orientation |
|---|---|---|---|
| Eastern Bluebird | 1.5 inches | 3–6 feet | Face east or south, toward open lawn or field |
| House Wren | 1.25 inches | 5–10 feet | Near trees or tall shrubs, partial shade okay |
| Black-capped Chickadee | 1.125 inches | 5–15 feet | Face away from prevailing wind, wooded edge |
| Tree Swallow | 1.5 inches | 5–10 feet | Face open area near water if possible |
| Downy Woodpecker | 1.25 inches | 8–20 feet | On trunk or large branch, natural wood color |
The internal floor-to-hole measurement also matters. For most cavity nesters, the entrance hole should sit 6–8 inches above the interior floor of the box. This gives nestlings enough room to develop fully before they can reach the entrance, and it makes it harder for predators to reach in and grab chicks from outside. If you're building your own box, measure this before you mount, it's much easier to adjust on the workbench than on a ladder.
If you're mounting for bluebirds specifically, keep boxes at least 300 feet apart. Bluebirds are territorial and will not nest close together. Wrens are less fussy about spacing but will actually puncture the eggs of other small birds nesting nearby, so think about the species mix in your yard when placing multiple houses.
Predator-proofing after you hang the box
A box on a tree is more accessible to climbing predators than one on a metal pole with a baffle, so you need to compensate with some extra precautions. The most effective additions are a predator guard on the box itself and a baffle or wrap on the trunk below the box.
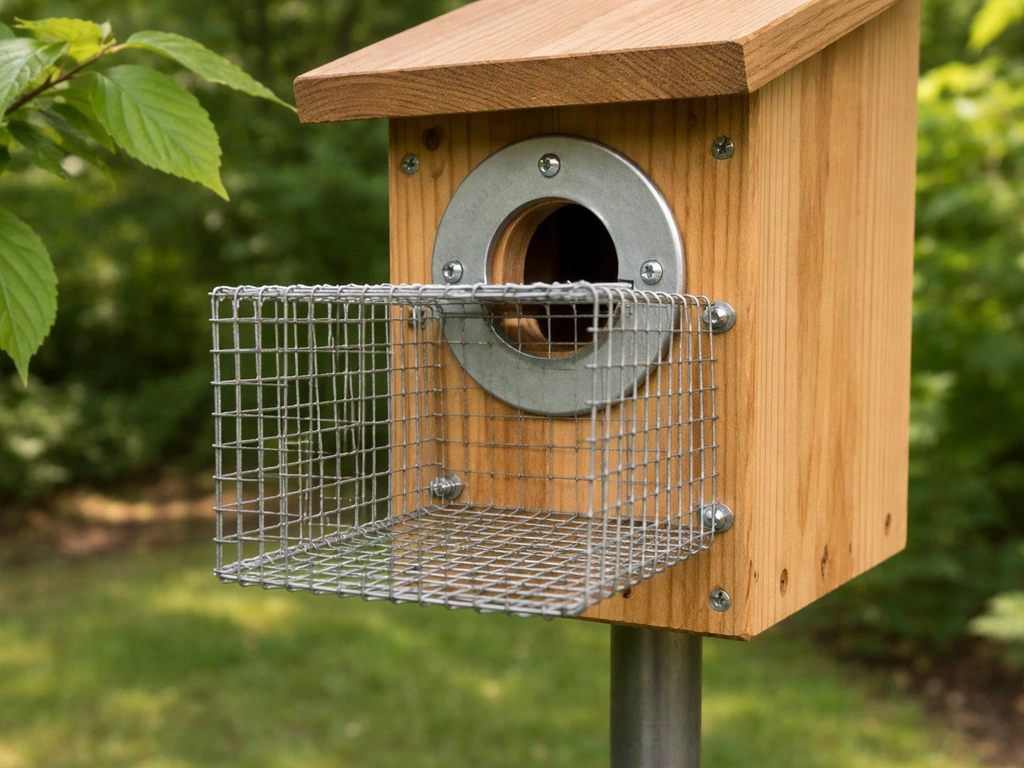
A Noel guard, a wire cage that extends 3–4 inches in front of the entrance hole, makes it almost impossible for a raccoon to reach inside with its paw. It does not deter snakes, which is worth knowing, but it handles the most common threat for tree-mounted boxes. A hole extender (a wooden block adding 1.5–2 inches of depth to the entrance tunnel) is a simpler alternative that also slows down predator reach-ins. Both can be added after the box is already mounted.
On the trunk below the box, a smooth metal wrap (sheet metal cut 12–18 inches tall, secured with wire at the top edge only) makes the bark too slick for raccoons and squirrels to grip. Position it so the bottom edge is at least 2 feet below the box. If cats are a real problem in your area, consider moving the box to a metal pole instead, a box on a tree remains harder to predator-proof against cats than a pole with a cone baffle.
Seasonal maintenance and re-hanging checks
Once the nesting season ends, typically by late August or September depending on your region, it's time to clean out the box and check your mount. Cleaning is not optional. Old nesting material harbors mites, bacteria, and wasp nests that will discourage birds from using the box next season. Remove all old material, scrub the interior with a stiff brush, and wash the inside with unscented soap and water. Some bluebird monitors rub unscented ivory soap on the interior ceiling as a wasp deterrent for the following season. Let the box dry completely before closing it back up.
The cleaning window is September through February, after the last brood has fledged and before the first scouts start investigating boxes in late winter. If you're in a warmer region, check your local timing, since birds in the Southeast can start nest-building as early as February. At the same time you clean, inspect the mount: tighten any loose straps, check the lag screw for bark encroachment, confirm the box is still level, and make sure the roof overhang is still solid. Wind and ice can loosen even well-set mounts over winter.
If the box was heavily used or showed signs of disease (unusual die-off of nestlings, parasites visible on the wood), consider replacing it rather than cleaning it. A single nest box costs less than a vet visit, and the birds will thank you for a fresh start. Rehanging a replacement in the same spot is perfectly fine, birds return to successful nesting locations year after year.
Finally, leave the box up through winter in most climates. Small birds like chickadees and nuthatches use nest boxes as overnight roost sites during cold snaps, and a clean, dry box with a ventilation hole at the top can be a genuine survival resource. Just make sure the clean-out panel can be latched securely so winter wind doesn't blow it open. If you're in an area with harsh ice storms, taking the box down in late November and rehanging it in late February is a reasonable compromise to protect both the box and the mount from storm damage.
FAQ
How do I remove and rehange the bird house each year without damaging the tree or losing the right orientation?
Use an external mount method that allows easy seasonal access. A wide strap or a lag-screw mount with a spacer block lets you remove the house and recheck level without disturbing the whole tree. If you use a strap, loosen and re-center it annually so bark growth does not shift the box front out of its intended direction.
What should I do if rainwater drips onto the entrance after I mount the bird house?
Do not hang the box where water will drip directly onto the entrance, even if the roof overhang seems sufficient. Pick a spot with a clear drip edge, and after rain, confirm the entrance tunnel stays dry and the interior ceiling does not show constant wetting, which can reduce nesting success.
What’s more important, precise compass direction or general airflow and open sightlines?
If you are unsure whether you have the right spot, aim for airflow and visibility first, then fine-tune direction. A house that is slightly rotated for wind protection is better than one facing a dense shrub because parents can’t monitor threats well from their approach path.
Can I tighten a strap mount more during summer if it seems a bit loose?
Yes, but only if the mount keeps the box stable through expansion and wind. For strap mounts, never tie it so tightly that it compresses bark, and recheck tension mid-season (for example, once in spring and again in late summer) after the tree’s bark changes.
Is it safe to paint or stain the bird house if I want it to match my yard?
A cedar, pine, or plywood box is fine, but treat the exterior differently than the interior. If painting, use light earth tones outside only, leave the interior raw or natural, and avoid any coating around the entrance area because it can be sticky, odor-emitting, and harder for birds to clean.
What should I do if a branch grows closer and makes the box easier for predators to reach?
If you notice a new climbing route to the house (like a nearby branch that makes the trunk easy to access), don’t just wait. Trim only the branch that creates a direct predator approach path, or relocate the box to reduce the “ladder effect,” because predator access can change as plants grow.
How level does the bird house need to be, and what if it’s slightly tilted after mounting?
A good sign is that the box is level or slightly tilted so rain sheds away from the entrance. If it’s leaning, correct it before birds arrive, then re-tighten or re-center the strap. Ongoing tilt can also make it easier for predators to get a grip and reach deeper.
How can I tell whether my strap is too tight or too loose?
For a strap, if you can slide the strap significantly around the trunk by hand, it is likely too loose. If you see bark compression, it is likely too tight. The practical approach is to snug it enough that the box does not swing, then verify that you can still insert a finger under the strap at most points.
My house hardware seems to fit the hook, but it doesn’t feel completely rigid. How do I know if the mount hardware is appropriate?
Avoid wire wraps, but also avoid fasteners that are smaller than your box’s hanger bracket expects. If a hook or lag screw is not a match for the hanger hardware, the box can shift under gusts even if it feels secure initially.
When should I replace the lag screw or restart the mount instead of just tightening it again?
If you can remove the box, check for bark encroachment or a strap that has cut into bark. If the tree has healed around a fastener, you can leave the connection if it remains solid and doesn’t loosen, but if the box shifts with hand pressure, replace or re-mount rather than forcing more torque.
Do I need to treat the inside for insects, or is cleaning enough?
If insects are heavy, prioritize interior sanitation timing and cleanliness of the entrance area rather than spraying chemicals. Use only mild, unscented soap for cleaning, and let everything dry fully before re-closing so you do not trap residues inside the nest box.
How should I position multiple bird houses in the same yard so they don’t compete?
Yes, and spacing changes by species. For bluebirds, keep boxes at least 300 feet apart, and for other small cavity nesters, avoid placing multiple boxes so close that territories overlap and birds will fight or displace each other.

Step-by-step tips to hang bird houses safely on fence, post, branch or eave with correct height, spacing and predator pr
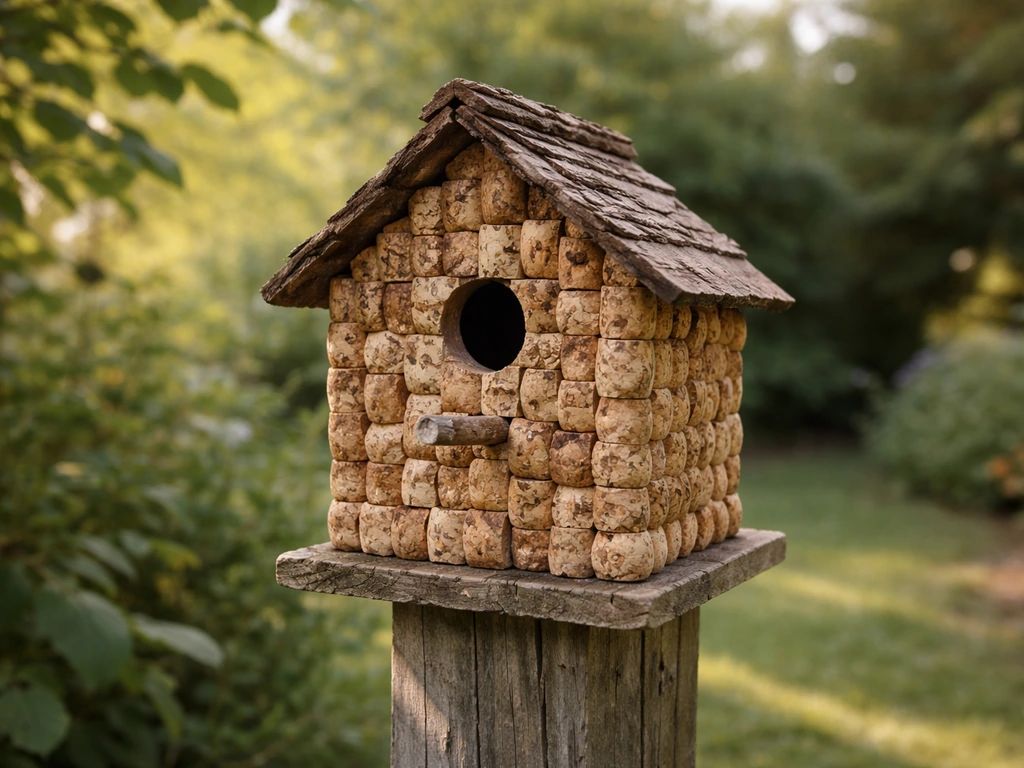
Step-by-step wine cork mini birdhouse build with bird-safe dimensions, safe materials, mounting, cleaning, and weatherpr
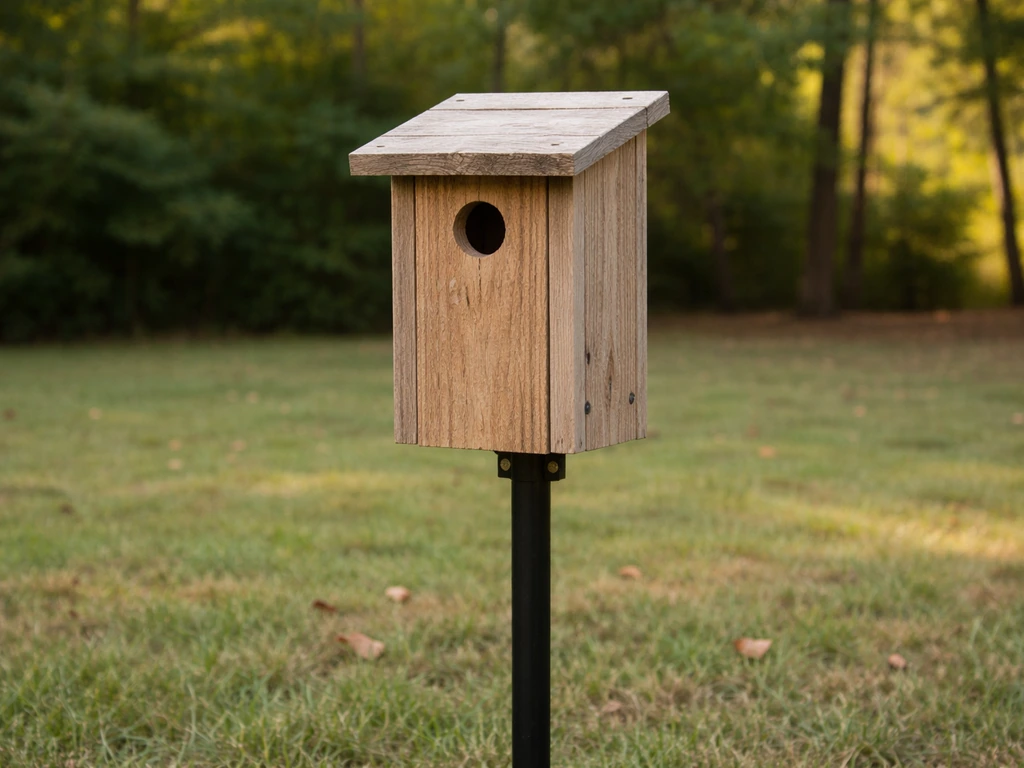
Pick and install the best bluebird house with species-specific hole size, mounting, predator guards, and safe seasonal c