
Yes, you can build a functional, bird-safe birdhouse using license plates, but only if you handle the materials correctly. License plates are made from aluminum (most U.S. states since the 1970s) with a painted or reflective coating on top. That means you need to check for lead-based paint, file every cut edge smooth, seal exposed metal, and design the box to the right dimensions for a real species, not just whatever looks cool. Do all of that, and you end up with a genuinely durable, weather-resistant birdhouse that cavity nesters like bluebirds, wrens, and chickadees will actually use.
Bird Houses Made Out of License Plates: DIY Guide

Maya Thompson
31 May 2026
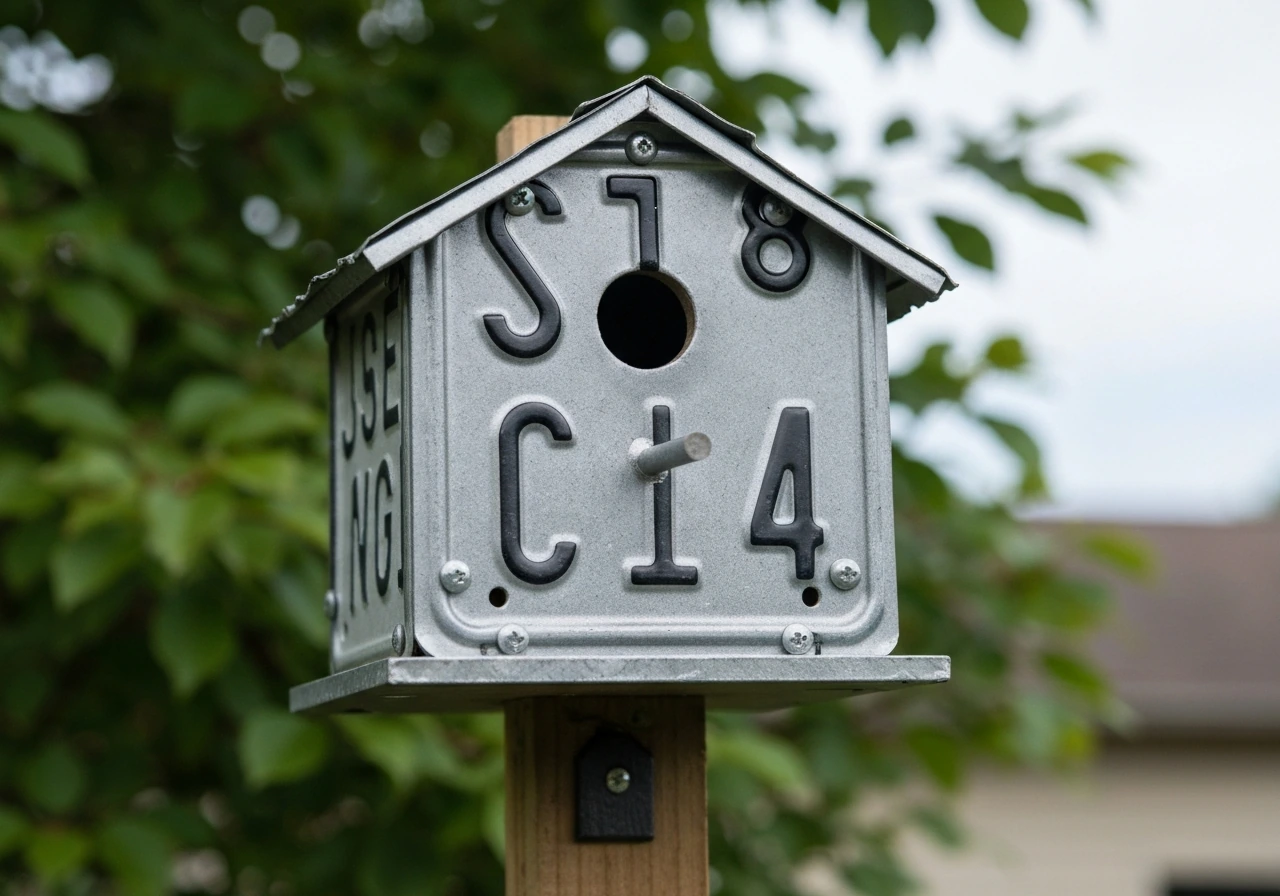
License plate safety: coatings, rust, heat/cold, and edge cleanup
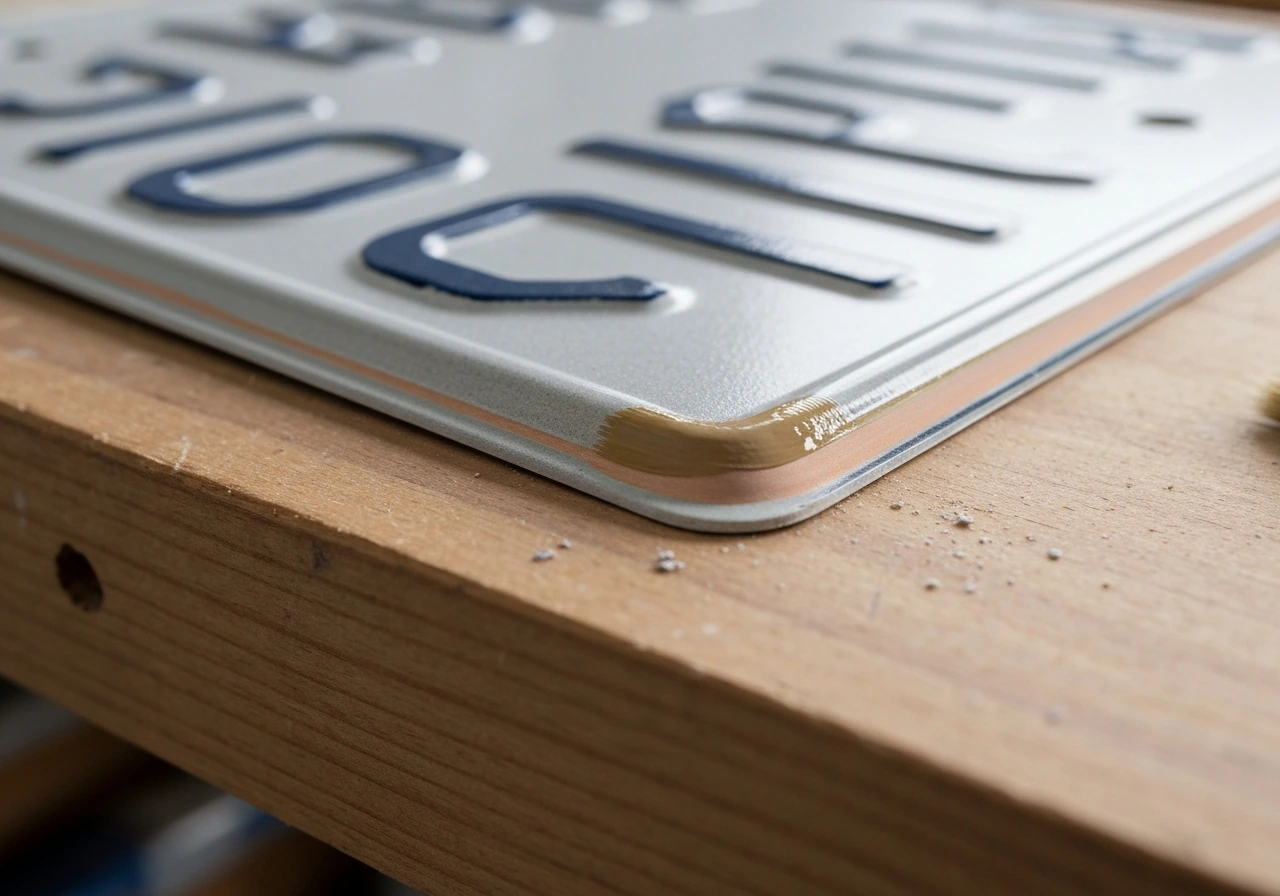
The first thing to nail down is whether the plates you have are safe to use around nesting birds. Most license plates made in the U.S. after the mid-1970s are embossed aluminum, which means no rust and good dimensional stability in heat and cold. The bigger concern is the paint and reflective sheeting applied on top.
Older plates from the 1960s and earlier may have lead-based paint. The CDC is clear that any surface with lead paint that can wear, rub, or flake is a lead-dust hazard, and the EPA extends that warning to any renovation activity that disturbs those painted surfaces. If you are using plates from before roughly 1978, treat them the same way you would any potential lead-paint surface: don't sand, grind, or abrade the coating without respiratory protection, and ideally avoid using those plates for a nest box at all. Plates from the 1980s onward are generally safer, but if you're unsure of the age, skip it and use a newer plate.
Modern plates often have a retroreflective plastic sheeting layer bonded over the aluminum. This sheeting can trap and radiate heat. A metal nest box already runs warmer than a wood box in direct sun, and a shiny reflective surface makes that worse. This matters a lot in summer, when nestlings can die from overheating. The fix: orient the entrance hole away from afternoon sun (face it north or east), add a roof overhang of at least 2 inches, and paint any exposed outer metal surfaces with a flat, dark exterior paint on the roof and a light or earth-toned color on the walls. Flat paint also eliminates the reflectivity problem.
Galvanized hardware (screws, hinges, wire) is a separate concern. Bird-safety resources flag zinc toxicity as a risk if galvanized coatings chip and birds ingest flakes. Use stainless steel screws and fasteners inside and on the interior surfaces of the box. Galvanized hardware on the exterior mounting is fine since birds won't be in contact with it.
Edge cleanup is non-negotiable. Cut aluminum leaves razor-sharp burrs. Every cut edge must be filed smooth with a metal file or deburred with a rotary deburring tool, then covered with a bead of waterproof, paintable exterior silicone caulk. Run your bare finger along every edge before assembly. If it cuts you, it can cut a bird.
Quick safety checklist before you start building
- Confirm plates are post-1978 aluminum (no lead paint risk)
- Sand or paint over reflective sheeting on outer surfaces with flat exterior paint
- File all cut edges smooth and seal with exterior silicone caulk
- Use stainless steel screws and fasteners, not galvanized, inside the box
- Wear gloves and eye protection when cutting or drilling plate material
Designing a birdhouse that birds can actually use
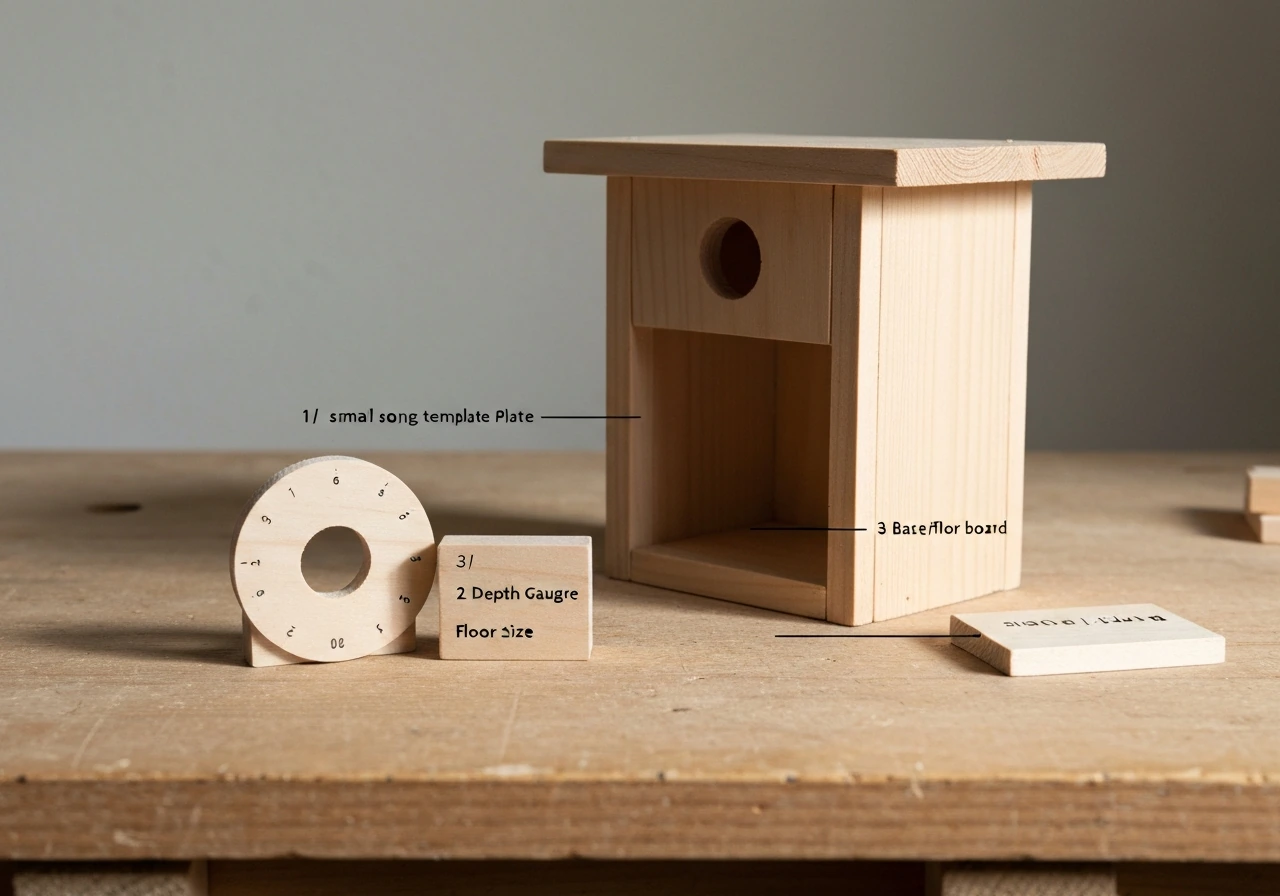
A license-plate birdhouse only works if it matches the nesting requirements of a real bird species. The most practical targets for a backyard plate box are eastern or western bluebirds, Carolina or black-capped chickadees, house wrens, and tree swallows. Each has specific entrance hole and interior dimension requirements. Getting these right is more important than the material you build from.
| Species | Entrance Hole Diameter | Floor Size | Interior Depth | Notes |
|---|---|---|---|---|
| Eastern Bluebird | 1.5 inches | 4x4 to 5x5 inches | 8–12 inches | Most widely cited spec; 5x5 floor preferred |
| Chickadee | 1.125 inches (1 1/8") | 4x4 inches | 8–10 inches | Smaller hole keeps sparrows out |
| House Wren | 1.0–1.125 inches | 4x4 inches | 6–8 inches | Tolerates a range; keep depth shallower |
| Tree Swallow | 1.5 inches | 5x5 inches | 6–8 inches | Needs open field placement |
The entrance hole size is the single most important design decision. A 1.5-inch hole is the standard for bluebirds, confirmed by multiple state wildlife agencies. A 1.125-inch hole excludes house sparrows (which compete aggressively with native cavity nesters) while still admitting chickadees and wrens. If your goal is to attract bluebirds, go with 1.5 inches exactly. If you want to attract chickadees or wrens and keep sparrows out, use 1.125 inches. Don't go larger than 1.5 inches for any of these species, or you invite starlings.
Interior depth matters because it gives the female room to build a nest above the floor while keeping the eggs far enough below the entrance hole that predators can't reach in. An 8-inch depth is the working minimum for bluebirds. The floor area determines whether there's enough room for a full nest cup, so don't go smaller than 4x4 inches for any of these species.
Ventilation and drainage are structural requirements, not optional. Drill four 1/4-inch holes in the floor for drainage (in case water gets in) and four 1/4-inch holes near the top of the side walls for ventilation. The U.S. Fish & Wildlife Service, Oregon Department of Fish and Wildlife, and Alaska Department of Fish and Game all specify this same basic approach. The entrance hole itself should be drilled on a very slight upward angle (5 degrees or so) so rain doesn't pour straight in.
Building it: cutting, fastening, sealing, and adding roof, floor, and drainage
A practical license-plate birdhouse uses the plates as the primary wall panels, with a wood frame to hold the box shape, provide a mounting point, and give you something to screw into. Trying to build a purely plate-to-plate box with only metal fasteners is possible but much harder to seal and maintain. The hybrid approach (plates as siding over a minimal wood skeleton) is more durable and cleaner.
What you need
- 2–4 license plates (standard U.S. plates are 6 x 12 inches)
- 1x6 cedar or pine board for top, bottom, and any wood framing
- Stainless steel screws (#8 x 3/4" for plate attachment, #8 x 1.5" for wood)
- Metal snips or jigsaw with a metal-cutting blade
- Metal file or rotary deburring tool
- Drill with 1/4" bit (drainage/ventilation), 1.5" or 1.125" hole saw (entrance)
- Exterior waterproof silicone caulk (clear or paintable)
- Flat exterior paint (earth tone or white for walls, dark for roof)
- Measuring tape, pencil, clamps
Step-by-step build
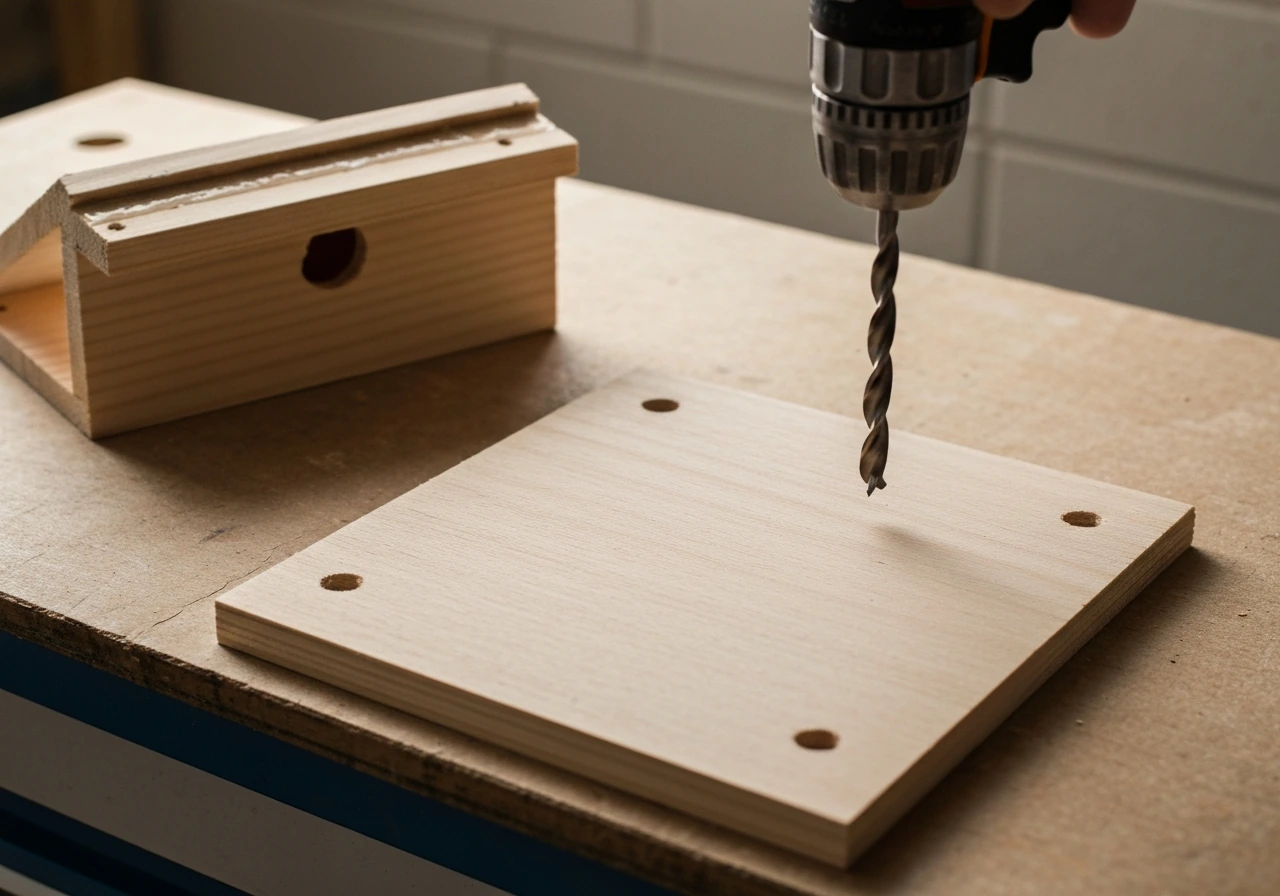
- Cut a wood floor panel to your target floor size (4x4 inches minimum for chickadees/wrens, 5x5 for bluebirds). Drill four 1/4-inch drainage holes near the corners.
- Cut a wood roof panel at least 1 inch wider and deeper than your box footprint on all sides to create a full overhang. A 2-inch overhang on the front is ideal. Give the roof a slight slope (cut one side 1 inch taller than the other) so water runs off the back.
- Cut your license plates to form the four wall panels. A standard 6x12 plate can be folded or cut to form an 8-inch-tall wall panel. Use metal snips for straight cuts and a jigsaw with a metal blade for curves. File every cut edge immediately.
- Drill the entrance hole in the front wall panel before assembling. Use a hole saw at the correct diameter for your target species. Center the hole horizontally, and position it so there will be at least 6 inches of clear interior depth below it (place it 2 inches from the top of the plate, for an 8-inch-deep box).
- Drill four 1/4-inch ventilation holes near the top edge of each side wall panel (or two per side, near the top corners).
- Assemble the four wall panels around the floor. Attach plate panels to the wood floor using stainless steel screws driven through the plate into the edge of the wood floor. Apply a bead of exterior silicone caulk on every interior seam to seal against moisture and drafts.
- Attach the roof panel to the top of the wall assembly. On the front, leave a small gap (1/4 inch) between the top edge of the front wall and the roof for additional ventilation. Seal the gap on the sides and back with caulk, but leave the front gap open.
- Paint all exterior plate surfaces with flat exterior paint. Use a light or medium earth tone on the walls and a dark color on the roof to help manage heat. Do not paint inside the box.
- Allow caulk and paint to fully cure (at least 48 hours in dry conditions) before installing.
One important build note: plan your clean-out access before you finalize assembly. You need to be able to open the box to remove old nests between broods and at the end of the season. The easiest approach is to attach one side panel with two screws that act as a pivot and one removable screw at the bottom, so the panel swings open like a door. Alternatively, attach the floor panel with screws only from below so it drops out when you remove them.
Installation and placement: mounting height, orientation, and predator protection
Where and how you mount the box has as much impact on whether birds use it as the design itself. Get the placement wrong and even a perfectly built box sits empty all season.
For bluebirds and tree swallows, mount the box on a freestanding post in an open area with short grass, at a height of 4 to 6 feet off the ground. Wrens and chickadees are more flexible and will use boxes mounted on fence posts, tree trunks, or buildings at 5 to 10 feet. Face the entrance hole east or north in most of the U.S. to avoid afternoon heat. In cooler northern climates, facing southeast to catch morning sun is acceptable. Keep the box away from bird feeders by at least 50 to 75 feet; active feeder traffic stresses nesting birds.
Predator protection is where a lot of DIY birdhouses fail. A metal license-plate box is only as safe as its mounting. A pole-mounted baffle is the single most effective predator deterrent available. The Maryland DNR and Loudoun Wildlife both describe smooth conical or cylindrical baffles positioned on the pole below the box, at least 4 to 5 feet off the ground, and at least 18 inches in diameter. This prevents cats, raccoons, and snakes from climbing the pole. If you mount on a fence or tree, add a metal flashing wrap below the box to discourage climbing. Oregon State University Extension specifically recommends metal flashing as a predator-proofing option.
Keep the box away from overhanging branches that let squirrels or raccoons drop down from above. A 10-foot clear radius above and around the mounting point is a reasonable rule. The entrance hole itself is your second line of defense: correctly sized holes physically prevent larger predators from entering, but adding a 1-inch-thick wood or metal entrance hole extender plate (a short tunnel around the hole) makes it much harder for a predator to reach in with a paw.
Maintenance and cleaning schedule: keeping it safe season after season
A license-plate birdhouse needs the same maintenance routine as any nest box, with one extra check specific to metal: inspect for rust, coating deterioration, and sharp edge re-exposure every season.
| Timing | Task |
|---|---|
| Late winter (Feb–Mar) | Inspect and clean the box before the nesting season opens. Remove any debris. Check all edges, seams, and caulk. Touch up paint and re-caulk any cracked seams. Make sure the drainage and ventilation holes are clear. |
| During nesting season | Check the box every 1–2 weeks if possible. If a brood has fledged, remove the old nest promptly to allow a second nesting attempt. Do not disturb active nests with eggs or unfledged young. |
| After each brood fledges | Remove old nest material completely. Flush out the interior with water if needed. Leave the box open for a day to dry before closing it back up. |
| End of season (Oct–Nov) | Do a full clean and disinfect. A diluted bleach solution (1 part bleach to 9 parts water) wiped on interior surfaces and allowed to dry is the standard approach recommended by the California Bluebird Recovery Program. Inspect all metal surfaces for rust spots, caulk for cracking, and screws for loosening. File any re-exposed sharp edges and re-seal with caulk. |
| Annual | Repaint exterior surfaces as needed. Replace any screws that have loosened or corroded. Check mounting hardware and predator baffle integrity. |
Metal boxes can develop micro-rust at cut edges or screw holes over time, especially if the caulk seal fails. Catch these early with your end-of-season inspection and treat with a rust-converting primer before they spread. A well-maintained plate box should last 10 years or more.
Troubleshooting and when to stop: why birds won't use it and how to fix it
If you put up a license-plate birdhouse and nothing moves in after a full nesting season, work through this list before giving up.
| Problem | Likely Cause | Fix |
|---|---|---|
| No birds investigate at all | Wrong habitat, poor placement, or too close to feeders/activity | Relocate to a more open area, face entrance away from prevailing wind and afternoon sun, move at least 50 feet from feeders |
| Birds investigate but don't nest | Entrance hole wrong size, interior too shallow, or competing birds taking over | Recheck hole size for target species; confirm interior depth is at least 8 inches; monitor for house sparrows and remove their nesting material if found |
| Nest abandoned mid-season | Overheating, predator disturbance, or waterlogging | Add more roof overhang, reposition box away from direct afternoon sun, check drainage holes are clear, install or check predator baffle |
| Nestlings dying in the box | Heat stress (metal box in direct sun) | Paint roof with flat white or light color, add 2+ inch roof overhang, reorient entrance to north or east |
| Sharp edges re-exposed | Caulk seal failed or edge treatment wore off | File the edge again and re-apply exterior silicone caulk; this is a safety issue, fix it immediately |
| Rust on interior surfaces | Paint or coating has failed, moisture getting in through failed seam | Sand off rust with fine-grit sandpaper, treat with rust-converting primer, repaint interior surfaces, re-caulk all seams |
There is one situation where you should stop and not use the birdhouse at all: if you find that the plates you're using have flaking or deteriorating paint that you can't positively identify as lead-free, and especially if the box is already showing metal-to-metal friction wear on interior surfaces. The CDC's lead-paint guidance is explicit that friction and wear surfaces are where lead-dust hazards are highest. In that case, retire those plates from the project and source newer ones.
Also keep in mind that a license-plate birdhouse is specifically a cavity nest box, designed for species that naturally nest in tree holes. If you want a birdhouse you can see into, make sure the clear viewing design still keeps the cavity dimensions, ventilation, and drainage correct for the species you’re targeting bird houses you can see into. That is why a birdhouse is called a nest box, because it is meant to hold cavity-nesting birds. It is not appropriate as a decorative perch, open platform, or general 'bird habitat' structure. If your design doesn't have the correct enclosed cavity dimensions, entrance hole, drainage, and ventilation outlined above, it isn't functioning as a birdhouse in any meaningful way for the birds. A properly built one, though, is a genuinely functional nest box that can host multiple broods a season for years. A bird house definition is simply a shelter or nesting box built for cavity-nesting birds.
If you're new to birdhouse design in general, it helps to understand the basic principles behind what makes a nest box work before diving into an unusual material like license plates. Getting the fundamental design right first means your plate box will be both a cool upcycling project and a real contribution to cavity-nesting bird populations in your backyard.
FAQ
How can I tell if a license plate is safe if I do not know the exact year it was made?
If the plate label, registration history, or manufacture markings are unclear, treat it as potentially high risk until proven otherwise. Look for visible wear where paint could rub or flake (around raised letters, edges, or any areas that have been sanded or abraded). If you see coating deterioration you cannot confidently identify as lead-free, skip the plate entirely rather than trying to “test and hope,” since the main hazard is dust from friction wear during nesting.
Can I use the reflective side of the license plate for the exterior walls?
It is better to avoid leaving reflective sheeting exposed. If you must use plate faces, cover exterior reflective areas with flat, exterior-rated paint, and keep the entrance oriented away from afternoon sun. The goal is to reduce heat buildup, because metal nest boxes can run hotter than wood and direct reflection can push temperatures into risky territory.
What should I use for caulking and sealing around cut edges to keep birds safe long-term?
Use a waterproof, paintable exterior silicone caulk and make sure it fully covers each burr-free edge and any exposed metal at seams. Recheck the seal after the first heavy weather period, not just at the end of the season, because gaps are where micro-rust starts and where sharp metal can re-emerge.
Do I need to line the interior of a metal license plate box with anything?
Usually no. In many designs, adding liners can interfere with predator deterrence and can reduce the ability to clean out old nesting material. If you do line, keep it minimal and non-flaking, and do not change the entrance geometry or interior dimensions for the target species. Also, avoid materials that can shed fibers or trap moisture.
How often should I clean a license-plate nest box, and what should I do with old nests?
Clean between broods when possible and always at the end of the nesting season. Wear gloves and keep dust down while removing dried nesting debris, especially if the box has any wear near edges. Let the box dry fully before re-closing, and inspect again for any edge re-sharpening, failed caulk, or emerging rust around screw holes.
Will the box attract non-target species like house sparrows or starlings?
Yes, if entrance size and placement are off. Use the specific entrance diameter for your target (for example, 1.125 inches to reduce sparrows while still allowing chickadees and wrens, and 1.5 inches for bluebirds). Keep the box away from high-traffic bird feeders, since frequent adult activity can worsen competition. If non-targets repeatedly attempt nesting, do not keep the same design, adjust entrance size or relocate based on the species’ requirements.
How should I mount the box so it is both sturdy and predator-resistant?
For predator protection, the mounting method matters as much as the box design. Use smooth, sturdy pole mounting with a correctly sized baffle below the opening. If you mount to a tree or fence, add a metal flashing wrap below the box to block climbing. Tighten fasteners so the box cannot shift, but do not rely on galvanized fasteners inside the cavity where birds could contact or ingest flakes.
What if my cut edges still feel sharp even after filing?
Stop and redo the edge cleanup. Run your fingertip along every edge and corners, if it catches or cuts you, it is not acceptable. Burrs can reappear at screw holes or after drilling, so check after you assemble and after you test-fit. Seal any remaining sharp points with caulk only after they are physically smooth.
Can I relocate the birdhouse if birds do not use it after one season?
Often, yes, but do it intentionally. Wait until the season ends, then adjust one variable at a time, common fixes are entrance orientation away from harsh afternoon sun, increasing spacing from feeders, and moving to a habitat that matches the target species’ typical nesting sites. If you have correct dimensions and predator protection but still no use, try a different nearby micro-location with the same design rather than changing entrance sizes midseason.
Is a “door-style” clean-out access safe if it is not perfectly sealed?
Door-style access can be safe if it closes firmly and maintains the same enclosure level and edge safety as the rest of the box. Use removable screws designed for repeated opening, and apply caulk or a gasket approach so there are no gaps that allow drafts or easy predator access. After each re-assembly, check that no sharp metal edges are exposed when the door is shut.
What signs mean I should retire the license plates immediately?
Retire the box if you see flaking or rubbing paint you cannot confirm is lead-free, if interior metal shows metal-to-metal wear, or if caulk has failed and edges are re-exposing sharp surfaces. Also retire if you detect rust in a way that continues to grow despite re-priming and resealing, since ongoing deterioration can lead to both injury risk and habitat failure.
Next Articles
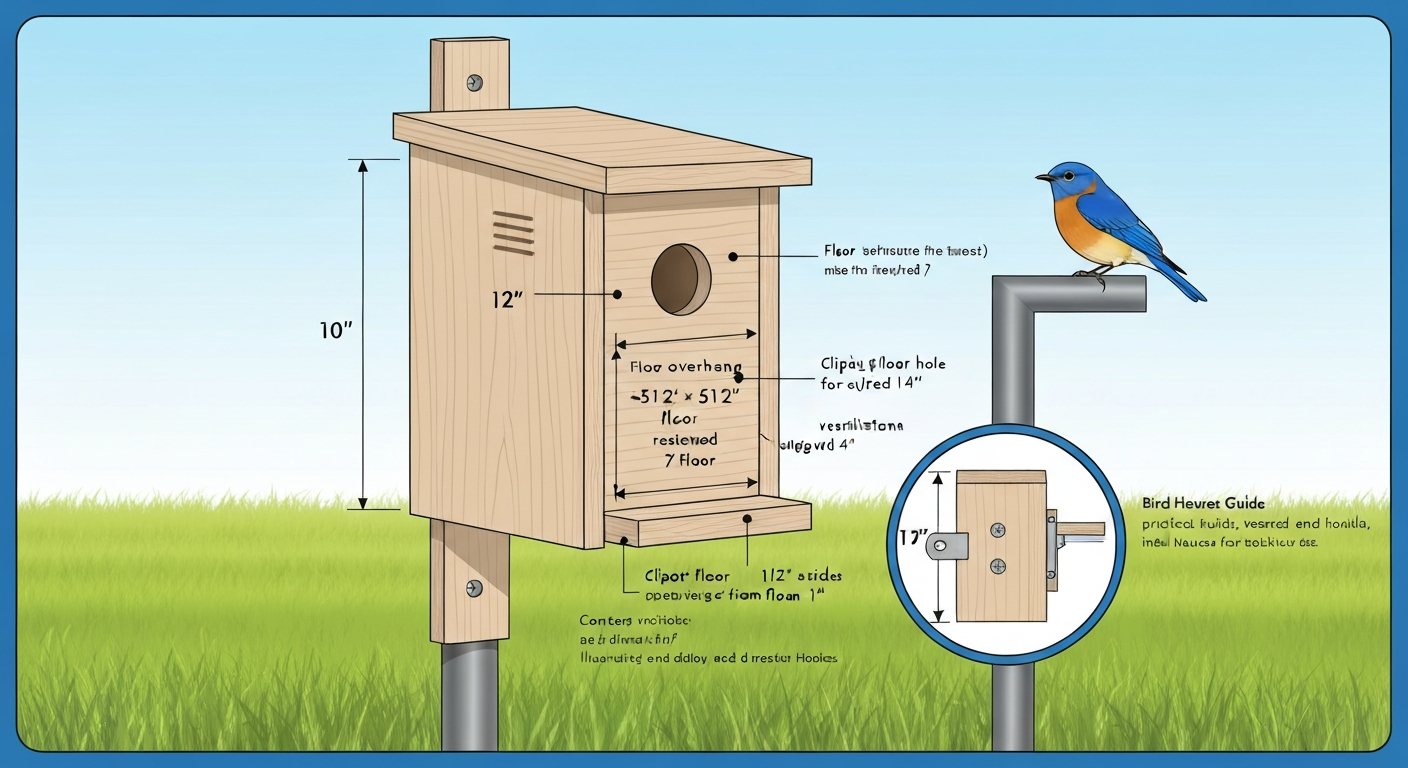
Blue Bird House Instructions: DIY Plans, Sizes & Mounting
DIY bluebird house: step-by-step build, exact cuts and hole sizes, mounting, predator guards, cleaning, and care.
Wine Cork Bird House Instructions: DIY Steps and Bird-Safe Specs
Step-by-step wine cork mini birdhouse build with bird-safe dimensions, safe materials, mounting, cleaning, and weatherpr
Best Bluebird House Guide: Choose, Build, Install
Pick and install the best bluebird house with species-specific hole size, mounting, predator guards, and safe seasonal c