
To build a realistic bird house in Minecraft, start with a 7x7 footprint, use spruce logs and planks for the walls, add a peaked roof with a 1-2 block overhang on all sides, and place a single 1x2 opening centered on the front face, framed with vertical log columns. Set it between 8 and 20 blocks off the ground, face the entrance toward open space (ideally away from direct afternoon sun if you care about realism), and keep branches or leaves from blocking the approach. That core structure is enough to nail the bird-house vibe and avoid the most common rookie mistakes.
Bird House Minecraft Tutorial: Build, Place, and Finish

Maya Thompson
10 Jul 2026
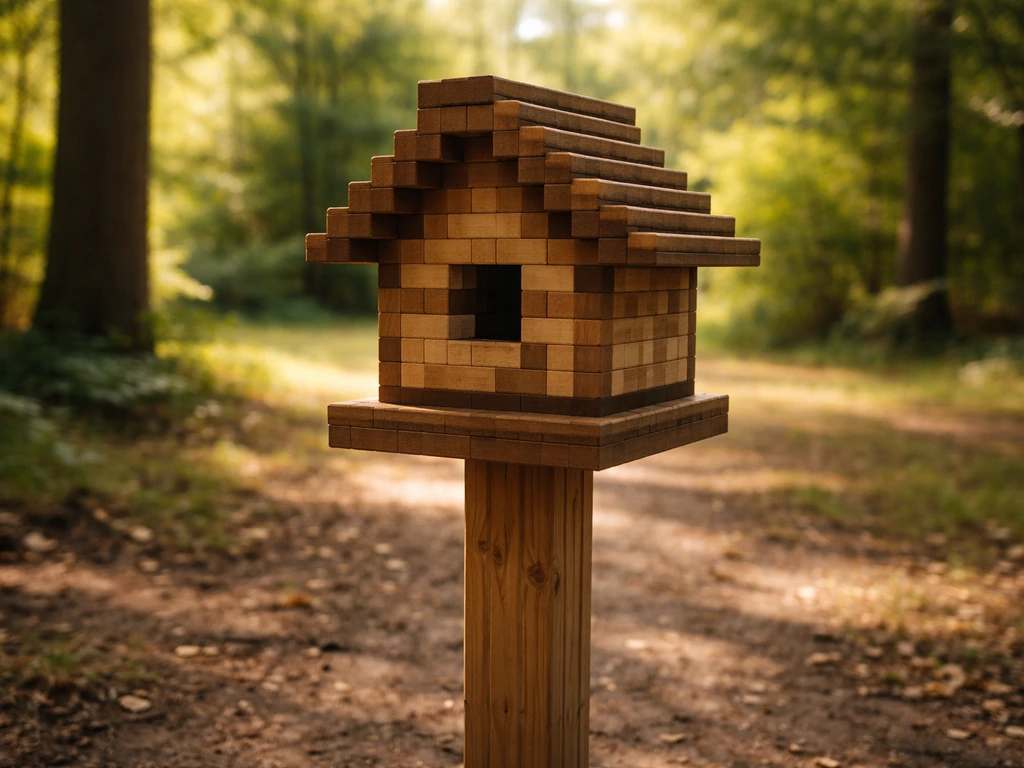
What a Minecraft bird house actually is (and what it isn't)
Vanilla Minecraft has no official bird-house mechanic. There are mods that add nest boxes and bird-attracting features, but in base-game survival or creative play, a 'bird house' is purely a decorative structure built to look like a real cavity-nester nest box. Think of it the same way you'd think of building a cottage or a barn: it's about silhouette, texture, proportions, and placement.
The goal is a compact, elevated, single-room wooden box with a peaked roof, a visible entry hole, and a realistic perch below it, placed in a tree line or on a post so it reads immediately as a nesting shelter. Done well, it's one of the sharpest small decorative builds you can drop into a forest or garden scene.
Because this site is rooted in real backyard bird-house practice, this guide also threads in the actual design rules that make real nest boxes work: entrance size, roof overhang, ventilation, predator guards, and maintenance routines. Those principles translate surprisingly well into Minecraft decisions, and they make your build more than just a pretty box. They make it feel authentic. A bird house definition usually refers to a man-made nest box that provides a safe cavity for birds to shelter and raise their young.
What you need before you start building
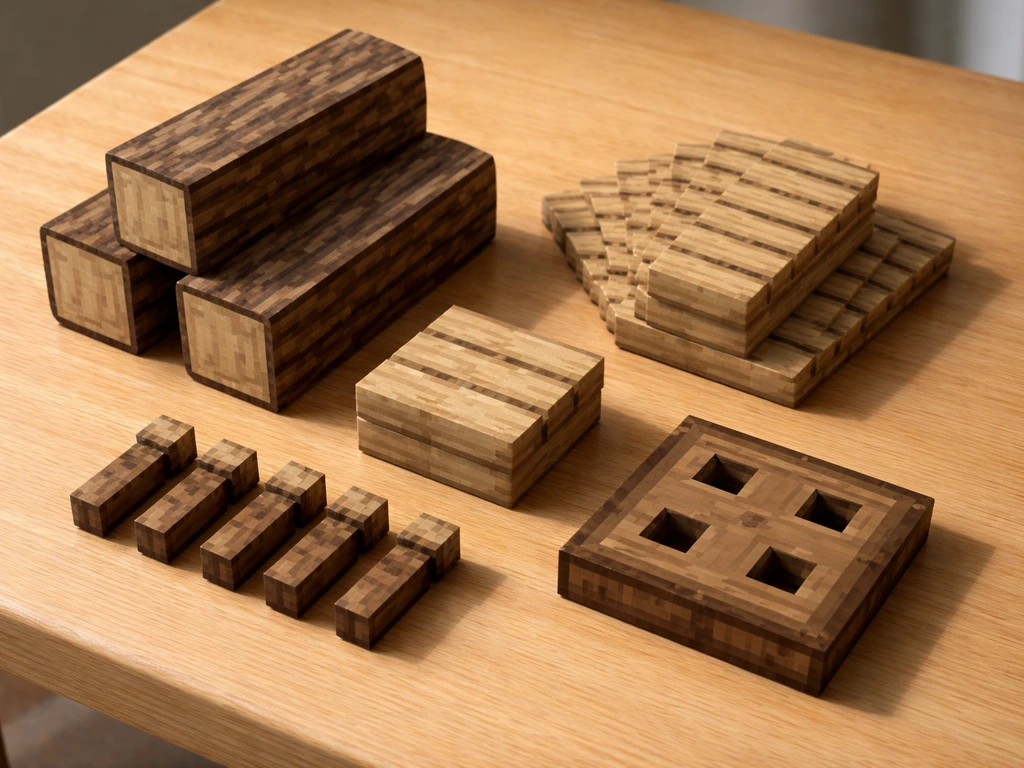
You don't need a massive inventory for this. Here's a clean materials list for the standard build covered in the step-by-step section below.
| Material | Quantity (approximate) | What it's used for |
|---|---|---|
| Spruce logs | 20–30 blocks | Corner columns, base frame, structural trim |
| Spruce planks | 40–50 blocks | Wall fill, floor, interior surface |
| Spruce slabs | 20–25 blocks | Roof layers, overhang extension |
| Spruce stairs | 16–20 blocks | Peaked roof shaping |
| Spruce trapdoor | 1–2 blocks | Entry hole framing (acts as the 'hole' face) |
| Stone brick or cobblestone | 10–15 blocks | Base/post if mounting on a post rather than a tree |
| Fence posts (spruce or dark oak) | 2–4 blocks | Perch below the entrance, mounting post |
| Leaves (spruce or oak) | Optional, 10–20 blocks | Surrounding camouflage and habitat feel |
Spruce is the go-to palette because the dark grain reads as weathered wood instantly, giving you that rustic nest-box look. If you want a cleaner, painted-wood look closer to a bluebird box, swap spruce planks for birch planks and use oak logs for the frame. Both work. Just keep the palette consistent within the build.
Step-by-step build tutorial
Step 1: Lay the floor
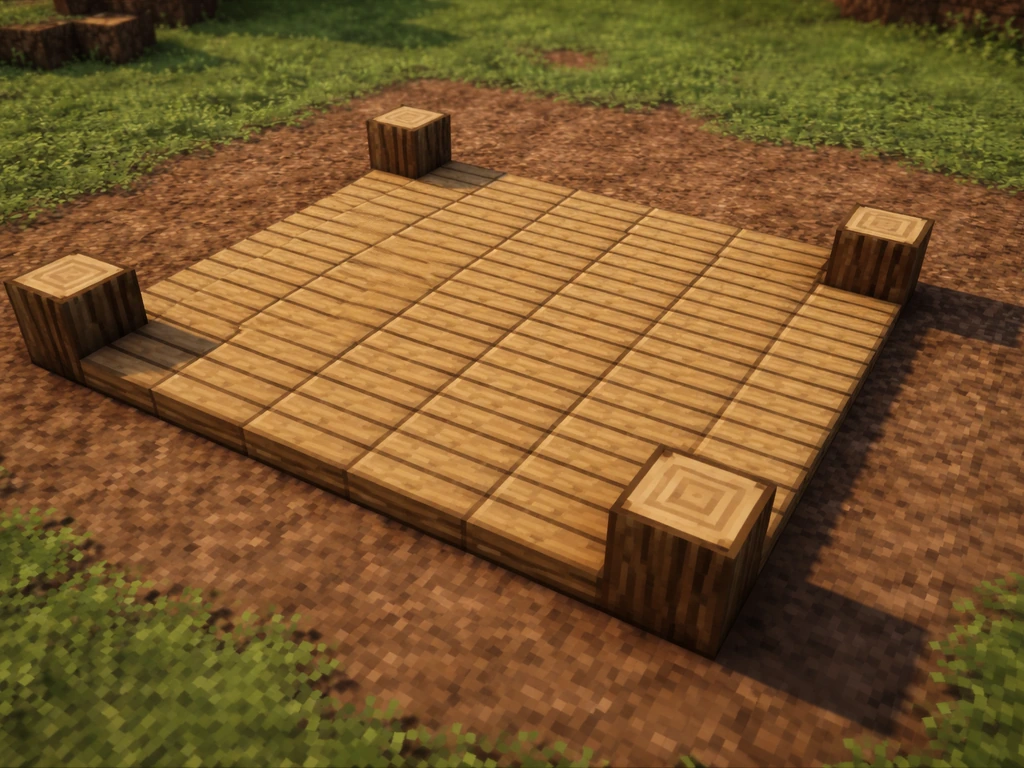
Place a 5x5 grid of spruce planks as your floor. This is your interior footprint. Around the perimeter, you'll add log columns in the corners and plank walls, so your overall external footprint becomes 7x7 (5 planks plus 1 log column on each side). Keep the floor at whatever height you've chosen for your build (height guidance is in the placement section below). OpenLearn’s “Make a bird house” activity provides a real-world context and placement guidance you can use as a grounding reference for how to set up your cavity-nester birdhouse placement section below.
Step 2: Build the walls
- Place spruce logs vertically at each of the 4 corners, 4 blocks tall. These are your structural columns.
- Fill the walls between the columns with spruce planks, 4 blocks tall. You should have 4 solid walls at this point.
- On the front face (the side that will face open space), leave a 1-wide by 2-tall gap centered horizontally in the wall at blocks 2–3 from the ground. This is your entry opening. Center it between the two corner columns.
- Place a spruce trapdoor on the block directly below the entry opening, oriented outward, to suggest a small landing perch. In real nest boxes, a perch is often recommended below the hole — it's a small detail that reads well.
Step 3: Frame the entrance
The entrance is the most important face of any bird house, real or Minecraft. Frame the opening with vertical spruce log columns on each side (these are already your corner columns if you centered correctly) and cap the top of the opening with a single spruce slab acting as a header.
This framing does two things: it makes the entry hole read clearly from a distance, and it mirrors what real nest-box designers call the 'approach zone,' the clear, unobstructed path a bird needs to reach the hole. In real bird houses, guidelines from groups like the North American Bluebird Society specify that the roof must extend beyond the entrance hole so rain doesn't drive directly in. Your header slab starts doing that job here.
Step 4: Add ventilation bands (optional but realistic)
In real nest boxes, ventilation slots are placed near the top of both side walls, just under the roofline, to prevent overheating. In Minecraft, you can suggest this by leaving a 1-block-wide horizontal gap at the very top of each side wall (the 4th block row) and filling it with spruce fence or leaving it open. It's a small detail, but it adds realism and breaks up what would otherwise be a perfectly flat wall surface.
Step 5: Build the peaked roof with overhang
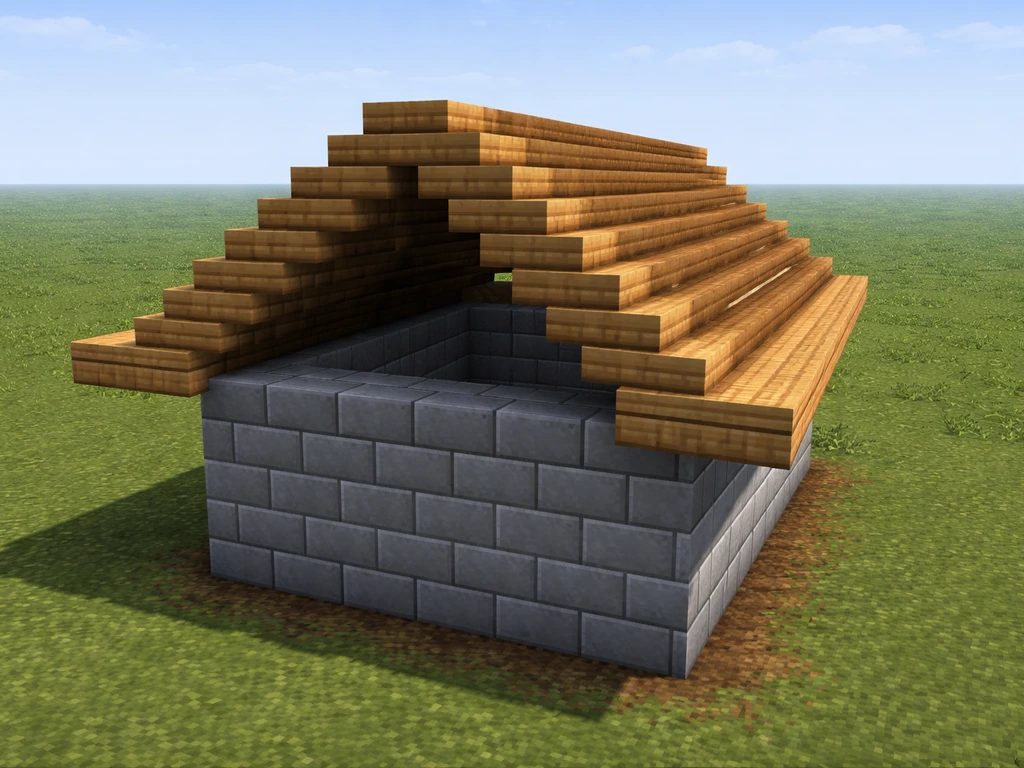
This is where most builders go wrong by making the roof too flat or too flush. Here's the method that works reliably.
- Start your roof 1 block outside the wall perimeter on all 4 sides. This gives you the critical overhang. A 1-2 block overhang is the target — it shields the entrance from rain and makes the silhouette look like an actual bird house instead of a plain box.
- Place a layer of spruce slabs at the overhang level, covering the extended perimeter.
- Step inward by 1 block and raise 1 block. Repeat this stepped-pyramid pattern using a mix of spruce stairs (oriented outward) and slabs until you reach a central ridge.
- Cap the peak with upright spruce logs or a row of spruce slabs to finish the ridge line.
- Check the overhang from ground level: the roofline should clearly extend beyond the front entrance. If it doesn't, add one more slab layer at the base of the roof on the front side.
Step 6: Mount it on a post or in a tree
Real nest boxes are almost always mounted on a post or attached to a tree trunk, not set on the ground. In Minecraft, stack 3-5 spruce fence posts or a single stone brick pillar beneath the floor of your build to suggest a mounting pole. Alternatively, build the structure directly into the fork of a large tree by placing it among oak or spruce leaf blocks. Both placements work and both have real-world equivalents: post-mounted boxes are easier to monitor and predator-proof, while tree-mounted boxes offer more natural camouflage.
Placement tips for different Minecraft biomes
Where you put a bird house matters as much as how you build it. These guidelines match real nest-box placement logic adapted to Minecraft terrain. An Oregon State catalog archival-style note, consistent with Penn State extension guidance, recommends cleaning nest boxes in late winter before birds begin nesting clean nest boxes in late winter before birds begin nesting.
| Biome | Best placement | Height (blocks off ground) | Entrance direction | Real-world parallel |
|---|---|---|---|---|
| Forest / Taiga | Edge of tree line, not deep inside | 10–16 blocks | Facing the forest clearing | Cavity nesters prefer edges over dense interiors |
| Plains / Meadow | On a freestanding post near tall grass | 8–12 blocks | Facing away from prevailing sun (north or east) | Open-country nesters like bluebirds need clear approach paths |
| Birch Forest | Attached to or near a large birch trunk | 12–18 blocks | Facing a gap between trees | Mimics natural tree cavities in open deciduous woodland |
| Swamp / Mangrove | On a post over shallow water or at bank edge | 8–10 blocks | Facing open water | Some waterfowl cavity nesters use low, water-adjacent boxes |
| Mountain / Snowy Taiga | Sheltered side of a cliff or large spruce | 10–15 blocks | South-facing for warmth, entry away from wind | Cold-climate nest boxes benefit from sun exposure on cold days |
One rule applies everywhere: keep the entrance path clear. No leaves, branches, or other blocks should obstruct the direct line of approach to the opening. In real nest-box practice, overhanging branches are removed precisely because they give predators a launch point and block the bird's flight path. In Minecraft terms, trim back any leaf blocks within 2–3 blocks of the front face.
Height is worth getting right. Real nest boxes for common cavity nesters like bluebirds are typically mounted at 4–6 feet (roughly 1.5 meters), but in Minecraft's scale, where 1 block equals roughly 1 meter, a height of 8–16 blocks above ground looks right visually and aligns with the taller-mounting heights used for tree-nesting species. Going below 6 blocks makes the structure look like it's sitting on the ground. Going above 20 blocks pushes it out of the 'focal point' zone where it actually reads as a bird house in your landscape.
Making it bird-safe: predator-proofing in Minecraft terms
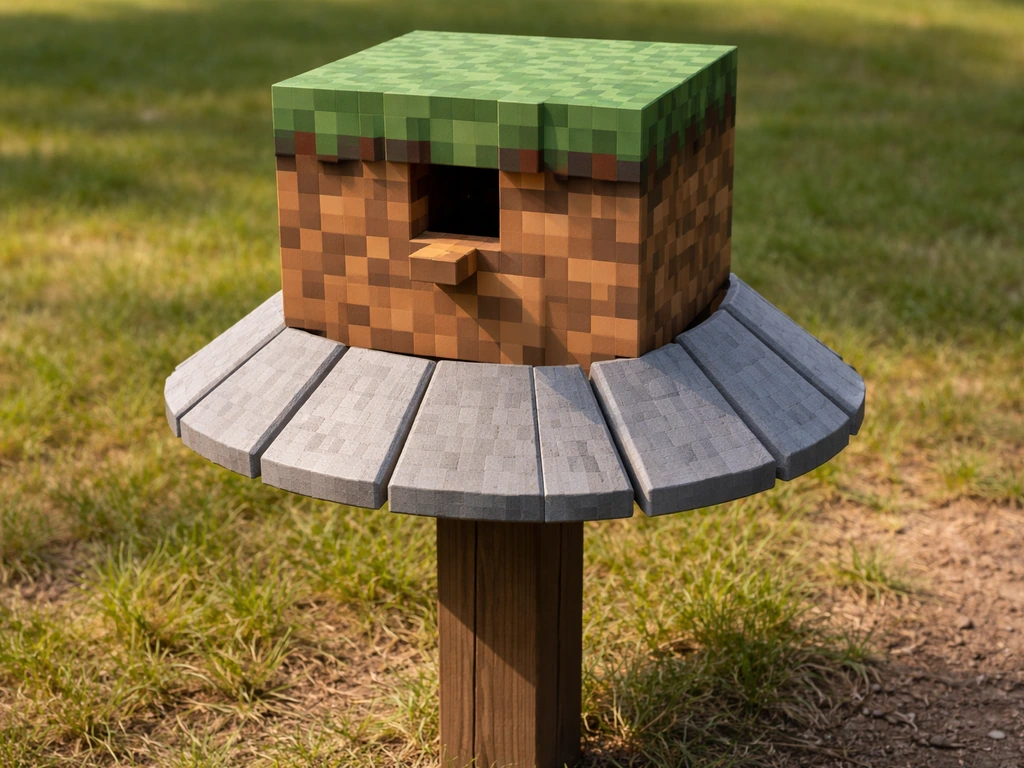
In real birdhouse practice, predator guards are one of the most important features you can add. Raccoons, cats, and snakes all target nest boxes, and baffles or hole guards dramatically improve nesting success. In Minecraft, 'predators' are mobs, and while they won't actually raid a decorative bird house, you can build in predator-proofing as a design principle that makes your structure look more realistic and intentional.
- Add a cone baffle below the mounting post: use a ring of stone slabs or upside-down stairs around the post at mid-height to suggest a cone baffle. In the real world, this stops climbing predators from reaching the box.
- Keep the entry hole small and framed: a 1x2 opening (one block wide, two blocks tall) is generous by Minecraft proportions, but framing it with a single log block on each side and a slab header visually narrows the approach, which mirrors the real-world logic of sizing holes to exclude larger animals.
- Avoid placing the structure near climbable surfaces: don't build directly against a climbable wall, overhanging tree, or ladder if you want to sell the predator-proofed look. Real mounting guidance specifically says no branches should overhang the box.
- Elevate the base with a smooth, uninterrupted post: a 4-5 block stone brick or stripped log post with no footholds reads as a pole-mounted box. Avoid using ladders or vines on the post itself.
If you're building in a village or near a player base, you can add an 'entrance hole guard' effect by placing a single stone button or mushroom cap block around the entry opening. This suggests the wooden hole extender that real birdhouse builders add to prevent predators from reaching inside and enlarging the hole.
Troubleshooting common build problems
The structure looks like a plain cube
This is the most common problem and the fix is always the same: extend the roof. Add one more slab layer around the entire roof base to push the overhang out by 1 additional block. Reddit building communities consistently point to a 1-2 block overhang as the single change that turns a cube into a recognizable structure. It adds shadow, depth, and that sheltered-entry look that bird houses need.
The entrance doesn't read clearly
If you look at the front face and the hole blends in, you need more contrast. Use a dark wood type (dark oak log or blackstone trim) just around the entry opening, or place a spruce trapdoor in the open position to frame the shadow inside the hole. Aligning the entry hole with the central viewing axis, meaning it faces your main approach path or the most open part of your landscape, helps enormously. Real nest-box guidance recommends facing the entrance toward open area for exactly this reason: visibility and approach.
The roof looks awkward or lopsided
Asymmetrical roofs usually happen when the underlying wall footprint isn't square or when stair blocks are placed in inconsistent orientations. Start over from the wall top and use only spruce stairs facing outward on all four sides for the first layer, then step inward. Count blocks carefully: on a 7x7 external footprint, your first roof ring should be 9x9 (extending 1 block past the wall on each side). Each subsequent layer steps in by 1 and rises by 1. If the peak doesn't land on a single center block, your footprint is even-numbered, add 1 block to one wall dimension to fix it.
The build looks out of place in the biome
A spruce bird house in a desert looks wrong for the same reason a real painted wooden bluebird box in a mangrove looks wrong: the materials don't match the habitat. In jungle or bamboo biomes, swap spruce planks for bamboo planks or jungle logs. In snowy biomes, keep the spruce palette but add snow slab accents on the roof edges. Let the surrounding biome guide your secondary palette choices while keeping the structural form the same.
The entrance hole is too big or too small
In Minecraft's block scale, a 1x2 entry opening is already quite large relative to the box (roughly equivalent to a giant cavity). For a tighter, more realistic feel, use a trapdoor placed open on the entry face: it leaves a visible rectangular gap of roughly half a block while framing the opening with a clear visual border. This mimics the real-world principle of sizing entrance holes precisely for the target species. Real bluebird boxes, for example, use a 1.5-inch round hole, which is generous enough for a bluebird but excludes larger birds that would compete for the cavity.
Optional upgrades: channeling real bird-house design into your Minecraft build
Once you have the core structure working, these additions push it from 'decorative box' to 'convincing nest shelter.' They're all grounded in real nest-box design principles.
- Add a ventilation gap band: leave the top row of each side wall open (or filled with fence blocks) to suggest the ventilation holes that real nest boxes require near the roofline. University of Florida extension guidance specifically recommends vents at the top of both sides just beneath the roof.
- Build a drainage platform: place a layer of slabs or a slightly raised floor with 1-block gaps at the corners to suggest drainage holes. Real nest boxes need 3-4 quarter-inch drainage holes in the floor to prevent moisture buildup inside.
- Add a cleaning door: on the back wall, place a trapdoor that can swing open. Real nest-box maintenance involves cleaning out old nests after the breeding season ends (typically late summer or early fall). In Minecraft, a hinged back panel reads as that functional access door.
- Install a mounting baffle: surround the support post at mid-height with a ring of stone slabs or polished stone stairs, cone-shaped, to represent the predator baffle that NestWatch and the North American Bluebird Society both recommend as one of the most effective ways to improve nesting success.
- Create a habitat zone: plant a 10x10 area of tall grass, flower pots, and mixed leaf blocks around the base of the mounting post. Real guidance recommends placing nest boxes near open foraging areas with some nearby vegetation cover. In Minecraft, this context makes the structure feel inhabited rather than just dropped into empty space.
- Orient precisely: if you care about matching real placement rules, face the entrance between north and east. Birdhouse placement guides consistently recommend this orientation to avoid hot afternoon sun and driving rain from the west and south.
Your build checklist
Use this before you call the build finished. It covers both the Minecraft construction steps and the real bird-house principles translated into in-game decisions.
- Floor is 5x5 spruce planks with a 7x7 external footprint including corner log columns.
- Walls are 4 blocks tall with spruce log corners and plank fill.
- Entry opening is 1 block wide by 2 blocks tall, centered on the front face.
- Entry is framed with vertical log columns and a slab header above.
- Trapdoor perch is placed below the entry opening, oriented outward.
- Ventilation gap or fence band is present at the top of both side walls.
- Roof overhangs the walls by at least 1 block on all sides (ideally 2 blocks over the front entrance).
- Roof peaks cleanly with a ridge line of slabs or upright logs.
- Structure is mounted 8–16 blocks off the ground on a post or in a tree fork.
- Entry faces open space, not a wall, dense foliage, or another structure.
- No leaf or branch blocks within 2–3 blocks of the entry opening's approach path.
- Post has a baffle ring or unclimbable surface (no ladders, vines, or adjacent blocks on the post itself).
- Materials match the surrounding biome palette.
Taking it further
Once you have one build placed well, try a small cluster of three at staggered heights along a forest edge: that arrangement mirrors the way nest-box trails are set up in real conservation projects, where boxes are spaced at least 100 meters apart to prevent territorial competition. In Minecraft, spacing them 30–50 blocks apart with slight height variation looks natural and avoids a repetitive pattern. You can also experiment with different material palettes to suggest different nest-box types: a birch plank and oak log version for a painted wooden box style, or a stone brick base with iron trapdoor accents for a more urban nest-box aesthetic.
If you enjoy the real-world side of this, building a Minecraft bird house is actually a solid starting point for understanding real nest-box construction. The same decisions you made here, entrance placement, roof overhang, predator-proofing, ventilation, and orientation, are exactly the decisions a first-time real birdhouse builder works through. The proportions are different (real bluebird boxes use a 1.5-inch entrance hole and a 5x5-inch interior floor), but the logic is identical. Real birdhouses can also be made from unconventional materials, much like adapting your Minecraft palette to the biome. One creative real-world twist is making bird houses out of recycled license plates, which can look surprisingly weather-resistant and eye-catching made from unconventional materials.
FAQ
Can I build the bird house directly on the ground instead of mounting it on a post or tree?
You can, but it usually loses the “nest shelter” read. To keep it convincing, raise the floor at least a few blocks above ground and leave some clearance beneath it (air space and visual gap), then keep the entrance approach area clear. Post or tree mounting also helps you avoid blocking the front with grass and leaves.
What entrance size should I use if my Minecraft build feels too bulky or not “bird-like”?
The tutorial uses a 1x2 opening as a good general cavity feel. If you want tighter proportions, consider using an open trapdoor framed by logs on the entry face (as described), or keep the 1x2 hole but add stronger contrast and a deeper shadow inside (dark trim inside the opening) so it reads smaller from a distance.
How do I avoid predators-like mobs getting to the entry area in practice?
Even though it is mostly decorative, you can still apply the “predator guard” idea by adding a small entry-hole barrier look, such as a single button or mushroom-cap block positioned around the opening face. Also, trim leaf blocks within 2 to 3 blocks of the front so there is no cluttered landing spot or obstructed approach.
Is there a best time of day or sun direction rule for placement in Minecraft?
If you care about realism, the key is to avoid harsh direct afternoon sun hitting the entrance. Use the same concept by facing the entrance toward open space that has more consistent shade or indirect light, like toward a forest clearing rather than toward a reflective desert edge where the sun will hit steadily.
How can I tell if my placement height is off?
If it looks like it is sitting on the ground or you cannot easily “see into” the entrance from your main viewpoint, it is too low. If it feels like a tiny sculpture on a distant cliff, it is too high. A practical check is to stand at your usual build viewing area and confirm the entry hole sits clearly in your line of sight at roughly chest to head height.
What should I do if the roof overhang still looks flat even after adding the extra slab?
Use the overhang depth and add shadow break options. Make sure the overhang extends evenly on all sides, then avoid placing stairs in mixed orientations during the first roof ring. A second fix is adding one layer of trim contrast around the roof edge (same material, slightly darker) to make the roof silhouette pop.
How do I keep symmetry when building the 7x7 footprint and roof peak?
Count the wall top ring and roof ring separately, then place the peak so it lands on a clear center block. If the peak cannot land on a single center block due to even sizing, adjust by extending one wall dimension by 1 block, then rebuild the roof rings from the wall top so stair orientations match outward on each side.
Can I adapt the bird house for different biomes without changing the core design?
Yes, change only the palette and small accents while keeping form rules intact. Swap the main wood set to match the biome feel (spruce for cold, birch or bamboo-like materials for lush, snow-slab accents for snowy), but keep the same footprint logic, peaked roof, framed entrance, and clear approach zone so it still reads as a nest box.
Should I build one bird house or a set of multiple?
A single well-placed build often looks more intentional, but a cluster can add realism. If you do multiple, stagger heights and space them far enough to avoid a repeating pattern. A practical target is about 30 to 50 blocks between them, with slight height variation so the “trail” effect looks natural.
What’s the easiest way to make the entrance hole blend less into the front wall?
Increase contrast and internal depth. Use a darker wood/trim around the opening, or frame the entry with an open trapdoor so the interior shadow reads as a cavity. Also ensure the entrance faces your main open approach path, since alignment affects how clearly the hole catches your view.
Next Articles
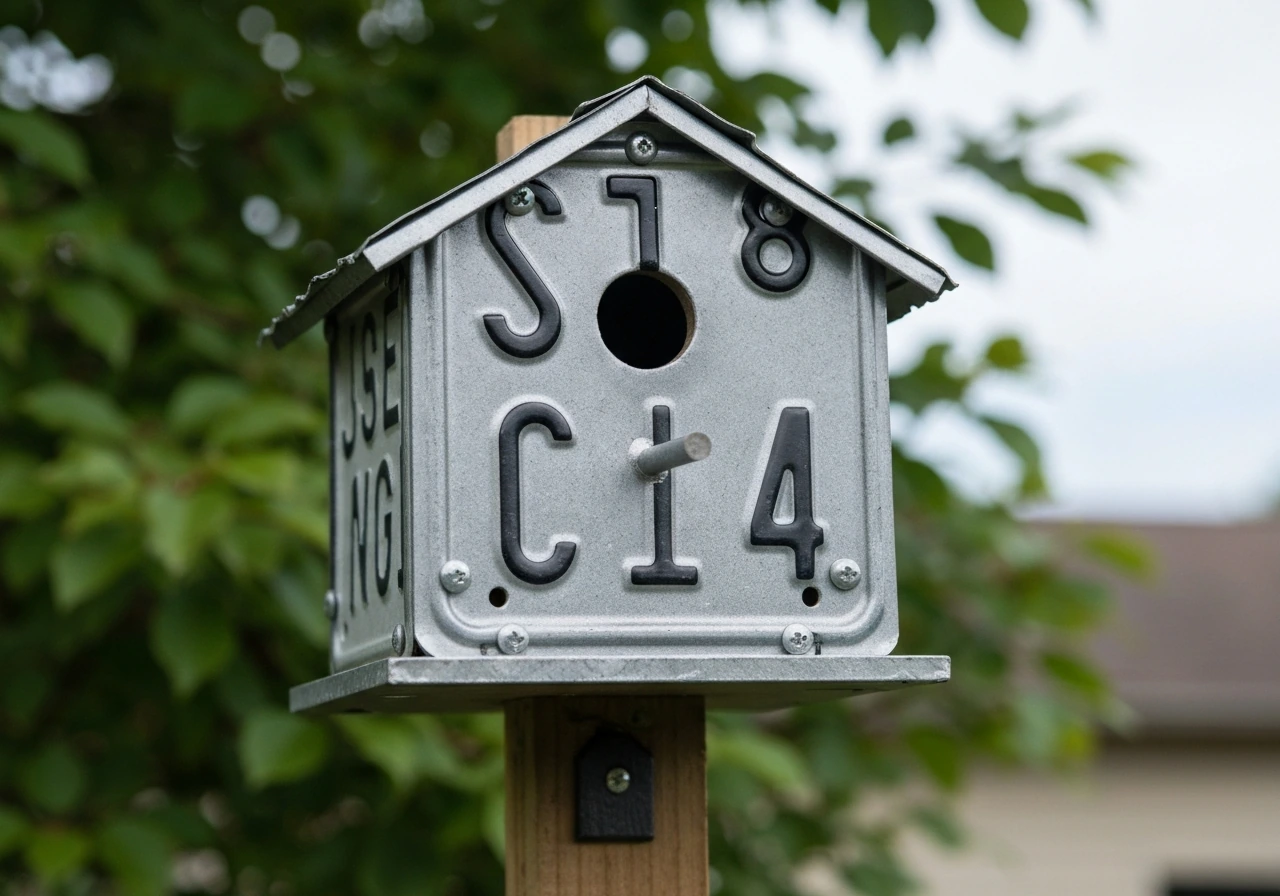
Bird Houses Made Out of License Plates: DIY Guide
Step-by-step DIY bird houses from license plates: safe prep, cutting, sealing, nesting design, mounting, and maintenance
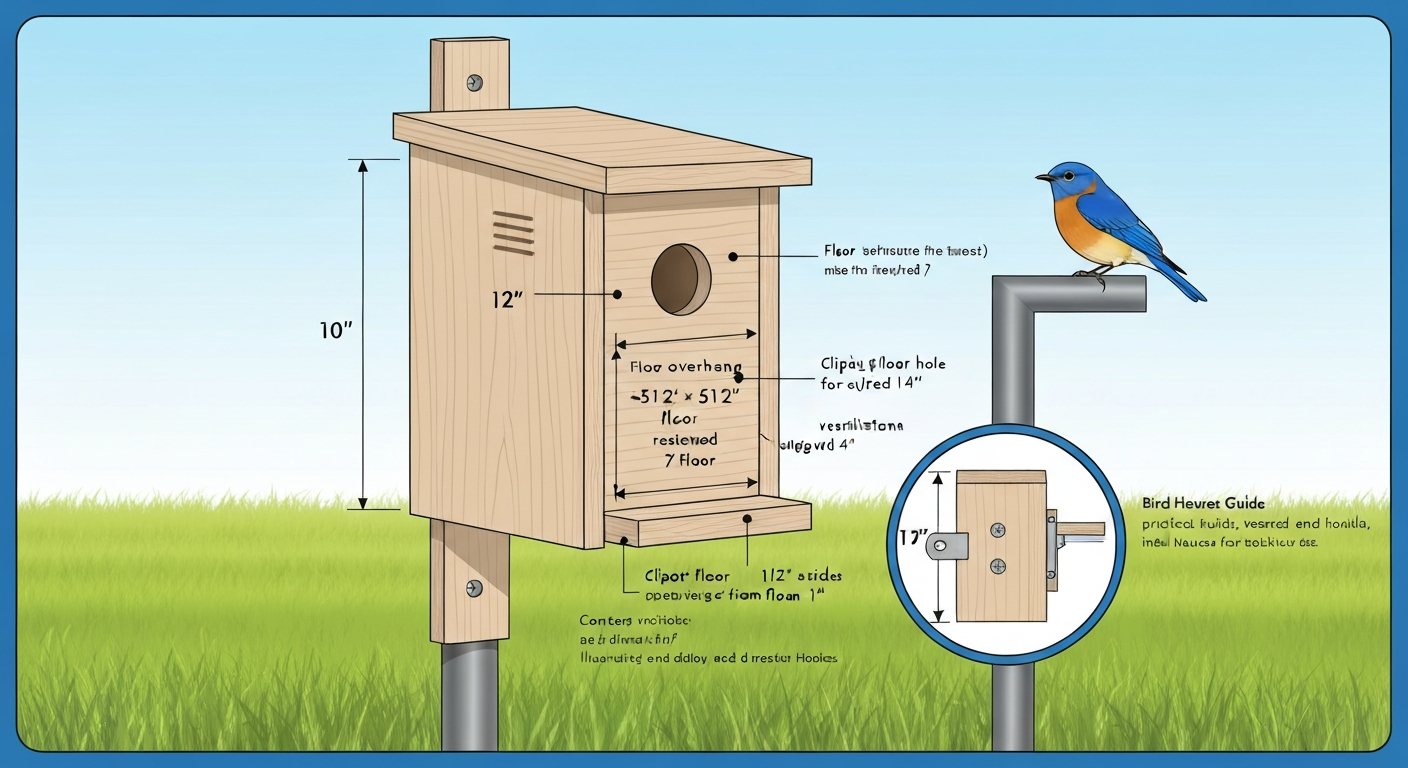
Blue Bird House Instructions: DIY Plans, Sizes & Mounting
DIY bluebird house: step-by-step build, exact cuts and hole sizes, mounting, predator guards, cleaning, and care.
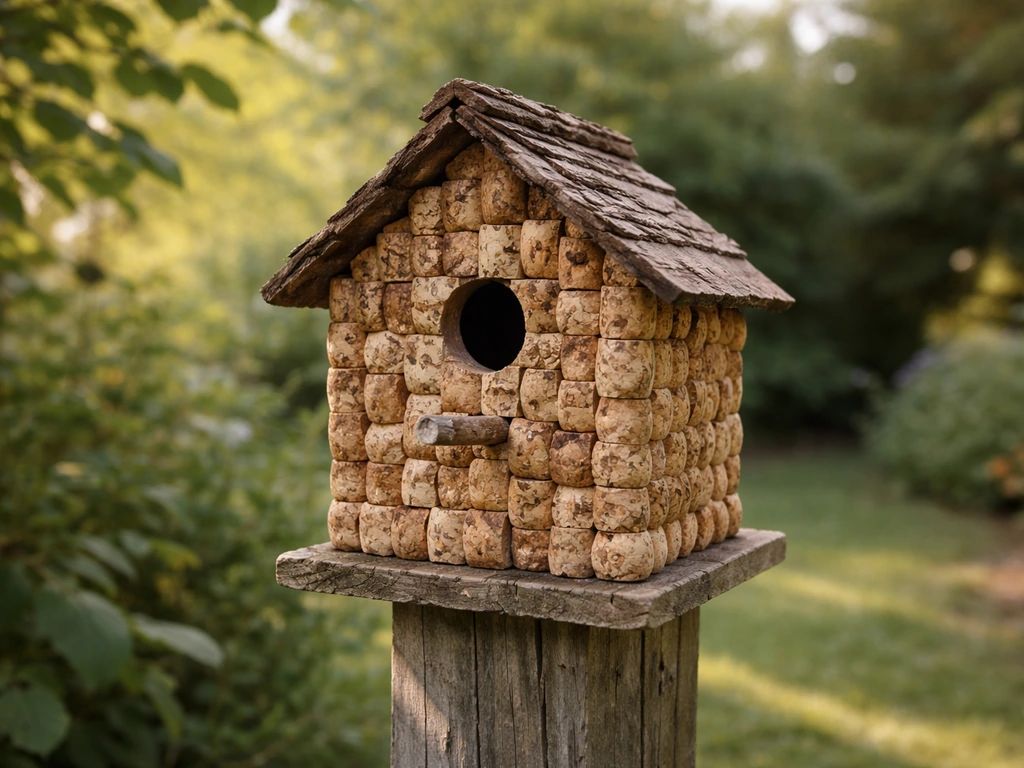
Wine Cork Bird House Instructions: DIY Steps and Bird-Safe Specs
Step-by-step wine cork mini birdhouse build with bird-safe dimensions, safe materials, mounting, cleaning, and weatherpr