
You can technically use pressure-treated wood for the exterior structural parts of a bird house, but you should not use it for any interior surfaces where nesting birds will have direct contact. Every major bird conservation organization, including Cornell Lab's NestWatch, Penn State Extension, and UVM Extension, explicitly recommends against it. If you already have treated lumber in the garage and want to use it, the safest path is to keep it strictly to exterior framing or the mounting post and use untreated wood for the floor, walls, and roof interior. Better yet, grab a piece of cedar or pine and skip the worry entirely.
Can You Use Pressure-Treated Wood for Bird Houses?

Maya Thompson
29 May 2026
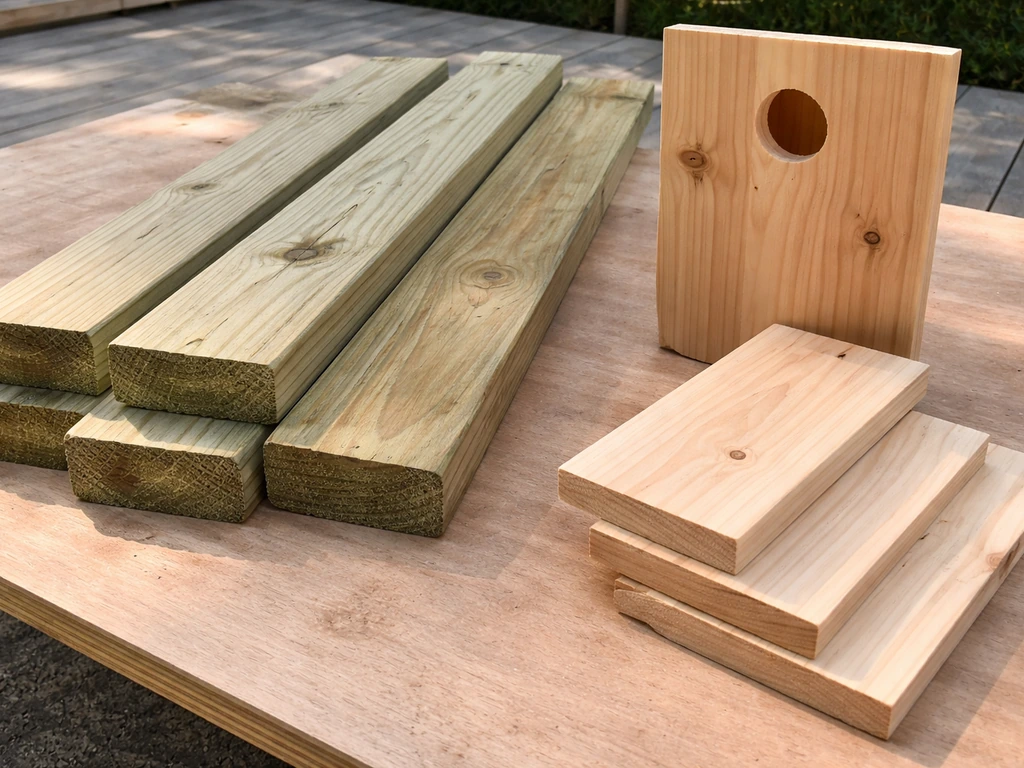
Why pressure-treated wood raises red flags for bird houses
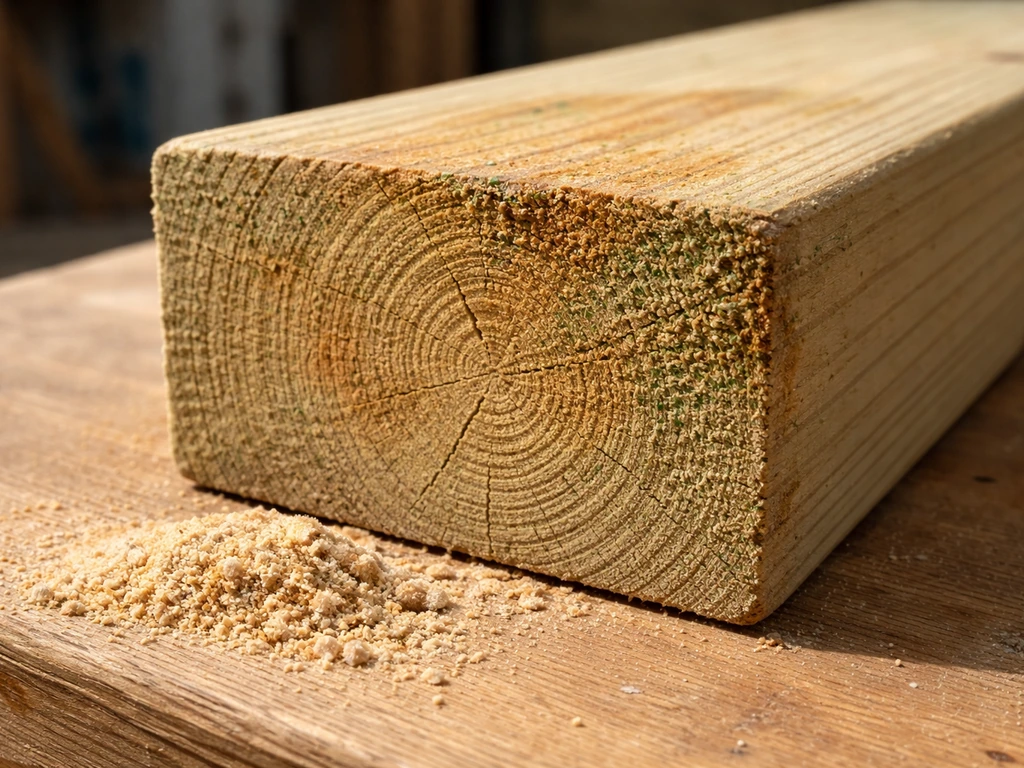
Modern pressure-treated lumber sold at hardware stores today is treated with copper-based preservatives, primarily ACQ (alkaline copper quaternary) or copper azole (CA). These replaced the older CCA (chromated copper arsenate) formula that contained arsenic. The arsenic angle is what you'll see referenced in older guidance from sources like Lane Audubon and Penn State Extension, but even the newer copper-based systems come with real concerns for birds nesting in close contact with the wood.
The core issue is leaching. Research published in the scientific literature shows that copper from ACQ-treated wood leaches significantly more during wet conditions, with one field-scale study finding roughly 84% more copper leaching during the wet season than the dry season. A nest box is exactly the kind of warm, intermittently wet environment that drives that leaching. Nestlings sit directly on the floor, press against the walls, and breathe air in a small enclosed space. That's the worst-case contact scenario.
On top of leaching, there's the fume question. All About Birds and UNH Extension both warn that some wood preservatives can release harmful gases, particularly in hot weather. All About Birds also warns that some wood preservatives can release harmful gases, particularly in hot weather. NestWatch is honest that no conclusive studies have been done specifically on whether residual fumes from pressure-treated wood harm birds inside a nest box, but the precautionary position from every credible source is consistent: avoid it for interiors. The risk-to-benefit ratio just doesn't make sense when untreated cedar costs the same and performs beautifully.
When it's okay, when to avoid it, and what to use instead
The firm no-go zones
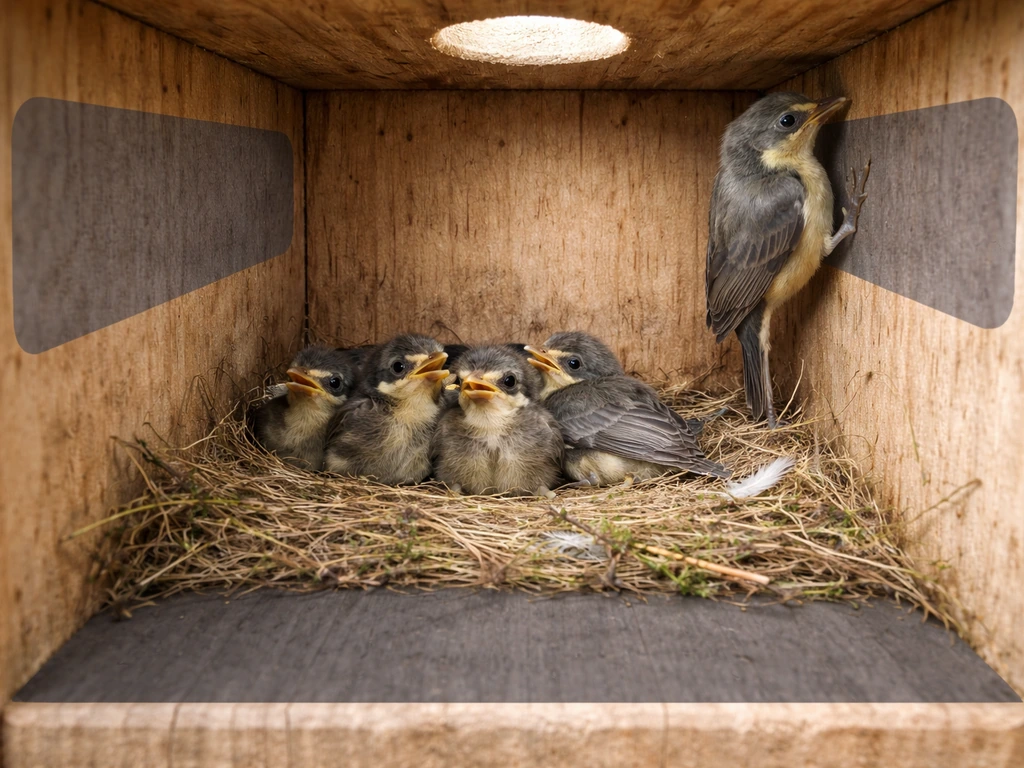
- Interior floor: nestlings sit directly on this surface and preen material that touches it
- Interior walls: birds press against these and chicks climb them as fledglings
- Roof underside (interior face): hot air trapped here concentrates any off-gassing
- Any surface within 2 to 3 inches of the entry hole where birds grip and perch repeatedly
- Any component for bluebird boxes, purple martin gourds, or other secondary-cavity nesters that spend long periods confined inside
Where it's more defensible
- Mounting posts driven into ground, where rot resistance is genuinely valuable
- Exterior-only framing pieces on a larger multi-nest structure, fully separated from the nest cavity
- Baffles and predator guards mounted below the box, not in contact with nesting materials
- Roof exterior surface only, if fully sealed with a bird-safe exterior finish and given adequate cure time
Safer wood alternatives that actually outperform treated lumber
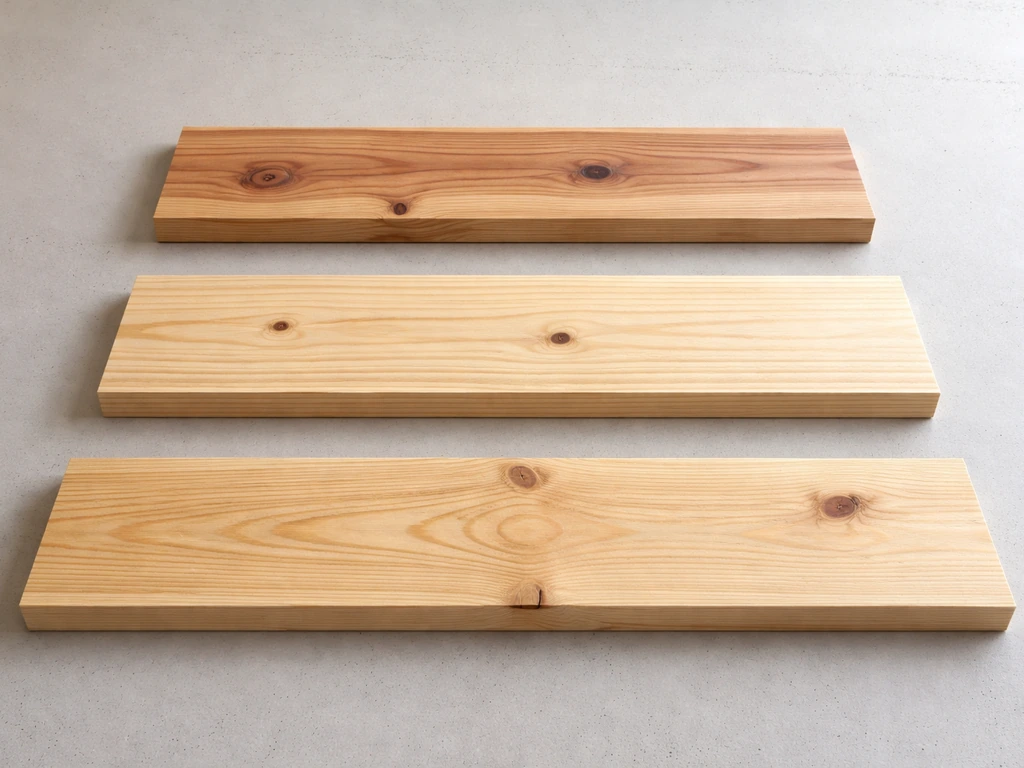
NestWatch's top recommendation is untreated cedar, pine, or cypress, and this is genuinely good advice. Eastern red cedar is naturally rot-resistant, smells pleasant rather than chemical, and weathers to a neutral gray that birds don't seem to mind at all. White cedar and western red cedar are equally good. Rough-cut pine (1-inch nominal boards) is inexpensive, easy to work with, and perfectly durable for 10 to 15 years with good design. Cypress holds up in wet climates particularly well. All of these are better choices than treated lumber for any part of the nest box, and none of them require the timing, sealing, or ventilation workarounds that treated wood demands.
| Material | Interior Safe? | Rot Resistance | Cost | Notes |
|---|---|---|---|---|
| Untreated cedar | Yes | Excellent | Low to moderate | Best all-around choice; no finish needed |
| Untreated pine (rough-cut) | Yes | Moderate | Low | Great for beginners; rough texture helps fledglings climb |
| Untreated cypress | Yes | Excellent | Moderate | Ideal for humid or rainy climates |
| ACQ/CA pressure-treated | No (interiors) | Excellent | Low to moderate | Acceptable for posts/guards only; avoid nest cavity contact |
| Plywood (exterior grade, untreated) | Avoid interior | Moderate | Low | Glues and binders are a concern; use only if untreated and sealed exterior |
If you're comparing options across a bigger build decision, the choice of wood connects closely to finishing decisions like whether to stain, paint, or seal the exterior. If you want the best stain for bird houses, stick to finishes meant for outdoor use that are safe for birds on exterior surfaces only stain, paint, or seal. The guidance on interior surfaces is consistent regardless of wood type: leave them bare and untreated.
Building a bird house with treated wood: how to reduce risk if you proceed
If you decide to use pressure-treated lumber for any non-interior structural component, there are specific steps that reduce the risk to birds. This is not a "just go for it" situation; it requires deliberate choices at every stage.
Step 1: Wait for full drying and cure time
Freshly treated lumber is visibly wet and continues off-gassing and leaching as it dries. Kiln-dried-after-treatment (KDAT) lumber is drier from the start and requires less waiting, but standard treated boards from a big-box store should be allowed to dry for at least 30 to 60 days in a well-ventilated area before use in any bird house component. Missouri Extension's framing for painting treated lumber is that the wood must be dry before applying any finish, and the same logic applies here: wet treated wood poses a higher leaching risk than fully dried material. If you are finishing a bird house exterior, you may be wondering should bird houses be painted, and the safest approach depends on keeping the interior uncoated and allowing any finishes to cure fully.
Step 2: Keep treated wood away from the nest cavity entirely
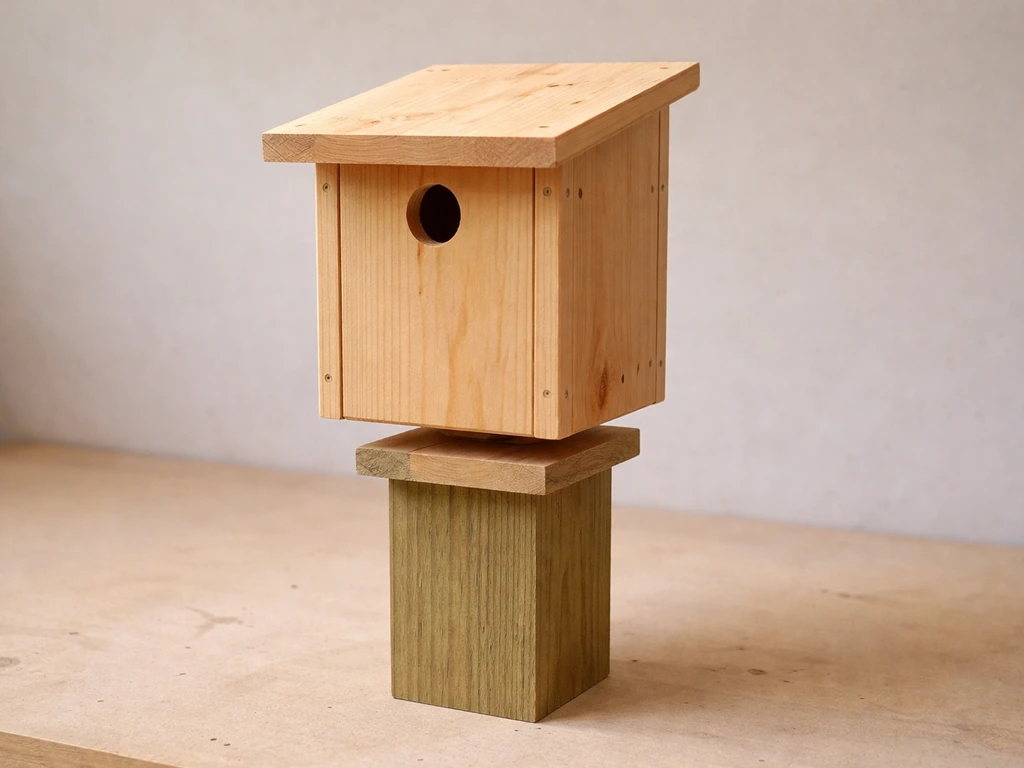
The practical approach is to build a complete nest box from untreated wood (all six sides: floor, four walls, roof) and then attach that box to a treated-wood post or treated mounting bracket. The nest box itself never needs to touch treated lumber. Use stainless steel or hot-dipped galvanized screws for connections, since standard zinc screws react badly with copper-based preservatives and corrode prematurely.
Step 3: Seal exterior treated surfaces that face the box
Any treated surface that will sit within a few inches of the nest box opening or that rainwater could splash from onto the box should be sealed with an exterior-grade, bird-safe finish. Wait until the treated wood is fully dry (use the touch test: no oily or wet feel, and the surface accepts water without beading), then apply a single coat of an exterior wood sealant. Do not apply any finish to interior nest box surfaces, ever. UVM Extension is explicit on this: nothing on the interior surfaces of the nest box.
Step 4: Design for drainage and ventilation
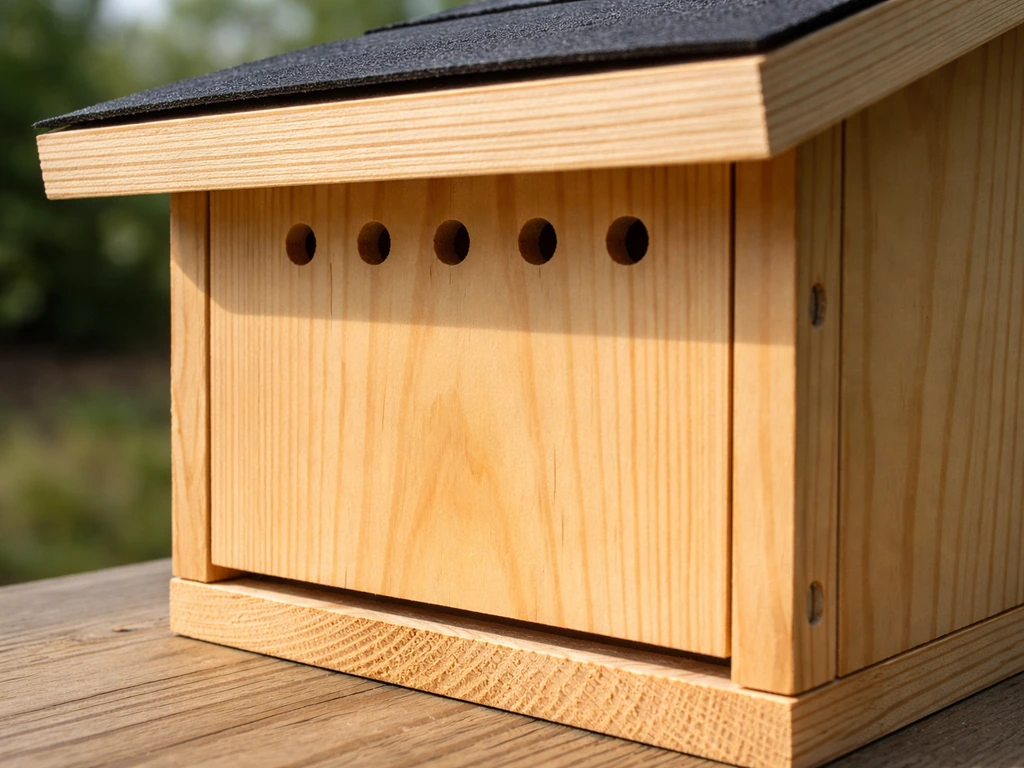
Good drainage and airflow matter for any bird house, but they matter even more if treated wood is anywhere in the assembly because moisture accelerates leaching. NestWatch recommends at least four drainage holes in the floor, each 3/8 to 1/2 inch in diameter. Ventilation gaps or small holes near the top of the side walls (just below the roofline) allow hot, humid air to escape. A sloped roof that overhangs the front by at least an inch helps shed rain away from the entry hole and keeps the interior drier. Cut the two side walls slightly taller than the front and back at the roof edge to create a natural pitch if you're working with flat boards.
Step 5: Entry hole size and interior dimensions
Get these right regardless of your wood choice. Entry hole diameter is species-specific: 1.5 inches for chickadees and nuthatches, 1.5 to 1.75 inches for bluebirds, 2 inches for tree swallows, and larger for wood ducks or kestrels. Interior floor dimensions and cavity depth also vary by species. Rough interior surfaces (leave them unplaned) help fledglings climb out. Do not add a perch below the entry hole; perches give predators and house sparrows a grip advantage.
Where and how to mount your bird house
Mounting height and orientation affect how safe and usable the box is, and they also affect how long the materials hold up. Face the entry hole away from prevailing winds (in most of the US, that means facing roughly east or southeast) to keep rain from blowing inside. This also lets morning sun warm the box, which birds prefer in early spring.
Mount boxes between 5 and 10 feet off the ground for most cavity-nesting species, though bluebirds do well at 4 to 6 feet and wood ducks need 10 to 20 feet. If you're using a treated-wood post driven into the ground, the treated post is actually ideal for this application: ground contact is exactly where rot resistance matters most and where bird contact is zero. Top the post with a metal or PVC baffle 4 feet off the ground to block raccoons, snakes, and cats from climbing up.
Avoid mounting directly to living trees if possible. Trees sway, which stresses the screws over time and can unseat the box during windstorms. A freestanding metal or treated-wood post with a baffle gives you the best combination of stability and predator protection. Keep the box at least 100 feet from active bird feeders to reduce competition and harassment from non-nesting birds.
Keeping the bird house safe season after season
A well-built box is only as safe as its maintenance routine. NestWatch is clear that you should clean out the nest box at the end of each breeding season. After the last fledglings have left (typically by late summer to early fall depending on your region), remove all nesting material from the cavity, then scrub the interior with a mild detergent and water. If the box has significant fecal buildup, use a 1:10 bleach-to-water solution, rinse well, and let it dry completely in open air before closing it up.
NestWatch emphasizes that you should only clean when there is no sign of active breeding. Do not disturb a box that has eggs or live nestlings. Monitor from a distance first, and if in doubt, wait another week before inspecting.
Check the structural condition of the box each spring before the nesting season begins. Look for warping, cracked joints, loose screws, and any soft or punky wood on the floor or lower walls (the spots that stay wettest). If you built with untreated cedar or pine, expect to get 8 to 15 years from a well-maintained box. If any treated-wood components like posts or baffles are showing signs of deterioration, replace them before they fail and drop the nest box.
Inspect the entry hole diameter each spring as well. Woodpeckers and squirrels can enlarge holes over winter. A hole that's grown from 1.5 to 1.75 inches may start admitting European starlings instead of the bluebirds you intended to host. Attach a metal hole reinforcer (available at wild bird stores) or cut a new entry panel if the hole has been compromised.
Your practical next steps
If you have treated lumber on hand right now, the clearest path forward is this: use it for the post and baffle only, and buy a single 6-foot length of rough-cut cedar or pine for the nest box itself. A key part of choosing the best finish for bird houses is using a bird-safe exterior wood finish only where it is truly needed, while leaving the interior uncoated and untreated bird box itself. For most bird houses, the best color is a natural, muted tone like untreated cedar or soft gray that blends with the surroundings buy a single 6-foot length of rough-cut cedar or pine for the nest box itself. A standard nest box uses less than 6 board-feet of wood. The material cost difference is negligible and you'll have zero concerns about interior chemical contact.
- Check your treated lumber: look for the end-tag stamp. If it says ACQ or CA, it's modern copper-based. If it says CCA (older stock), do not use it anywhere near a bird house at all.
- If the treated wood is freshly purchased and still damp, set it aside for 30 to 60 days before using it even for a post.
- Source untreated cedar, pine, or cypress for the nest box itself. Rough-sawn is ideal; skip anything pre-planed to a glassy finish since rough texture helps fledglings.
- Cut the six nest box panels (floor, front, back, two sides, roof) from untreated wood. Leave all interior surfaces completely bare.
- Assemble with stainless steel or hot-dipped galvanized screws. Gluing joints in addition to screwing them extends the life of the box significantly without any chemical risk.
- Attach the finished box to your treated-wood post using a metal mounting bracket so the box can be removed easily for cleaning each fall.
- Install a predator baffle on the post before the first nesting season and check it every spring for damage.
The short version: pressure-treated wood and bird house interiors are a bad combination, but treated posts are fine and even ideal. Use the right material in the right place, build in good drainage and ventilation, and commit to an annual clean-out, and your nest box will serve birds safely for well over a decade. If you already have bird holes in siding, repairs usually go best after you remove any active nests and then patch with durable exterior materials.
FAQ
If I already bought pressure-treated boards, can I use them for the outside walls only and leave the inside bare?
Yes, for the post and mounting hardware. Pressure-treated lumber works well for parts that never get inside the nesting cavity (like a ground-contact post or exterior bracket), while the box itself should be untreated. This is also why it helps to build the entire nest box first from untreated boards, then attach it to the treated support later.
Can I seal pressure-treated wood on the inside so birds never contact the chemicals?
Try to avoid it, even if you plan to “protect” the interior with paint or clear coat. Preservatives can still leach into wet, high-contact areas, and any interior coating may crack or wear over time, exposing wood again. If you must use treated wood somewhere, keep it strictly away from the interior cavity surfaces and ensure the interior stays uncoated and untreated.
How long do I need to let pressure-treated wood dry before using it in a nest box?
Don’t rely on “air-drying longer” as a complete fix. Treated lumber continues to off-gas and can release preservative while it’s drying, and the leaching risk rises again with wet conditions. Even if you wait 30 to 60 days, the safest practice is still to use untreated wood for all surfaces birds touch.
Should I paint or seal the roof and walls of the nest box if the wood is untreated?
No, use a bird-safe exterior finish only on treated wood surfaces that are close to the cavity or could get splashed by rain. The interior cavity (floor, walls, and roof surfaces) should remain bare and untreated. If you apply finish inside, you create an extra variable you cannot control for cracking, peeling, and chemical exposure.
Are galvanized screws okay if one part is pressure-treated and the rest is untreated?
Use them in the box only if the treated lumber is completely external. However, for connections between treated and untreated parts, use stainless steel or hot-dipped galvanized screws, and avoid zinc-coated screws near copper-treated material. Zinc fasteners can corrode faster in copper-preservative environments, which can loosen joints over a few seasons.
If I add extra drainage holes, can I safely use treated wood for the floor?
Only if the section is not part of the nesting cavity. The drainage idea applies to all boxes, but if treated wood is anywhere in the box body, water exposure becomes more critical. Make sure the nest box itself is untreated, then use drainage holes and ventilation gaps as usual to keep moisture from pooling around the floor.
Does heat change the safety of pressure-treated wood for bird houses?
Often, yes, but it depends on whether the bird house was already installed with gaps and whether nearby structures trap heat. In very hot climates, treat-free interiors remain the safest approach. If you’re rebuilding, choose untreated cedar or pine and keep the exterior finish strictly on exposed treated supports only (not inside the cavity).
What should I do if my existing bird house already has treated wood in the cavity?
If you find deterioration, replace the treated component before it fails, and inspect for loosening around fasteners and the lowest boards that stay wetest. For the box interior, don’t attempt to “patch” with treated scraps, even small ones. Replace the entire nest-cavity box if any interior surfaces were made from treated lumber.
If the entry hole got bigger over winter, should I sand it down or replace the panel?
Replace the entry panel rather than sanding or enlarging it once it’s compromised. Holes that enlarge can allow unwanted species, and sanding may make the edges rougher and easier to further expand. A metal hole reinforcer helps, but if the panel is worn or cracked, cut in a new entry section from untreated material.
What’s the safest way to use treated lumber if I’m building from a parts kit and need shortcuts?
Build a complete untreated box, then attach it to the treated post or bracket using the right fasteners. If you need to connect treated wood close to the opening, seal only the treated exterior surface that could be splashed, and keep the cavity interior uncoated. This “separate roles” strategy avoids the most common mistake, which is using treated off-cuts inside.