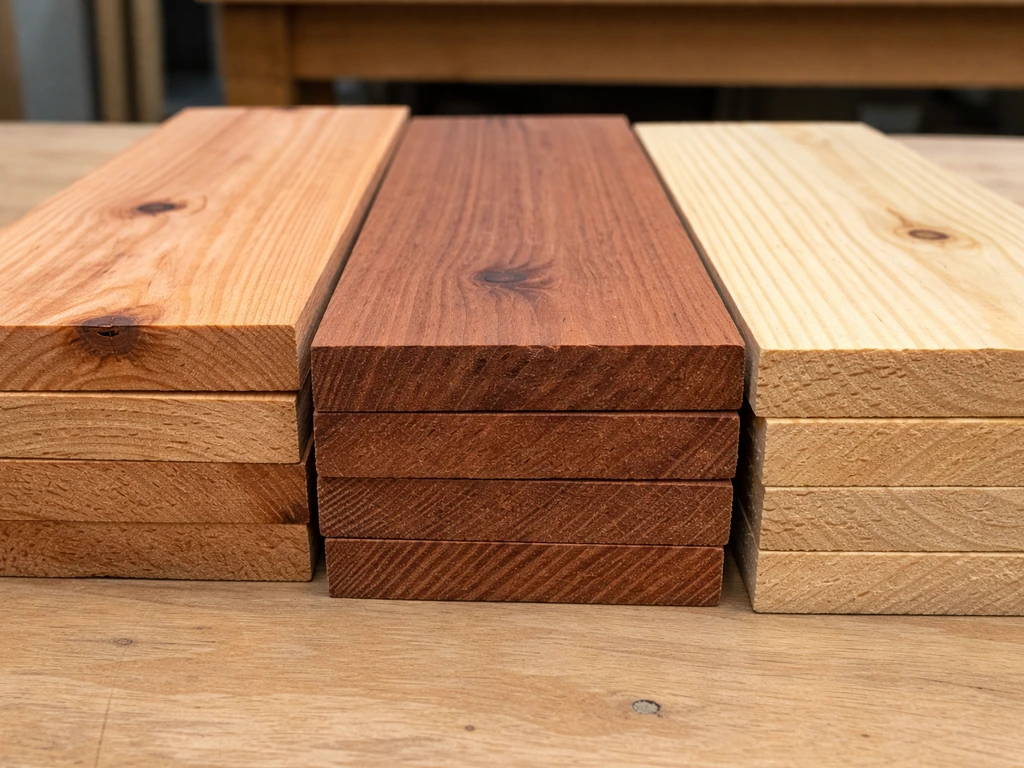
Cedar is the best all-around wood for bird houses. It resists rot naturally, handles moisture without warping, insulates well, and requires no chemical treatment to last a decade or more outdoors. Redwood is a close second. If you can't find either locally, untreated white pine or yellow pine works fine with some extra attention to thickness and drainage. That's the short answer. The rest of this guide explains why, what to avoid, and exactly how to buy, cut, and finish whichever wood you choose.
Best Wood for Bird Houses: Safe, Durable DIY Options
Maya Thompson
12 Apr 2026
Choosing wood basics for bird houses
The wood you pick has to do four jobs at once: shed rain, insulate eggs and chicks from temperature swings, resist rot over multiple seasons, and stay free of chemicals that could harm the birds inside. Most wood that checks all four boxes is a naturally rot-resistant species sold as untreated lumber. That last word, untreated, matters more than any other single factor.
Durability comes from the wood's natural oils or density. Cedar, redwood, and cypress all contain oils that repel moisture and slow decay without any added preservatives. White pine and yellow pine don't have those oils, so they decay faster, but they're cheap, easy to find, and perfectly usable if you keep them at least 3/4 inch thick and give them a safe exterior finish. Insulation is mostly a function of thickness: NestWatch recommends walls of at least 3/4 inch to buffer chicks from cold nights and hot afternoons. Thicker is better in climates with wide temperature swings.
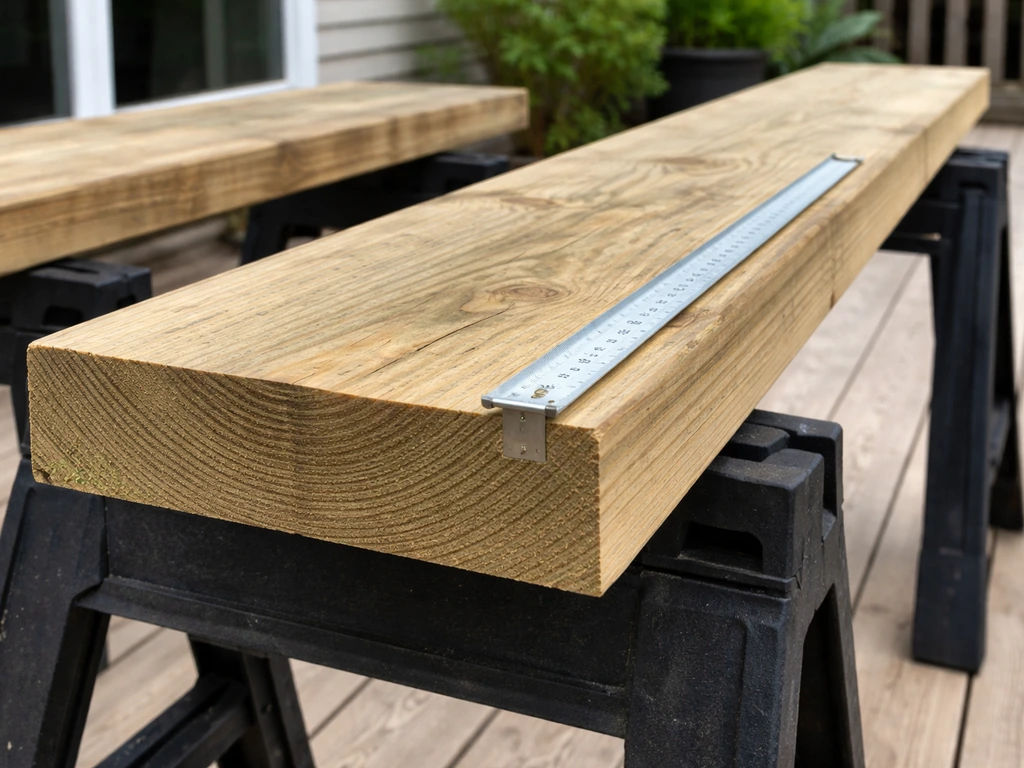
Moisture handling depends on both the species and the grain orientation. Quarter-sawn or flat-sawn boards from a rot-resistant species will shed water better and warp less than the same thickness in a moisture-absorbing wood like MDF or OSB. Rough-sawn lumber is actually ideal on the inside of the box because the texture gives hatchlings something to grip when they're ready to fledge, and it dries faster than smooth-planed surfaces.
Best woods for different bird-house types
Different cavity-nesting species need different box dimensions, but the wood choice follows the same logic across almost all of them. Where species-specific recommendations do differ slightly, it's usually about wall thickness and the degree of weathering the box will face based on mounting location.
| Wood | Rot Resistance | Availability | Cost | Best Used For |
|---|---|---|---|---|
| Cedar (western red or eastern red) | Excellent | Wide | Moderate | All species, all climates, first choice |
| Redwood | Excellent | Mainly western US | Moderate–High | Open-country boxes, bluebird trails, wet climates |
| Cypress | Excellent | Southern US | Moderate | Hot, humid climates; excellent dimensional stability |
| White pine | Fair | Very wide | Low | Sheltered locations, protected by overhang or exterior finish |
| Yellow pine | Fair | Wide (southeastern US) | Low | Heavier-duty boxes, good if kept thick and dry |
| Exterior plywood (untreated) | Fair | Very wide | Low | Budget builds; avoid interior grades and treated sheets |
For bluebird boxes specifically, organizations like the North American Bluebird Society point to cedar and redwood as the most durable choices because they weather well without any coating, which matters on trail boxes that may go unchecked for weeks at a time. Tennessee Wildlife Resources Agency specifically recommends natural, uncoated wood such as cedar or redwood as more durable than pine or exterior plywood for bluebird nest boxes. For larger cavity nesters like wood ducks or screech owls that need thicker walls and floors, cypress and cedar are both excellent, particularly in the Southeast where humidity accelerates decay in softer woods.
If you're building a small, sheltered wren box under an eave or in a covered porch area, plain white pine at 3/4 inch does fine and costs almost nothing. For an exposed bluebird box on a fence post in the middle of a field, spend the extra money on cedar. You'll replace pine boxes every few years; a cedar box can easily last 10 to 15 seasons.
Timber quality, thickness, and weathering considerations
Stick to 3/4-inch nominal boards as a minimum for all walls, floors, and roofs. In cold climates or for species that use the box year-round (like chickadees that roost in winter), going to 1-inch thickness on the walls gives noticeably better insulation. The roof can go thicker still or be doubled up because it takes the most direct sun and rain. NSIS recommends a sloping roof slightly larger than the nest box to help keep the interior dry, so build the roof with at least a 1-inch overhang on all sides, ideally 1.5 to 2 inches over the entrance hole.
Buy lumber rated for outdoor use when you're working with pine. Look for kiln-dried boards graded #2 or better, with no large loose knots near the edges where you'll be drilling entrance holes or cutting drainage slots. Avoid MDF entirely: it dissolves in moisture. Avoid OSB and interior-grade plywood for the same reason. NABS’s FAQ guidance says the best materials are “¾- to 1-inch wood or exterior grade plywood” and instructs not to use “treated lumber or interior grade wood (including OSB board).” Avoid OSB and interior-grade plywood for the same reason.. The North American Bluebird Society specifically calls out OSB and interior-grade materials as unsuitable for nest boxes.
Grain orientation affects how boards weather. Try to orient boards so the growth rings run roughly parallel to the face you want to stay flat. Flat-sawn boards will cup slightly as they dry and wet over years, which can open gaps at joints. Gluing joints before nailing helps significantly: NestWatch recommends this specific technique to extend the life of untreated wood boxes. Use waterproof wood glue (like Titebond III) at every joint before you drive screws or galvanized nails.
Wood to avoid and why
Pressure-treated lumber is the single most important thing to keep out of any bird box build. Connecticut’s CAES fact sheet explains that in the era of CCA use, pressure-treated wood commonly involved arsenic-containing formulations like chromated copper arsenate, which is part of why it raises safety concerns for wildlife pressure-treated lumber is the single most important thing to keep out of any bird box build.
NestWatch describes it as containing a combination of pesticide and fungicide, and Penn State Extension warns it contains copper arsenate. Hinterland Who's Who puts it plainly: never use pressure-treated lumber for nest boxes because it can be toxic to wildlife. The California Bluebird Recovery Program extends this to pressure-treated plywood specifically. If you're unsure whether wood you already have at home has been pressure-treated, look for a greenish or brownish tint and check the end grain for a stamp.
When in doubt, don't use it.
You should also skip any wood that has been treated with creosote or oil-based preservatives. Hinterland Who's Who explicitly lists creosote as a no-go for nest boxes. Reclaimed railroad ties, old deck boards with unknown coatings, and pallet wood from industrial sources can all carry chemicals you can't see. If you want to use reclaimed lumber, limit it to known sources like old cedar fence boards or barn siding that you're confident were never chemically treated.
- Pressure-treated lumber of any species (green-tinted ACQ, CCA, or similar)
- Pressure-treated plywood, including exterior-rated treated sheets
- OSB and interior-grade plywood (they absorb moisture and fall apart outdoors)
- MDF and particle board (disintegrate rapidly in any moisture)
- Wood treated with creosote or oil-based wood preservatives
- Reclaimed wood with unknown coatings or industrial chemical history
- Painted boards where the paint type and lead content is unknown (pre-1978 paint especially)
A quick note on a question that comes up constantly: whether pressure-treated wood is safe for bird houses is worth reading through carefully if you've got a stack of treated lumber in your garage and you're tempted to use it. The short version is that no amount of weathering makes it safe for the interior of a nest box.
Cut list, finishing, and sealing guidance
Before you cut anything, plan your drainage and ventilation into the design. NestWatch recommends at least four floor drainage holes sized 3/8 to 1/2 inch in diameter. If you prefer corner cutouts instead, NABS suggests cutting or drilling 1/4 to 1/2 inch openings at the floor corners, which serve the same function. For ventilation, NestWatch recommends two 5/8-inch diameter holes on each side wall near the top, four total. Alaska ADF&G's guidelines for cold climates scale these slightly smaller (about 1/8 to 1-1/4 inch diameter) to reduce heat loss, a good reminder that ventilation sizing can be tuned to your climate.
On the exterior, you have options. Cedar and redwood can go completely unfinished and will simply silver to a gray patina over years, which birds don't mind at all. If you want to protect a pine box or match a garden aesthetic, use only nontoxic, water-based products. NABS explicitly approves water-based latex paint, raw linseed oil, or Thompson's Water Seal for exterior use. If you are considering tung oil, treat it as another exterior wood finish and make sure it is labeled nontoxic and bird-safe for use outside raw linseed oil. Never finish the interior of the box. Multiple sources are unanimous on this: no paint, stain, or preservative inside. The interior should be raw, untreated wood.
If you're thinking about staining the outside, choosing the best stain for bird houses is worth a look before you buy anything, because not all exterior stains are safe once the box is occupied. Similarly, if you're deciding whether to paint at all, the guidance on whether bird houses should be painted covers the species and climate cases where a light exterior coat actually helps. And if you're considering an oil finish, check out whether tung oil is safe for bird houses before applying it, because some tung oil products contain drying agents that raise safety concerns.
For a broader look at what's safe and what isn't across all exterior finish types, the guide to the best finish for bird houses breaks it down product by product. And if paint color is on your mind, there's solid reasoning behind which colors work best for bird houses, particularly in hot climates where a dark exterior can cause dangerous overheating inside the box.
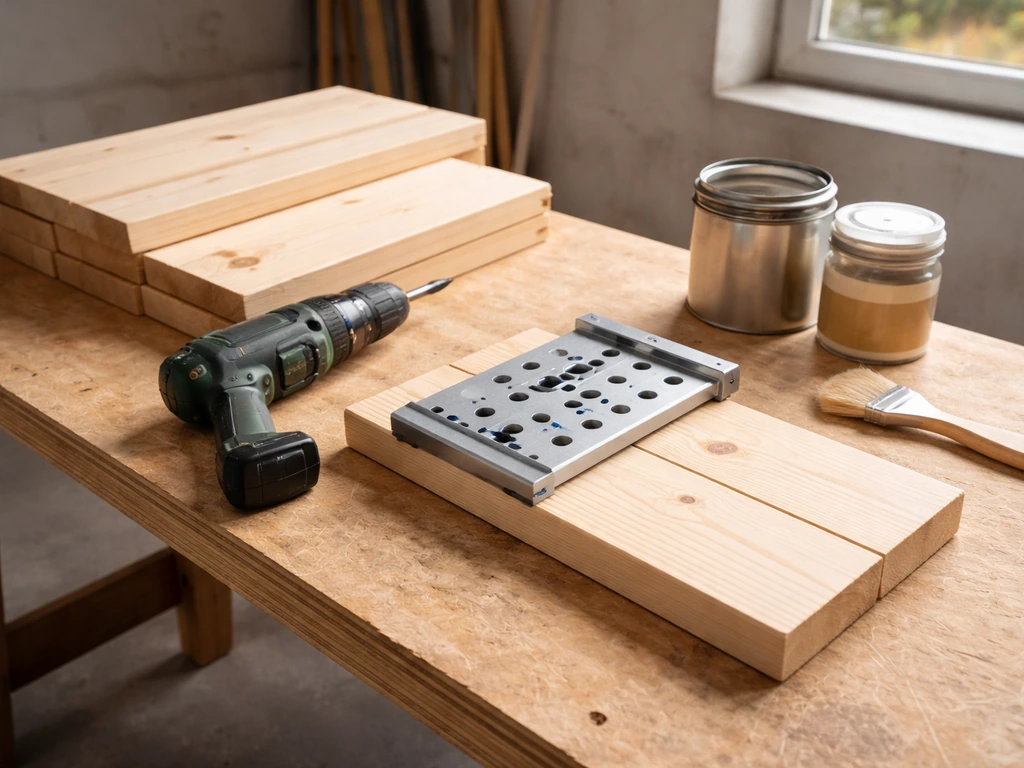
- Cut all boards to spec at 3/4-inch minimum thickness. Label each piece.
- Drill entrance hole first, before assembly, to avoid splitting assembled walls.
- Cut or drill four drainage holes (3/8–1/2 inch) in the floor.
- Drill ventilation holes (5/8 inch each) near the top of both side walls.
- Rough up the interior front wall below the entrance hole with a saw kerf or chisel cuts so fledglings can climb out.
- Apply waterproof glue to all joints before fastening with galvanized screws or ring-shank nails.
- If finishing the exterior, apply one thin coat of approved water-based product after assembly, keeping it off the interior surfaces entirely.
- Allow any exterior finish to fully cure (at least 48–72 hours) before mounting the box.
Regional and installation factors that affect wood choice
Where you live changes how quickly wood weathers and how important natural rot resistance becomes. In the humid Southeast and Gulf Coast states, cypress is the standout choice: it handles heat and humidity better than almost any other readily available species. In the Pacific Northwest, western red cedar is abundant and affordable, and its performance in wet conditions is exceptional. In the arid Southwest, pine boxes hold up reasonably well because there's simply less moisture driving rot, but UV exposure is intense, so an exterior water-based finish helps preserve the wood longer.
In northern climates with hard winters, wall thickness matters more than species. A 1-inch cedar or pine wall will keep interior temperatures more stable during late-winter temperature swings when early nesters like bluebirds are already scouting boxes. Alaska ADF&G's guidelines reflect this: their cold-climate designs emphasize tight construction and reduced ventilation holes to retain heat, while still requiring floor drainage to handle snowmelt. If you're mounting boxes in exposed northern locations, consider a deeper roof overhang (2 inches or more) to keep driving rain and snow out of the entrance hole.
Mounting location also affects wood longevity. A box on a metal pole in the middle of an open field gets more UV, wind, rain, and temperature variation than one mounted under a tree canopy or on the shaded side of a fence post. For exposed open-country bluebird trail boxes, the extra investment in cedar or redwood pays off quickly in reduced replacement and repair costs. For shaded, sheltered sites, pine is a reasonable budget option.
One installation-adjacent topic worth mentioning: if you've noticed woodpeckers enlarging entrance holes on your existing boxes, or drilling into wood siding near nest boxes, the guidance on how to fix bird holes in siding has practical repair options that use similar wood species and finishing principles to what you're using for the box itself.
Maintenance and cleaning to keep houses safe
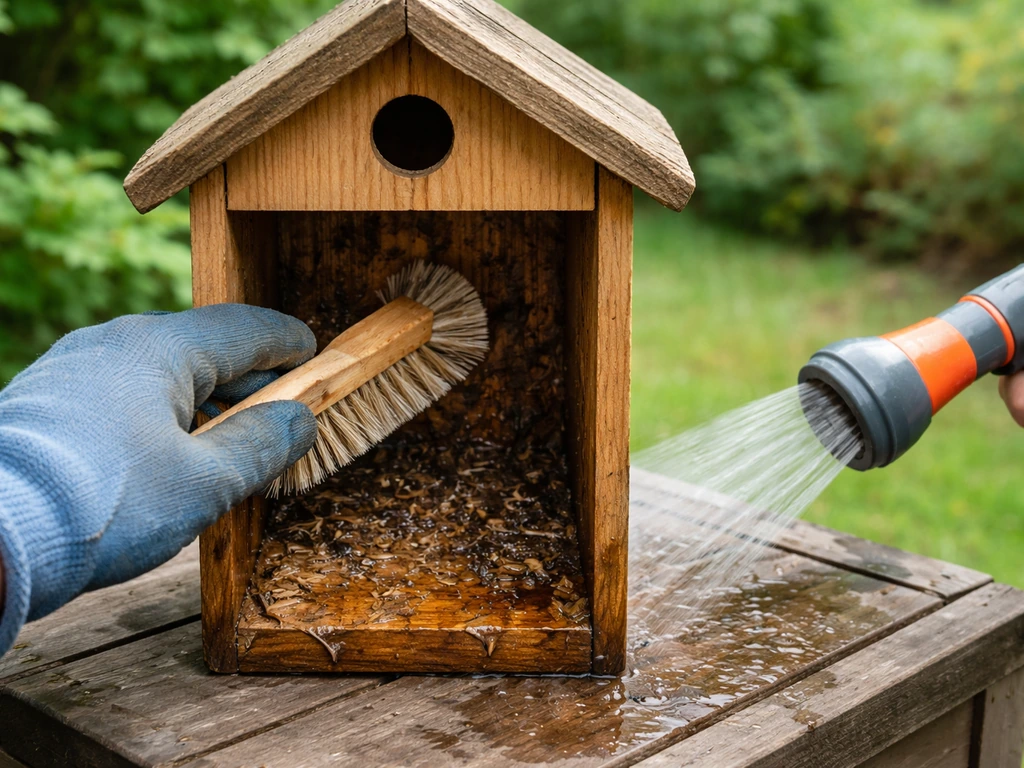
The best wood in the world won't keep birds healthy if the box isn't cleaned between nesting seasons. At the end of the breeding season, typically around September for most cavity-nesting species in North America, remove old nesting material completely. Inspect the wood for soft spots, cracks at joints, or warping that could let in drafts or water. This is when the quality of your wood choice becomes obvious: a cedar box at year three will look nearly the same as it did when you built it; a pine box may need joint repairs or a fresh exterior coat.
After removing the old nest, scrub the interior with a stiff brush and rinse well. The San Juan Preservation Trust recommends spraying the interior with a very mild bleach and water solution (1 part bleach to 10 parts water) to kill bacteria, then allowing the box to air dry completely before closing it back up. Sialis.org also references a 10% bleach solution for boxes that may have been used by rodents or that show signs of contamination. Let the box dry in the sun for at least a full day before remounting or storing.
During the nesting season, monitoring about once a week, as recommended by the Florida Bluebird Society, lets you catch problems early: pest species taking over the box, wasp nests building up, or drainage holes clogging with debris. A quick look inside takes seconds and gives you information that helps you intervene before eggs or chicks are lost. Boxes made from durable, smooth-interior wood are easier to wipe clean and less likely to harbor mite infestations in cracks and rough grain.
After cleaning, check whether the exterior finish needs refreshing. A light recoat of water-based latex or a wipe of raw linseed oil on the outside of a pine box every two to three seasons adds years of life. Cedar and redwood typically need nothing but a brush-off. Tighten any screws that have backed out, re-glue any open joints with waterproof wood glue, and confirm that drainage holes are clear. A box that's properly maintained and built from the right wood should give cavity nesters a safe, reliable home for well over a decade.
FAQ
Can I use reclaimed wood if I strip off old paint or sealant?
Yes, as long as it is uncoated and you verify it is truly untreated. “Untreated” only applies to the wood species, not to unknown factory coatings. If you can smell oil, stain, or sealant, or you see a glossy factory finish, do not use it. For any questionable lumber, run a test cut on a hidden area and inspect the dust, color, and odor before committing to a whole box.
What hardware should I use, and can rust or coatings affect safety for bird houses?
Avoid using screws or nails that are plated with unknown coatings near the interior joint areas, especially if they look like they were used for exterior structures. Use galvanized or stainless fasteners, and keep them dry inside the box by maintaining drainage and ventilation. Even corrosion can eventually flake onto the nesting area, so periodically check fastener condition during the offseason cleaning.
If I use waterproof glue at joints, does glue inside the box matter for bird safety?
Exterior wood glue is fine for durability, but do not glue the interior seam surfaces in a way that creates puddling or blocks drainage. Spread glue evenly at the joints, clamp until set, then remove any squeeze-out so it does not form a ridge that can trap moisture. If you use glue, still keep the box interior raw, meaning no glue-based “coating” like epoxy or resin inside.
Can I sand the inside of a bird house, and should it be smooth or rough?
For most cavity nesters, leaving the interior rough is helpful because fledglings can grip. However, extremely splintery wood can injure birds. If the inside feels sharp, sand only the interior edges and corners, leaving faces reasonably textured. Do not seal or smooth the interior with any finish, because that can reduce grip and increase residue.
What if my lumber is thinner than 3/4 inch, can I still build a safe bird house?
Thin boards can fail insulation and moisture control even when the species is rot-resistant. A practical rule is to hit at least the 3/4-inch nominal thickness you already planned for walls, floors, and roof, then go thicker for cold or year-round use. If you have to go thinner due to material availability, prioritize adding a second wall layer or using an internal draft shield rather than simply accepting a thinner single wall.
How can I tell if a board is pressure-treated when there is no visible stamp or tint?
Tinted wood, older discoloration, or weathering stains are not automatically safe. Pressure-treated lumber sometimes has a distinctive tint and stamp, but some contaminated boards can look “normal” after weathering. If there is no stamp and you cannot confirm the source, treat it as unknown and do not use it for nest-box interiors.
Can I stain the inside of the bird house for looks or to prevent mold?
No. Even if a stain is labeled “exterior” and “nontoxic,” the interior needs to remain uncoated because many finishes cure slowly, can off-gas, or can leave residues birds contact with their feet and beaks. If you want a protected finish, apply it only to the outside surfaces after the interior is fully assembled and dry.
How often should I refinish the outside, and does it differ for cedar versus pine?
For most areas, recoat timing matters more than your exact product choice. Pine and pine blends typically need a refreshed water-based exterior coat every 2 to 3 seasons, because UV and repeated wetting break down film protection. Cedar and redwood often can be left uncoated, but in very exposed sun you may still want a breathable exterior product on the outside only to slow cracking and check formation.
If I paint a bird house, how do I avoid overheating and still protect the wood?
Yes, but do it in a way that preserves the nest-box function. If you paint or seal, keep the entrance hole and interior completely uncoated, and ensure the paint does not build up around drainage openings. Also check that your chosen color and film thickness do not darken the box enough to overheat in direct sun. Lighter colors and thin, water-based coats are the safer direction.
What should I do differently if I suspect rodents or heavy contamination in an older bird house?
If rodents occupy the area or you suspect contamination, increase cleaning attention but keep the approach mild. Use the offseason removal and scrub steps, verify all drainage and ventilation openings are clear, and ensure the box is fully air-dried in sun before reassembly. Do not substitute stronger chemicals for the recommended dilution, and do not treat with disinfectant or pesticide products that could leave residue.
Next Article
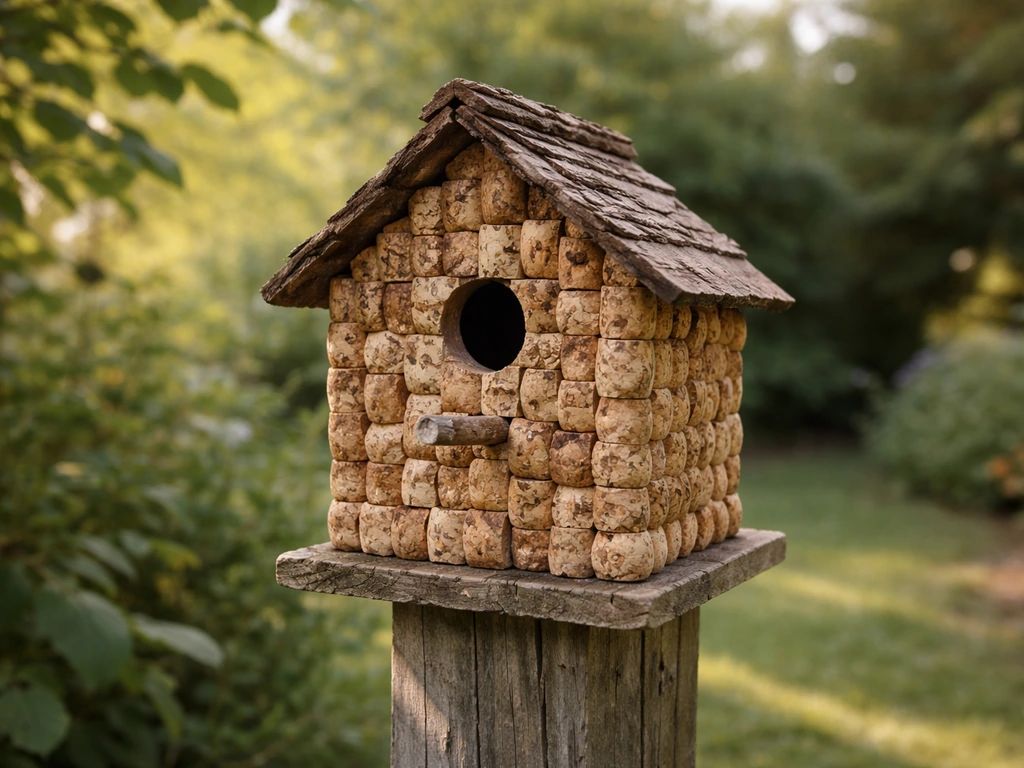
Wine Cork Bird House Instructions: DIY Steps and Bird-Safe Specs
Step-by-step wine cork mini birdhouse build with bird-safe dimensions, safe materials, mounting, cleaning, and weatherpr