
Bird house rules come down to six things: the right materials and construction basics, species-matched interior dimensions, a correctly sized entrance hole, proper mounting height and orientation, predator protection, and a regular cleaning schedule. Get all six right and cavity-nesting birds will find and use your box. Miss even one, and you'll likely end up with an empty or unsafe nest box.
Bird House Rules: Size, Placement, and Maintenance Guide

Maya Thompson
11 Jul 2026
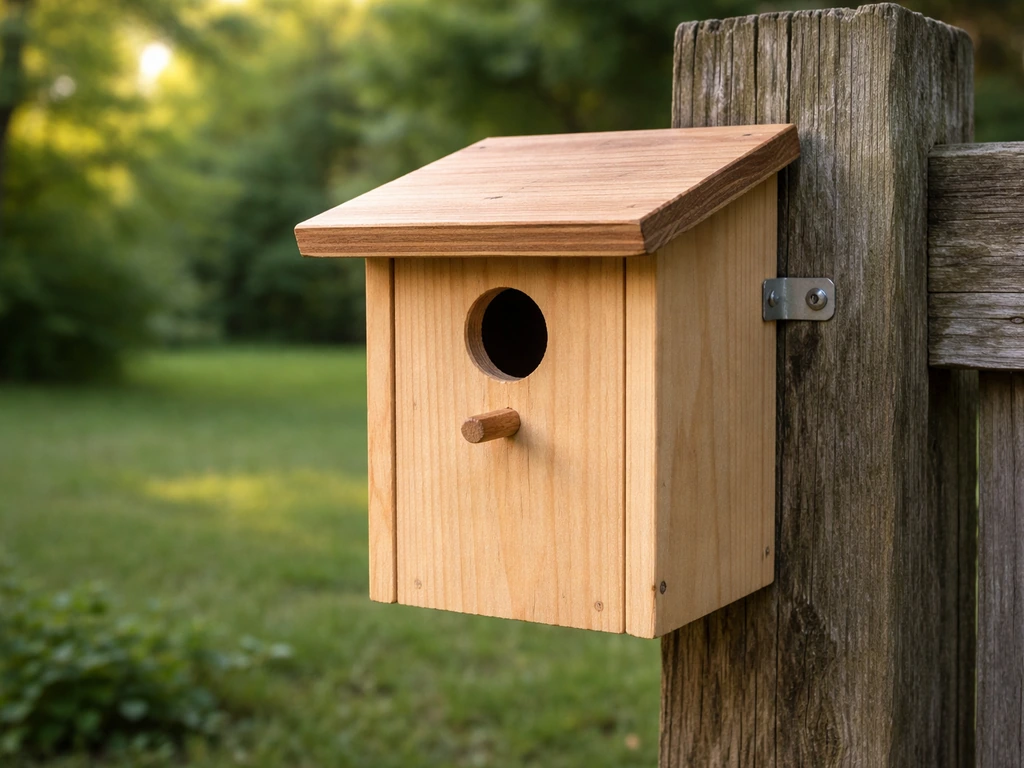
Essential bird house requirements checklist
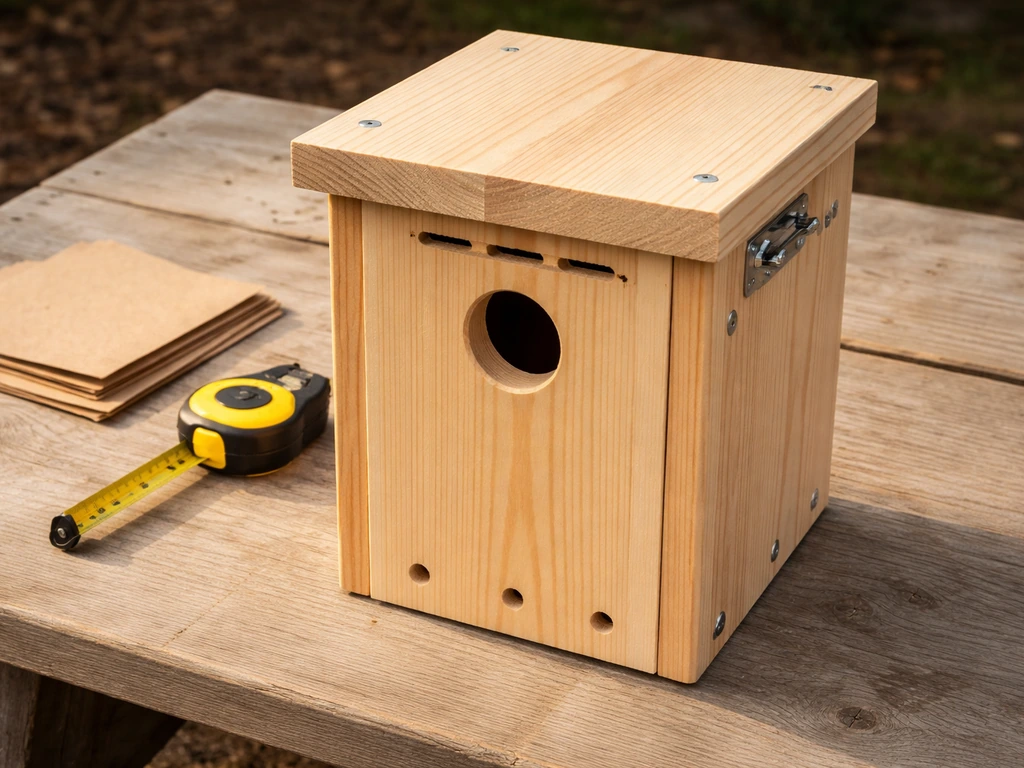
Before worrying about species or sizing, every nest box needs to meet a short list of non-negotiable construction basics. Following bird house basics like durable materials, safe dimensions, and a properly sized entrance helps you attract the right species construction basics. These are the features that determine whether a bird will even consider the box safe enough to raise a family in.
- Untreated, natural wood at least 3/4 inch thick (cedar, pine, and cypress are all good; avoid treated lumber, plywood with formaldehyde glues, and metal or plastic boxes that overheat)
- Drainage holes in the floor corners (four 1/4-inch holes minimum) so rainwater doesn't pool and drown nestlings
- Ventilation gaps near the roof or under the eaves (1/4 to 1/2 inch on each side) to prevent heat buildup on summer days
- A rough interior front wall below the entrance hole so fledglings can grip and climb out
- No exterior perch below the entrance hole (perches help predators and nest parasites, not resident birds)
- A hinged or removable panel for cleaning and monitoring access
- A recessed floor (set 1/4 inch up from the box walls) to keep the nest dry
- Exterior painted or stained in a neutral, non-reflective color if desired, but interior left completely unfinished
- Galvanized or stainless screws throughout, not nails, which work loose over time
Natural wood is the single most important material rule. Metal and plastic boxes can reach lethal interior temperatures on warm sunny days, and treated lumber off-gasses chemicals you don't want around developing chicks. Thick wood (at least 3/4 inch) insulates the nest cavity, keeping it cooler in summer and warmer during cold spring nights.
Species-appropriate bird house size guidance
There is no universal bird house size. If you're wondering how many bird houses to put up for the species you want to attract in OSRS, the best approach is to match the number of houses to your target bird goals and available space how many bird houses osrs. Cavity-nesting species evolved in natural cavities of very different dimensions, and they are surprisingly picky about matching what feels right. A bluebird will ignore a box sized for a wood duck, and a house wren will feel exposed in a box built for a screech-owl. Matching the box to your target species is the single biggest factor in whether the box gets used.
The table below covers the most common backyard cavity nesters in North America. Use it as your starting-point reference when building or buying. Floor dimensions refer to the interior floor of the box.
| Species | Interior Floor (inches) | Interior Depth (floor to ceiling, inches) | Entrance Hole Diameter (inches) | Hole Height Above Floor (inches) | Recommended Mounting Height (feet) |
|---|---|---|---|---|---|
| Eastern/Western Bluebird | 5 x 5 | 8 | 1.5 | 6 | 4–6 |
| Tree Swallow | 5 x 5 | 6–8 | 1.5 | 4–6 | 4–8 |
| House Wren | 4 x 4 | 6–8 | 1.0–1.25 | 4–6 | 4–10 |
| Carolina Wren | 4 x 4 | 6–8 | 1.5 | 4–6 | 4–10 |
| Black-capped/Carolina Chickadee | 4 x 4 | 8–10 | 1.125 | 6–8 | 4–15 |
| Tufted Titmouse | 4 x 4 | 8–10 | 1.25 | 6–8 | 4–15 |
| White-breasted Nuthatch | 4 x 4 | 8–10 | 1.25 | 6–8 | 12–20 |
| Downy Woodpecker | 4 x 4 | 8–10 | 1.25 | 6–8 | 6–20 |
| Northern Flicker | 7 x 7 | 16–18 | 2.5 | 14–16 | 6–20 |
| American Kestrel | 8 x 8 | 12–15 | 3.0 | 9–12 | 10–30 |
| Eastern Screech-Owl | 8 x 8 | 12–15 | 3.0 | 9–12 | 10–30 |
| Wood Duck | 10 x 18 | 10–24 | 4.0 (oval: 3x4) | 17–21 | 4–20 over water |
If you're not sure which species lives in your area, look for cavity nesters that have been reported in your neighborhood or county on a platform like eBird, then match that species to the table above. Building for a species you actually have nearby is far more effective than building a generic box and hoping for the best.
Entrance hole size and interior dimensions
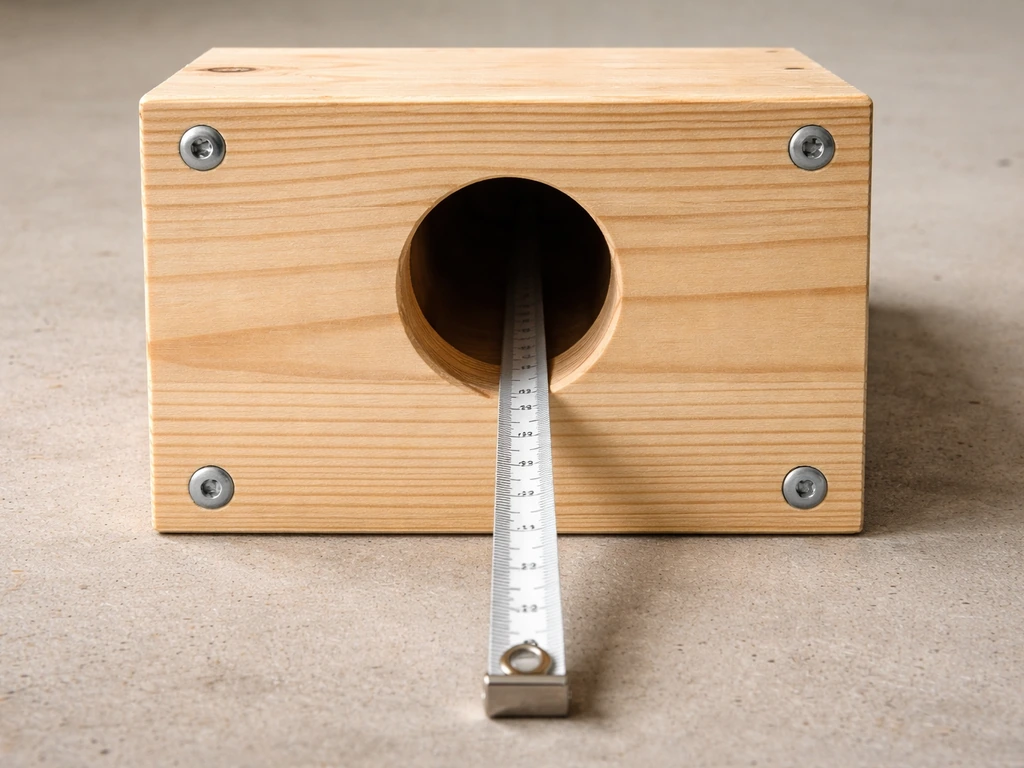
The entrance hole is the most critical single measurement on any nest box. It acts as a species filter: the right size admits your target bird while physically excluding larger competitors and many predators. Even a 1/8-inch error matters, so always use a drill bit or hole saw and verify the finished diameter with calipers or a ruler before mounting.
Hole placement rules
- Center the hole horizontally on the front panel
- Measure hole height from the interior floor surface, not from the exterior bottom of the box
- The gap between the hole bottom and the floor (interior depth minus hole height) should be large enough that predators cannot reach down to the nest: a minimum of 4 inches below the hole is a practical baseline
- Never add a perch below or beside the entrance hole
- For woodpecker species, pack the cavity loosely with wood shavings (not sawdust) so they can excavate their own nest chamber, which triggers their nesting instinct
Interior depth and the predator-reach problem
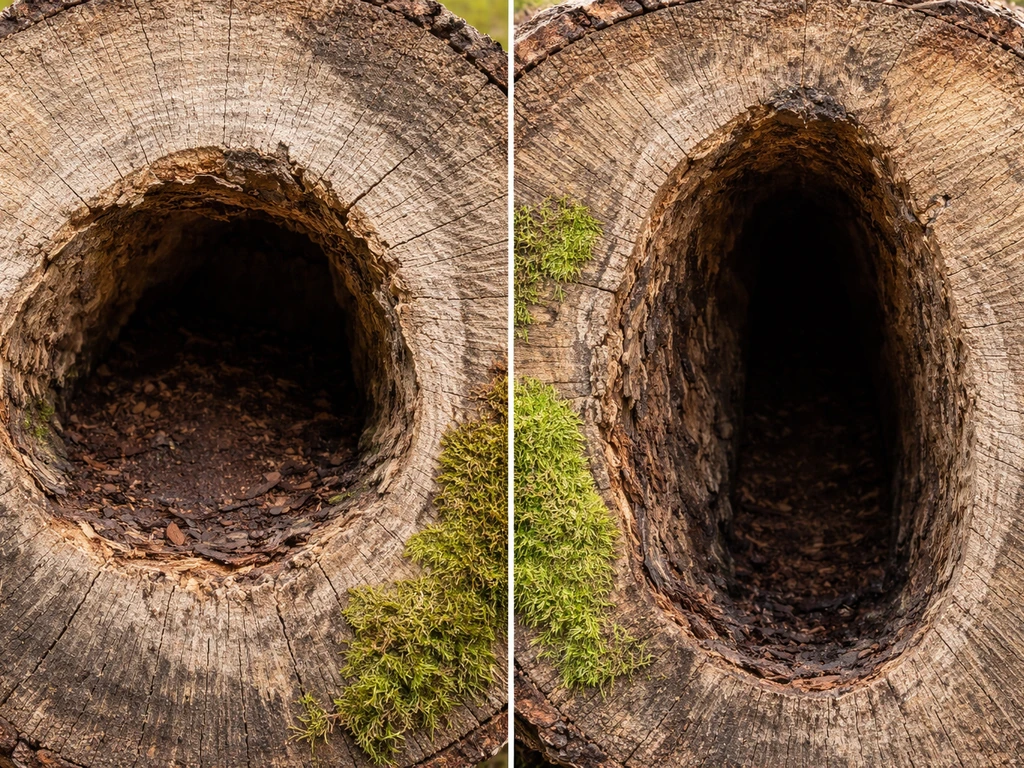
Interior depth is about more than just space for the nest. The deeper the cavity, the harder it is for a raccoon or snake to reach a paw or body inside and grab eggs or nestlings. For most small songbirds, 6 to 10 inches of interior depth is the sweet spot. Shallower than 6 inches and the nest is vulnerable; deeper than 10 inches for small birds and fledglings may struggle to climb out. Roughening the inside front wall with horizontal saw cuts every half inch makes a real difference in how easily young birds can exit.
Placement, mounting height, and orientation rules
Where and how you mount the box determines foot traffic at the entrance, exposure to weather, and how vulnerable the nest is to predators. Getting placement right costs nothing but thought.
Height and habitat
Refer to the species table for target mounting heights. As a general rule, pole-mounted boxes placed at the lower end of the recommended height range are actually fine for most songbirds and make monitoring and cleaning easier. NC State Extension research backs this up: boxes on smooth metal poles away from overhanging branches are harder for predators to reach regardless of whether they're at 4 feet or 8 feet. Height matters much less than isolation from climbing routes.
Orientation and sun exposure
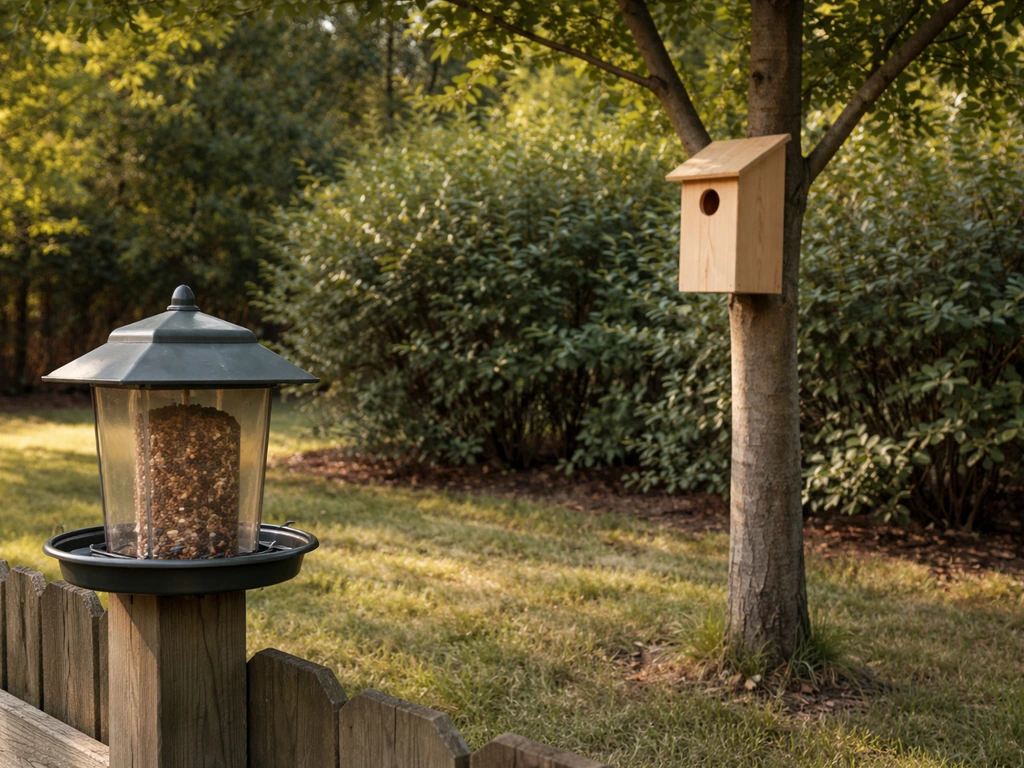
- Face the entrance hole between north and east in most of North America to minimize direct afternoon sun heating the cavity
- In very cold northern regions, a slight southward tilt (no more than southeast) can help in early spring
- Tilt the entire box very slightly forward (a few degrees) so any water that gets in drains toward the floor holes and out
- Keep the entrance hole clear of obstructions: the birds need a clear flight path in and out
- Place boxes at least 50 feet apart for the same species to reduce territorial fighting; bluebirds and tree swallows are particularly territorial and benefit from 100-foot spacing or pairing boxes 10–15 feet apart to allow one of each species per pair
Proximity to food, water, and cover
Don't mount a nest box directly beside a busy bird feeder. Feeder activity stresses nesting birds and attracts house sparrows and European starlings, which can take over boxes or kill native nesters. A separation of at least 30 feet is a sensible minimum. Proximity to low shrubs or a brush pile within 50 to 100 feet gives fledglings a place to land and hide on their first day out, which significantly improves their survival odds.
Predator protection and weatherproofing basics
NestWatch data from thousands of monitored nest boxes shows that boxes with predator guards had nesting success rates 6.7 percentage points higher than boxes without them. That's a meaningful, consistent advantage, and adding a baffle costs less than an hour of work. For best results, follow National Wildlife Federation guidance on key nest-box features like entrance hole size and mounting height, and use pole-mounted boxes with predator baffles, which are often more successful.
Predator guards that actually work
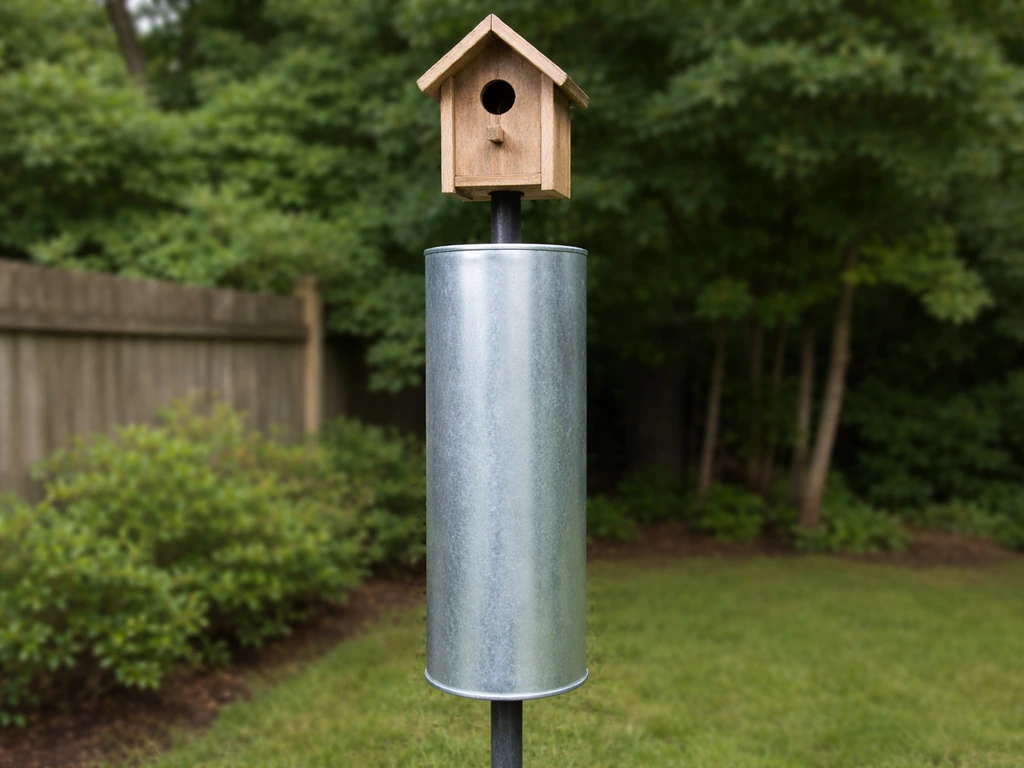
- Stovepipe baffle: a 24-inch section of 8-inch diameter stovepipe centered on the mounting pole, positioned so nothing can grip above or below it; this is the most effective all-around guard against raccoons, snakes, and cats
- Cone baffle: a metal cone (at least 18 inches in diameter) mounted below the box on a smooth pole; works well against mammals but less effective against snakes
- Hole restrictor plate: a 1/16-inch thick metal plate (aluminum or steel) with the correct hole diameter drilled through it, screwed flush over the entrance; this prevents squirrels from gnawing the hole larger and stops larger birds from forcing entry
- Mount on a smooth metal or PVC pipe, not a wooden post or a tree, and keep the pole at least 6 feet away from any tree trunk, fence, or overhanging branch that a squirrel or raccoon can jump from
House sparrows and European starlings are the two most damaging nest-box competitors for native cavity nesters. Starlings can be physically excluded by keeping entrance holes at or below 1.5 inches for bluebirds and swallows. House sparrows are trickier: they fit through the same holes as wrens and bluebirds. Placing boxes in open areas away from buildings, removing house sparrow nests as soon as they appear (house sparrows are non-native and not protected under the Migratory Bird Treaty Act), and monitoring weekly during the breeding season are the most effective combined strategies.
Weatherproofing the box
- Use a sloped or overhanging roof that extends at least 2 inches beyond the front panel to shed rain away from the entrance hole
- Seal all exterior joints with exterior-grade wood glue or weatherproof caulk, but leave drainage and ventilation holes completely open
- Apply a coat of exterior wood stain (not paint) in a light, natural color on all outside surfaces except the inside of the box; light colors reflect heat
- Check that the mounting hardware is rated for outdoor use; galvanized or stainless lag screws and hanger bolts resist rust and won't stain the wood
- Inspect the roof-to-wall joint every spring before the season: this is the first place water infiltration appears
Maintenance and sanitation rules
A dirty nest box isn't just unpleasant; it harbors mites, blowfly larvae, and bacteria that directly harm nestlings. Regular cleaning is probably the highest-return maintenance task you can do, and it takes about five minutes per box. The USDA Forest Service Bluebird Nest Box plan also emphasizes nest box cleaning and using predator guards as part of routine nest box management Regular cleaning is probably the highest-return maintenance task you can do.
When and how to clean
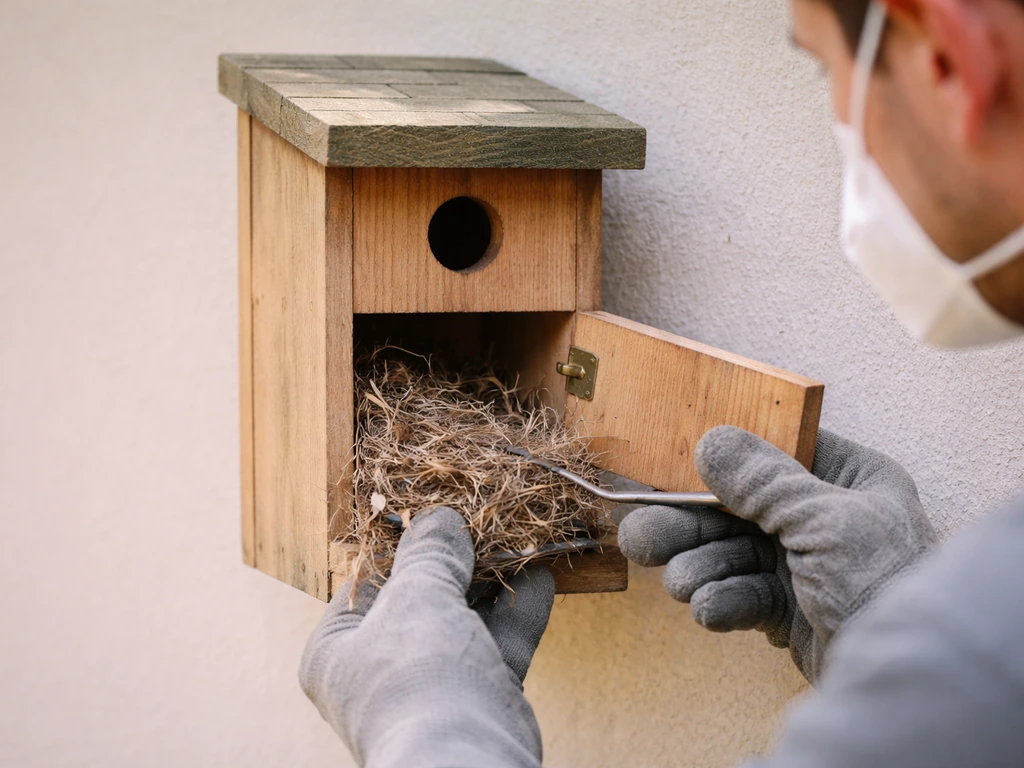
Clean after every completed nesting attempt, once you are absolutely certain all birds have fledged and no additional nesting activity is underway. NestWatch is clear on this: never clean while a nest is active or while there's any possibility a second brood is being raised. Many species, including bluebirds, will use the same box for two or three clutches in a single season, so patience matters. When the season is definitively over (typically late summer to early fall in most of North America), do a thorough end-of-season clean before winter.
- Open the clean-out panel and remove all old nesting material completely; wear gloves and a dust mask
- Scrub the interior walls, floor, and ceiling with a stiff brush; a solution of 1 part bleach to 9 parts water is effective for killing parasites and bacteria
- Rinse thoroughly with clean water and let the box air-dry completely with the clean-out door open before closing it back up
- Inspect all interior surfaces for cracks, loose joints, or holes larger than the entrance hole; repair before the next season
- Check that drainage and ventilation holes are clear and unobstructed
- Re-secure any loose mounting hardware
Monitoring safely during the season
Weekly monitoring during the breeding season lets you catch problems early: invasive nest takeovers, parasites, structural damage, or a clutch that has been abandoned. Always approach the box slowly and quietly, and keep visits brief. The NestWatch Code of Conduct puts it plainly: observations should never jeopardize the well-being of birds, nests, or nest contents. If a parent bird flushes and doesn't return within a few minutes, back away and give it more time. Avoid monitoring during incubation if the weather is very hot or cold, since eggs are vulnerable to temperature extremes when the adult is off the nest.
Annual repairs and off-season prep
- Replace any wood that has cracked through or shows signs of rot, especially the floor and lower walls
- Re-drill drainage holes if debris has partially blocked them
- Re-apply exterior stain every two to three years to protect against weathering
- Leave the box mounted and clean through fall and winter: many cavity-roosting birds (including chickadees, nuthatches, and some woodpeckers) use nest boxes as overnight roost sites in cold weather
- In very cold climates, temporarily cover ventilation gaps with tape from late November through February to retain warmth for roosting birds, then remove it before the breeding season begins in late winter or early spring
Follow these rules consistently and a single well-built nest box can host successful broods for a decade or more. The basics covered here connect directly to the broader decisions around building and siting a box from scratch, which are worth exploring if you want to go beyond buying a ready-made house and start dialing in dimensions and materials for the specific birds in your yard. If you're building from scratch, this is the kind of bird-home planning you can use as a guide to bird homes.
FAQ
What should I do if my bird house rules are correct, but the box still stays empty?
If a box is the right dimensions and the entrance hole matches the target species but it stays empty, the most common cause is wrong placement (high predator access or heavy human traffic) or a feeder nearby. Remove the closest food sources or increase separation, and consider moving the box farther from climbing routes like downed branches, fences, and tree trunks.
Can I clean or modify the bird house while birds are still using it?
For most cavity nesters, it is better to leave the nest in place when you find birds actively nesting and stop any intervention until after fledging. Wait until you are certain the breeding attempt is complete, because some species may start a second clutch in the same box within weeks.
What happens if I change the entrance hole size after installing the bird house?
You should never enlarge an entrance hole after the fact to accommodate “more birds.” Even small changes can make the box accessible to larger competitors or predators. If you need a different diameter, replace the front panel with the correct hole size for the species you are targeting.
How strict do the dimensions need to be if I am between two species sizes?
If the interior depth is slightly outside the ideal range, focus on matching the target species’ entrance size and floor dimensions first. Depth matters for predator access and fledgling egress, but entrance diameter is the primary species filter, so correct that measurement even if you have to compromise a little on depth.
How do I handle bird house rules in very hot summers or freezing winters?
If your climate has big swings, wood thickness is a key protection. Using at least 3/4 inch thick untreated natural wood helps buffer temperature extremes, and avoid placing the box where it receives intense afternoon sun.
How can I verify my predator protection is actually working?
A predator guard should not block ventilation or create new climbing surfaces. Make sure the guard is smooth, extends enough that paws cannot reach the entrance area, and that the box is mounted on a surface predators cannot grip.
What is a safe way to monitor a nest box without stressing the birds?
When monitoring, use a quick visual check rather than prolonged inspection. If the adult flushes and does not return within a few minutes, give it more time, and do not check more frequently than necessary because repeated disturbances can lead to abandonment.
Do bird house rules change when I install more than one bird house nearby?
Yes, multiple boxes can attract more birds, but you should not increase boxes blindly if placement and spacing rules are ignored. A better approach is to match the number of boxes to both your target species and your available, predator-safe locations, since neighboring boxes can compete for foot traffic and territory.
What are the best first actions if I notice house sparrows or starlings taking over a box?
House sparrows and starlings are the biggest competitive issue mentioned in your article. If you see an invasive nest, remove it promptly and keep up weekly checks during the breeding season, but avoid taking action while native species are actively nesting.
If a nest was taken over, should I move the box right away or wait?
If you get a confirmed nest takeover by an invasive species, keep the box in place long enough to finish the season strategy you are using, then schedule an end-of-season clean and consider relocating for the next cycle. Also reassess entrance size and placement away from buildings and sheltered predator routes.
What is the clean-up process that reduces pests after I empty the nest box?
Avoid cleaning that could spread mites or bacteria indoors. Wear gloves, remove old nesting material into a bag, and after cleaning let the box dry completely before putting it back, especially if you cleaned during late summer when humidity is still high.
What if I can’t mount at the exact recommended height or orientation?
If you cannot follow the recommended mounting heights exactly, prioritize avoiding climbing routes over the exact number. Place the box where predators cannot easily access the sides, use smooth mounting surfaces or pole systems when possible, and keep the entrance oriented away from direct exposure to prevailing storms if your region has driving rain.
Next Articles
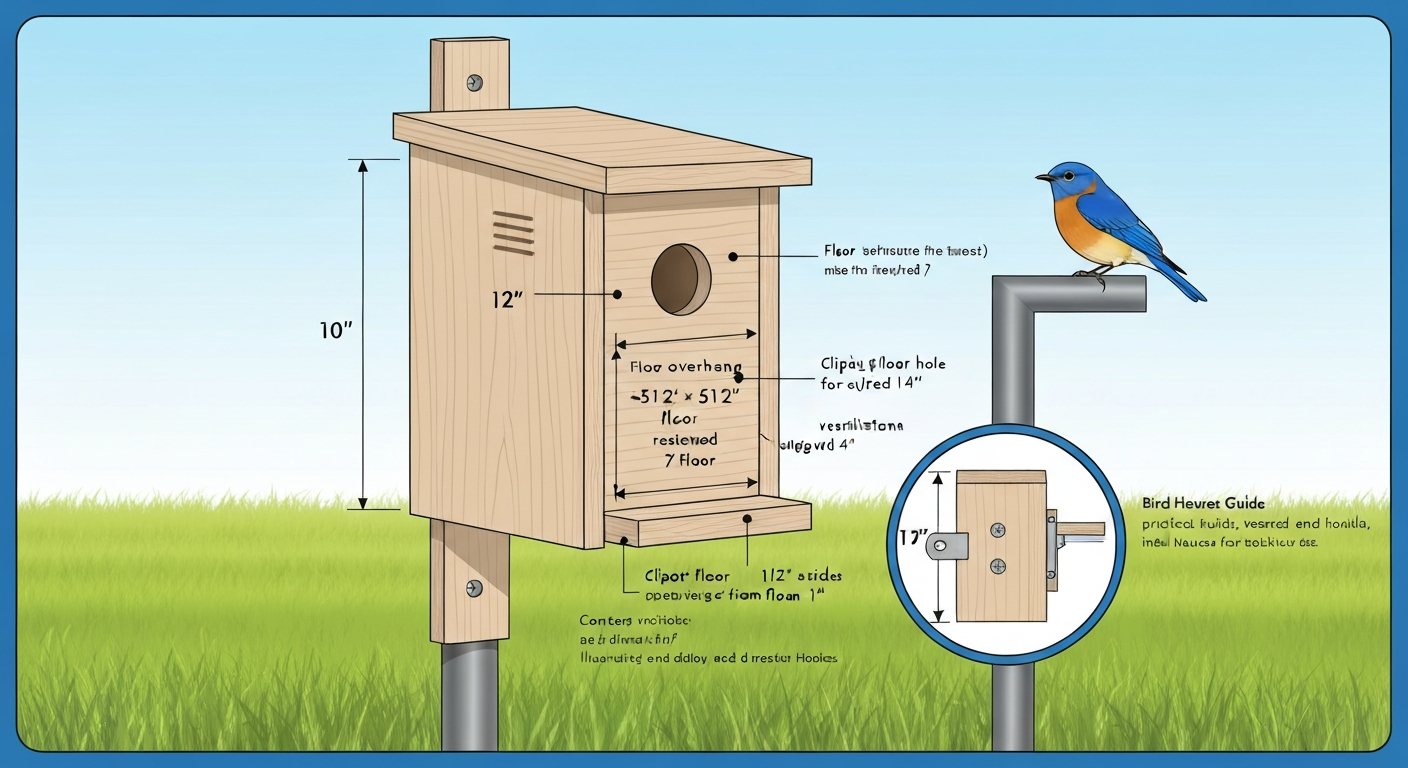
Blue Bird House Instructions: DIY Plans, Sizes & Mounting
DIY bluebird house: step-by-step build, exact cuts and hole sizes, mounting, predator guards, cleaning, and care.
Wine Cork Bird House Instructions: DIY Steps and Bird-Safe Specs
Step-by-step wine cork mini birdhouse build with bird-safe dimensions, safe materials, mounting, cleaning, and weatherpr
Best Bluebird House Guide: Choose, Build, Install
Pick and install the best bluebird house with species-specific hole size, mounting, predator guards, and safe seasonal c