You can build a safe, functional bird house in an afternoon with a single cedar board, basic hand tools, and a few screws. The key is matching your box dimensions and entrance hole size to your target species, mounting it at the right height with a predator baffle, and orienting the entrance away from prevailing wind and rain. Get those three things right and you have a genuinely useful nest site. Get them wrong and you'll spend the season watching a squirrel move in or rain pool on the floor.
Bird House Instructions: Beginner Step by Step Guide
Maya Thompson
30 Apr 2026
Choosing the right bird house design
Before you cut a single board, decide which species you're building for. Your habitat largely makes that decision for you. If you have an open lawn, meadow, or orchard nearby, build for Eastern Bluebirds. For Eastern Bluebirds, Sialis.org (citing North American bluebird guidance) summarizes that the nestbox should have a 1 1/2-inch diameter entrance hole. If you have mature trees or a woodland edge, aim for chickadees, nuthatches, or wrens. This matters because every dimension of the box, including floor size, interior depth, and entrance hole diameter, is tied to a specific bird's body and nesting habits.
For most beginners, the classic bluebird box is the best starting point. It's well-documented, widely studied, and the plans are forgiving enough for first-time builders. If your yard doesn't suit bluebirds, a slightly smaller chickadee box uses nearly identical construction with a narrower entrance hole. Both designs follow the same basic box shape: four walls, a sloped roof with an overhang, a floor with drainage holes, and a hinged or removable side panel for monitoring and cleaning. Avoid decorative designs with perches on the front (birds don't need them and House Sparrows love them), rooftop entrance holes, or clear plastic sides. Those features look charming but they make the box hotter, less safe, and harder to clean.
If you want to go smaller and simpler, a wren box is one of the easiest builds around. Wrens tolerate a wide range of conditions and a very small entrance hole keeps out most competitors. For species-specific builds like bluebird houses or the specialized approaches used for bluebirds specifically, there's more detail in the dedicated bluebird house instructions content on this site.
If you want a quick material twist, see our wine cork bird house instructions for an easy, lightweight option. If you want the best blue bird house setup, follow the dedicated bluebird instructions for the right dimensions and entrance hole. If you are building for Eastern Bluebirds, follow these simple bird house instructions for the exact dimensions and setup details.
Materials, tools, and safe wood choices
Use untreated, unpainted wood. That's the single most important material decision you'll make. NestWatch recommends rot-resistant species like cedar, pine, or cypress as the best options. Cedar is ideal: it's naturally rot-resistant, stable through wet and dry seasons, lightweight, and easy to work with hand tools. Avoid pressure-treated lumber entirely. It contains pesticide and fungicide compounds that have no place inside a nest cavity where chicks will be breathing for weeks. If you're tempted to use pressure-treated wood to extend the life of the box, glue your joints before nailing instead. That's a far safer way to add durability.
For a standard bluebird box, a single 1x6 cedar board, 6 feet long, gives you almost all the pieces you need. You can also use 3/4-inch exterior-grade plywood for larger boxes. If you do paint or stain the outside (only the outside), use a light, neutral color to reflect heat, and make sure it's fully cured before mounting. Never paint or stain the interior or the entrance hole rim.
- 1x6 cedar, pine, or cypress board (6 feet long for a standard bluebird box)
- Exterior-grade wood glue
- 1 5/8-inch galvanized deck screws (or equivalent rust-proof screws)
- One 1 1/2-inch hole saw or spade bit (bluebird) or 1 1/8-inch bit (chickadee)
- 3/8-inch drill bit for drainage holes
- Small drill bit for ventilation holes (1/4 inch works well)
- Hand saw or circular saw
- Drill/driver
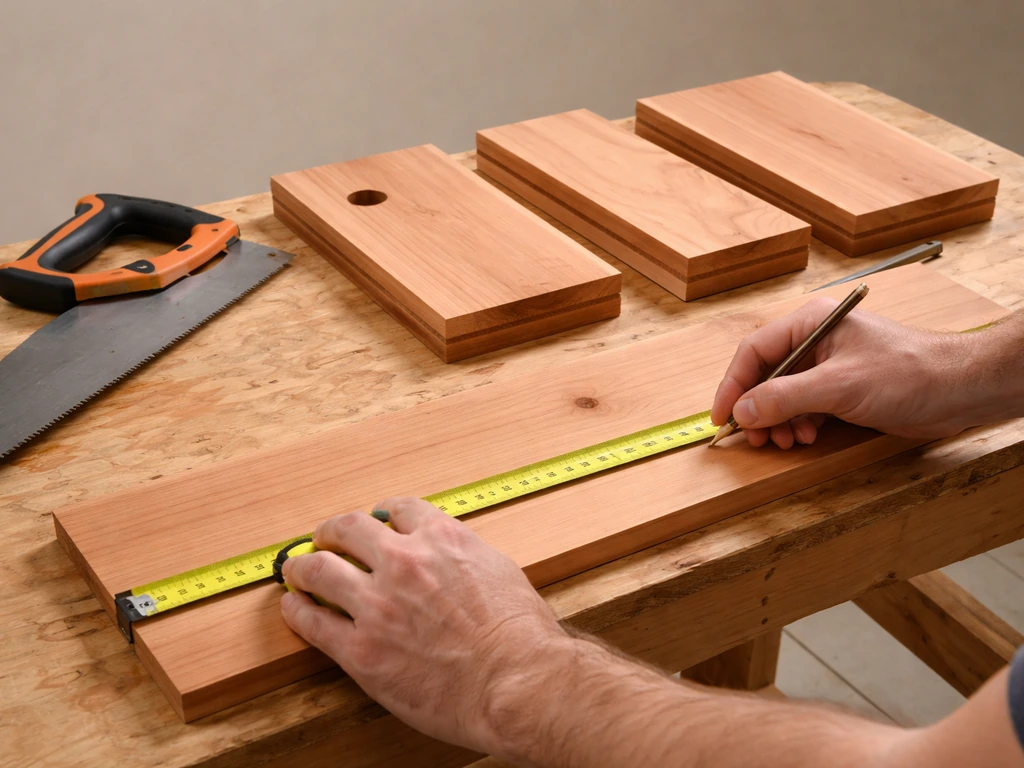
- Tape measure and pencil
- Sandpaper (80 or 120 grit) for smoothing the entrance hole interior
- One galvanized hinge or a pivot-screw setup for the clean-out panel
Step-by-step bird house building instructions
These steps are written for a standard Eastern Bluebird box, which is the most universally useful beginner build. Follow these simple bird house instructions and you will have a safe, well-sized home that is easier to finish and maintain. Dimensions are in the next section. Follow these steps in order, and don't skip the drainage and ventilation steps at the end.
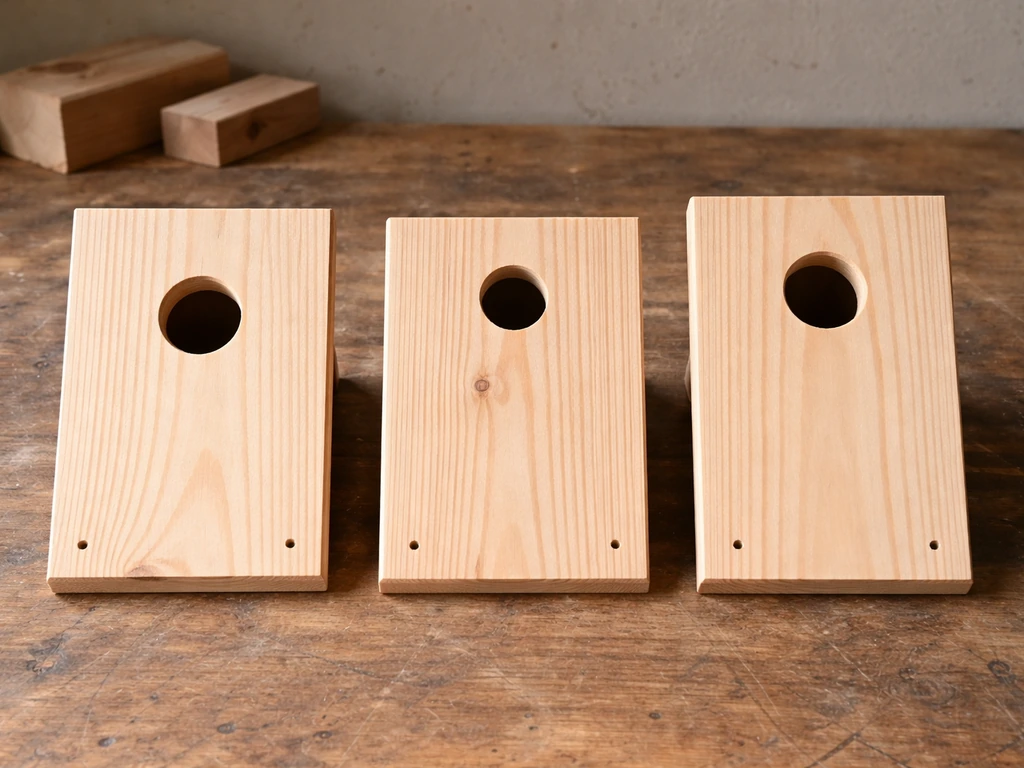
- Mark and cut your pieces. From a 1x6x6 cedar board, cut: one front panel (9 inches tall), one back panel (12 inches tall, to allow for mounting), two side panels (each 10 inches tall with the top cut at a slight angle to match the roof slope), one floor panel (4x4 inches), and one roof panel (at least 6x7 inches for adequate overhang).
- Cut the entrance hole. On the front panel, measure up 6 to 7 inches from the bottom edge and mark the center. Use your hole saw or spade bit to drill a clean, round entrance hole. Sand the inside of the hole smooth so it doesn't snag feathers.
- Drill ventilation holes. On each side panel, near the top edge, drill two or three 1/4-inch holes. These let heat escape and prevent the interior from cooking nestlings on hot days.
- Drill drainage holes. On the floor panel, drill four 3/8-inch holes near the corners. This is non-negotiable. A wet nest floor causes mold, chilling, and nest failure.
- Score the interior of the front panel. Use a chisel or the corner of your saw to cut three or four horizontal grooves between the entrance hole and the floor. This gives nestlings grip when climbing out. Alternatively, staple a small square of hardware cloth to the inside of the front below the hole.
- Assemble the box. Glue and screw the back, two sides, and front together first. Use two screws per joint. Then slide the floor in from the bottom; don't glue it in place. Instead, secure it with a single screw from each side so it can be removed for cleaning.
- Attach the roof. Glue and screw the roof to the top. Make sure it overhangs the front by at least 2 inches and the sides by at least 1 inch. A longer front overhang (3 to 4 inches) gives even better rain protection over the entrance.
- Create a clean-out panel. One side panel should be hinged or secured with a pivot screw at the top so it swings open. This is how you'll monitor the nest and clean the box each season.
- Final check. Before mounting, look inside through the entrance: you should see the grooved or roughened interior surface, the drainage holes in the floor, and no exposed nail points. Shake it. It should feel solid.
Correct dimensions, entrance hole size, and ventilation/drainage
These numbers come from long-running birdhouse research programs and are the result of watching what actually works in the field. Audubon also emphasizes following established, field-tested bluebird nest box dimensions to help ensure the entrance and interior space fit the birds you are targeting. Stick to them as closely as you can. A hole that's even 1/8 inch too large lets in House Sparrows or European Starlings, which are invasive competitors that will harass native cavity nesters.
| Species | Floor Size | Interior Depth | Entrance Hole Diameter | Hole Height Above Floor | Mounting Height |
|---|---|---|---|---|---|
| Eastern Bluebird | 4" x 4" | 8–12" | 1 1/2" round (or 1 3/8" x 2 1/4" oval) | 6–10" | 3–6 feet |
| Carolina Chickadee | 4" x 4" | 8–10" | 1 1/8" round | 6–8" | 4–8 feet |
| House Wren | 4" x 4" | 6–8" | 1 1/8" round | 4–6" | 5–10 feet |
| Downy Woodpecker | 4" x 4" | 8–10" | 1 1/4" round | 6–8" | 5–15 feet |
| Tree Swallow | 5" x 5" | 6–8" | 1 1/2" round | 4–6" | 4–8 feet |
Ventilation matters more than most plans acknowledge. Two to four small holes (1/4 inch) near the top of each side panel is the minimum. In hot climates, drilling similar holes near the top of the front panel (above the entrance hole and off to the sides) helps even more. For drainage, four 3/8-inch holes in the floor corners are the standard recommended by Wood Magazine and consistent with what experienced nest-box monitors use. If you're using plywood, bevel the floor edges slightly so water runs off rather than soaking into end grain.
One detail worth noting on entrance holes: Wood Magazine recommends drilling ventilation and entrance holes at a very slight upward angle from inside to outside. That subtle tilt helps prevent wind-driven rain from entering the hole. It's a small touch but it makes a real difference during storms.
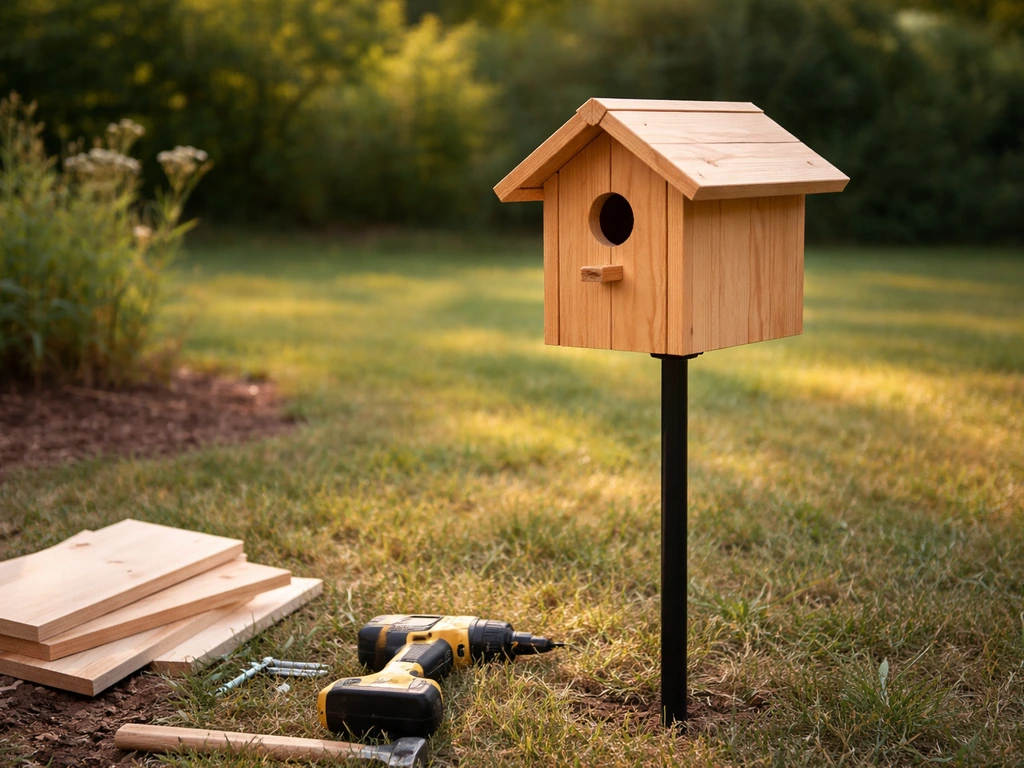
Mounting, placement, and seasonal timing
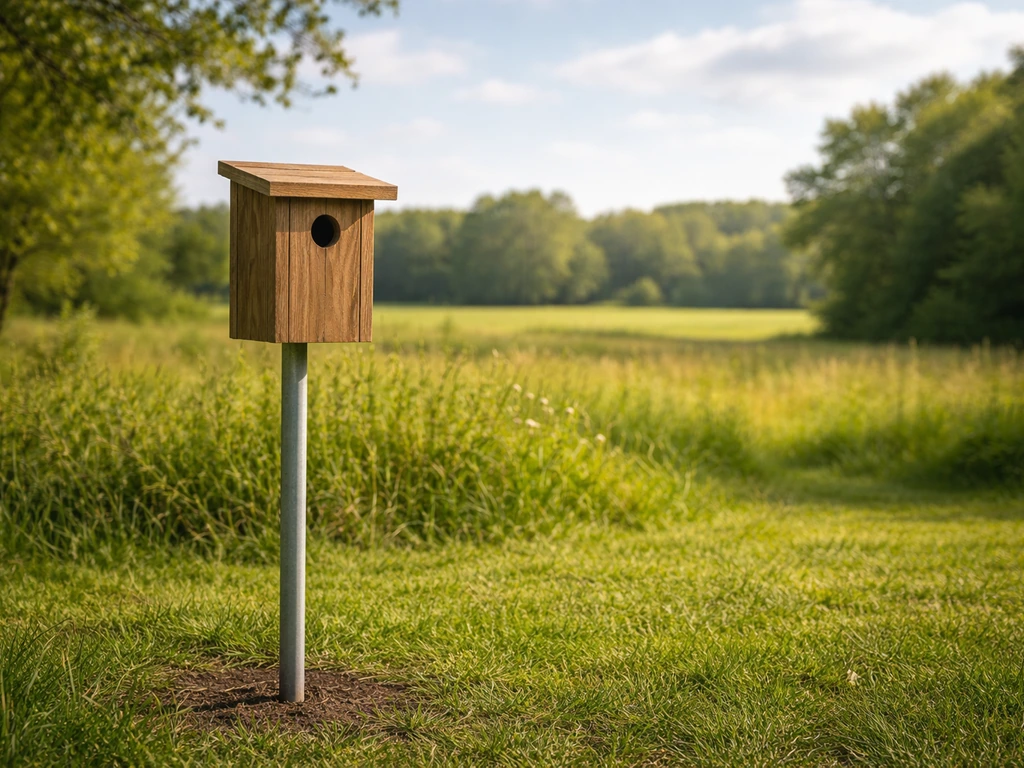
Where you put the box matters as much as how you build it. Mount bluebird boxes on a smooth metal pole in open habitat, facing an open field, lawn, or orchard. NestWatch recommends orienting the entrance to face east, southeast, or north, and specifically not into the prevailing wind. For forest-edge species like chickadees, face the hole away from prevailing winds and toward nearby cover. A bluebird box stuck in a tree line will attract House Wrens; a chickadee box in the middle of an open field will go unused. Match the habitat to the species.
Height is simpler than people think. Bluebird boxes work well at 3 to 6 feet. Chickadee and wren boxes can go from 4 to 10 feet. Tree Swallow boxes perform best at 4 to 8 feet. Avoid going very high if you plan to monitor the nest, because weekly checks are important for managing invasive species and identifying problems early.
Timing is critical. In most of the continental US, bluebirds begin scouting for nest sites in late February and March. Chickadees and wrens follow in April and May. Have your box up and mounted before the birds start looking. Ideally, mount boxes in late winter, around February, so they're weathered in and familiar when prospecting begins. Boxes put up in May often sit unused for the first season.
Keep bluebird boxes at least 100 yards apart. Bluebirds are territorial and two boxes closer than that will often result in both being abandoned or contested. Tree Swallows and bluebirds can successfully share a territory if you pair boxes 15 to 20 feet apart, since they don't compete for the same ecological niche.
Predator-proofing and humane safety features
According to NestWatch data, nest boxes with predator guards have success rates about 6.7 percent higher than those without. That's not a small number when you're investing time in building and monitoring. A predator guard is non-optional if you want the box to actually produce fledglings.
The most effective setup for a pole-mounted box is a metal stovepipe or cone baffle on the pole below the box. Sialis recommends a baffle made from metal duct segments with a center hole sized for the pole, mounted so it can wobble slightly. That wobble makes it even harder for raccoons and snakes to grip and climb past it. Place the baffle at least 4 feet off the ground. A smooth metal pole (not a wood post, fence post, or tree) combined with a cone baffle stops raccoons, cats, and most snakes.
For the entrance hole itself, NestWatch describes the Noel guard: a rectangular tube of hardware cloth stapled to the front of the box, extending 3 to 4 inches out from the hole. This prevents a raccoon from reaching in through the entrance and pulling out eggs or nestlings. A commercially available tube-style guard (sometimes called a Bird Guardian) inserted into the hole works similarly. Tennessee TWRA notes, however, that these entrance guards don't fully protect against snakes, which is why the pole baffle is also essential.
A few more design-level safety details worth building in from the start: keep the roof overhang long (3 to 4 inches over the front), never add a perch below the entrance hole, and make sure the box is sturdy enough that it doesn't swing or shake in wind. Movement spooks nesting birds and can attract predator attention. If you're using a wood post as a last resort, Tennessee TWRA is clear that you should only do so if you can also attach a predator guard to that post. Never mount on a tree.
Cleaning, maintenance, and troubleshooting
Clean your nest box at the end of each breeding season, after the last fledglings have left. In most regions that means late August through September. Remove the old nest completely: old nesting material harbors parasites, bacteria, and sometimes wasp colonies that will deter future tenants. NestWatch recommends a cleaning solution of 1 part bleach to 10 parts water if the box is heavily soiled with fecal matter. Rinse it thoroughly and let it dry completely before closing it back up.
Do not clean during active breeding. If you open the box and see eggs or nestlings, close it gently and walk away. NestWatch is direct on this: if you're unsure whether a nest is active or abandoned, wait and check again rather than assuming it's safe to clean. Nest abandonment triggered by disturbance is a real problem, especially early in incubation.
Weekly monitoring during the season, April through July for most regions, is genuinely valuable. Open the clean-out panel, take a quick look, and record what you see. This lets you catch problems early: a wasp nest forming before eggs are laid (remove it immediately), an old House Sparrow nest built over a bluebird nest (remove it), or signs that a predator has reached in through the entrance (add a Noel guard).
Troubleshooting common problems
- Box unused all season: Check that your habitat matches the target species. A bluebird box surrounded by trees will attract wrens, not bluebirds. Reposition it in more open habitat or switch your target species.
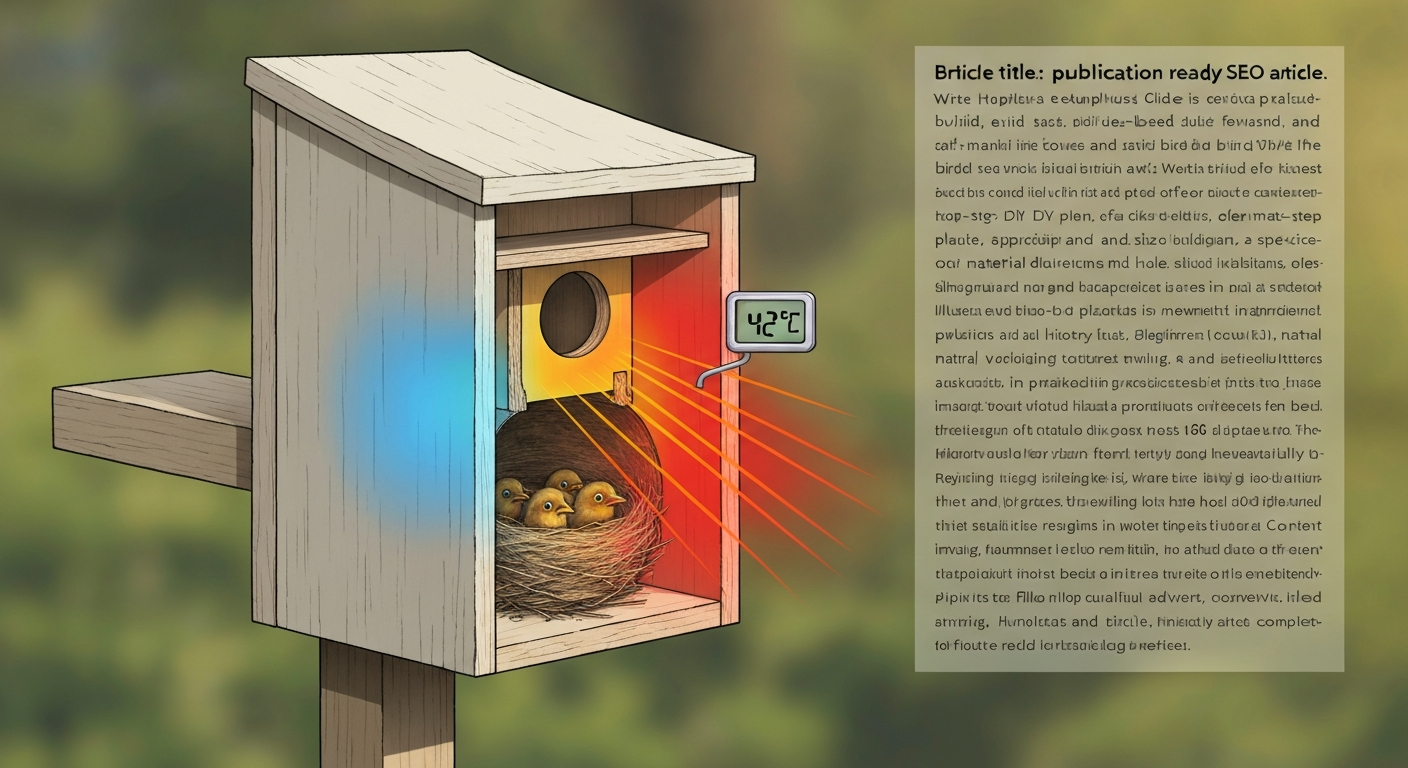
- Nest started but abandoned: Look for signs of predator disturbance (scratch marks around the entrance, disturbed nesting material). Add a Noel guard and a pole baffle if you haven't already. Also check that the interior isn't overheating; a box in full afternoon sun can exceed 100F inside.
- Moisture or mold inside: Confirm your drainage holes are clear and not blocked by debris. If the box is in a low spot that collects water, remount it. Increase ventilation by adding more small holes near the top of the side panels.
- Wrong species moves in: House Sparrows and European Starlings are invasive and will outcompete native birds. For House Sparrows, reduce the entrance hole to 1 1/8 inches (which excludes them but allows chickadees and wrens). Starlings can't fit through a 1 1/2-inch round hole but can use larger ones; if starlings are a problem, switch to a slot entrance or oval entrance design.
- Repeated nest failure with no obvious cause: Check that the interior ladder grooves are present and functional. Chicks that can't climb to the entrance and fledge safely may fall back and die in the box. Also confirm the box isn't sitting in standing water after rain.
One final note: building a basic box and putting it up is genuinely the hardest part in terms of inertia. Once it's mounted and you've monitored one full season, you'll have a clear picture of what the birds in your yard actually need. From there, adding more boxes, trying species-specific designs like oval-entrance bluebird boxes or specialized chickadee configurations, or experimenting with pairing boxes for swallows and bluebirds becomes intuitive. If you are wondering what blue jay bird houses look like, look for the size and entrance details that match this species’ nesting needs bluebird. Start with one solid box built to the right dimensions, mounted safely, and cleaned every fall. That's the whole system.
FAQ
Can I build one bird house and use it for different species?
No. If the entrance size is even slightly oversized for the target species, you may attract invasive cavity nesters and cause nest failure. The more important step is to follow the recommended entrance diameter for the bird you’re building for, then double-check with calipers before you cut.
What’s the easiest way to make a birdhouse panel for cleaning and monitoring?
A removable side panel is best because it allows you to clean without repeatedly disturbing the birds at the entrance. If you make the panel with screws, use stainless or exterior-grade hardware and add an easy-to-access latch so opening the box takes seconds, not minutes.
Is it okay to paint the whole birdhouse to match my yard décor?
If you want to paint or stain, only do it on the exterior and use a light, neutral color. Let the finish fully cure before mounting, and avoid painting the entrance rim, inside walls, or drainage areas because fumes and residue can deter nesting or irritate nestlings.
Can I use wood glue, caulk, or sealant to stop leaks or gaps?
You can, but it should be sealed out of reach and fully dried first. The main rule is to avoid any sealant inside the cavity and especially on the floor where it could trap moisture. If you use exterior caulk or glue on seams, keep it on the outside surfaces only.
How do I balance a predator baffle that can wobble with a birdhouse that must be stable?
Wobble helps for baffles on poles, but you still need the box to be rigid enough that wind doesn’t shake the cavity. Test the mounted unit by gently pushing it, the box should move minimally, while the baffle can be the part that allows slight movement.
Do I need to clean the birdhouse every year if it looks empty in winter?
If you place it outdoors year-round, clean-up still matters. At a minimum, remove and dispose of old nests after each breeding season, typically late summer into early fall, so parasites and accumulated droppings do not build up.
Can I add extra insulation or seal the vent holes to keep birds warmer?
Don’t seal ventilation holes. If you block side ventilation to prevent drafts, overheating becomes more likely in summer and chicks can fail. Keep ventilation holes open as specified, and if you’re in a very windy area, rely on entrance orientation and roof overhang rather than closing vents.
Is it ever better to mount a birdhouse higher to improve safety?
Yes, but use height and location that match the species and your ability to monitor. If you’re trying to manage invasive competitors and check for problems, avoid placing boxes too high to inspect safely, because long gaps between checks make it harder to intervene.
If a box sits unused, how long should I wait before moving it or changing anything?
Many birds reuse nearby structures differently from year to year. If you see no activity, do not assume the box is abandoned and start changing it repeatedly. Make only one adjustment at a time, and give it at least a couple of weeks, because frequent disturbance can reset scouting.
What should I do if I open the box and can’t tell whether the nest is active?
For active nests, leave them alone. If you open the box and find eggs or nestlings, close it gently and try again later. If you are unsure whether activity exists, wait and recheck rather than cleaning or removing materials.
Why do some boxes rot faster even when they are made of cedar?
Drainage holes are not optional, but how water exits matters. Avoid blocking the floor with plywood edges that trap water, and if using plywood, bevel the floor edges slightly so water runs off instead of soaking end grain over time.
Are entrance guards enough to stop snakes?
Sometimes. Entrance guards help with raccoons, but snakes can still be an issue if the predator guard system is incomplete. Pair the entrance guard with the pole-mounted baffle system (or equivalent approach) so both access routes are blocked.
Can I use a weatherproof coating to extend the life of the wood?
Only if you are confident the product is safe for exterior structures and fully cured before birds use it. Any added coatings can off-gas inside the cavity, so a good rule is to keep chemical products strictly on the exterior, fully cure it, then mount.
Next Article
Can Bird Houses Get Too Hot? Prevention, Monitoring, Fixes
Can bird houses get too hot? Learn how to detect, prevent and fix overheating with venting, shade, monitoring.